Stroopwafel Puff Pastry Christmas Trees

Day 16 - Evening all. I'm absolutely loving this weather we are having at the moment. I enjoy getting home from work, pulling the curtains, changing into my PJ's, having cuddled with Harvey (my loyal pooch) and unwinding with a mug of my festive hot chocolate and a Stroopwafel Puff Pastry Christmas Tree.
With the festive season in full swing, it's the perfect time to get creative in the kitchen and add a festive twist to your usual treats. And what better way to do that than with Stroopwafel Puff Pastry Christmas trees? These delicious treats are transformed into cute and delicious mini trees that are sure to impress your family and friends. Whether you're looking for a fun activity to do with the kids or a unique dessert for your Christmas party, this recipe is a must-try. So grab your apron and let's get baking!
To make my little puff pastry trees you will need...

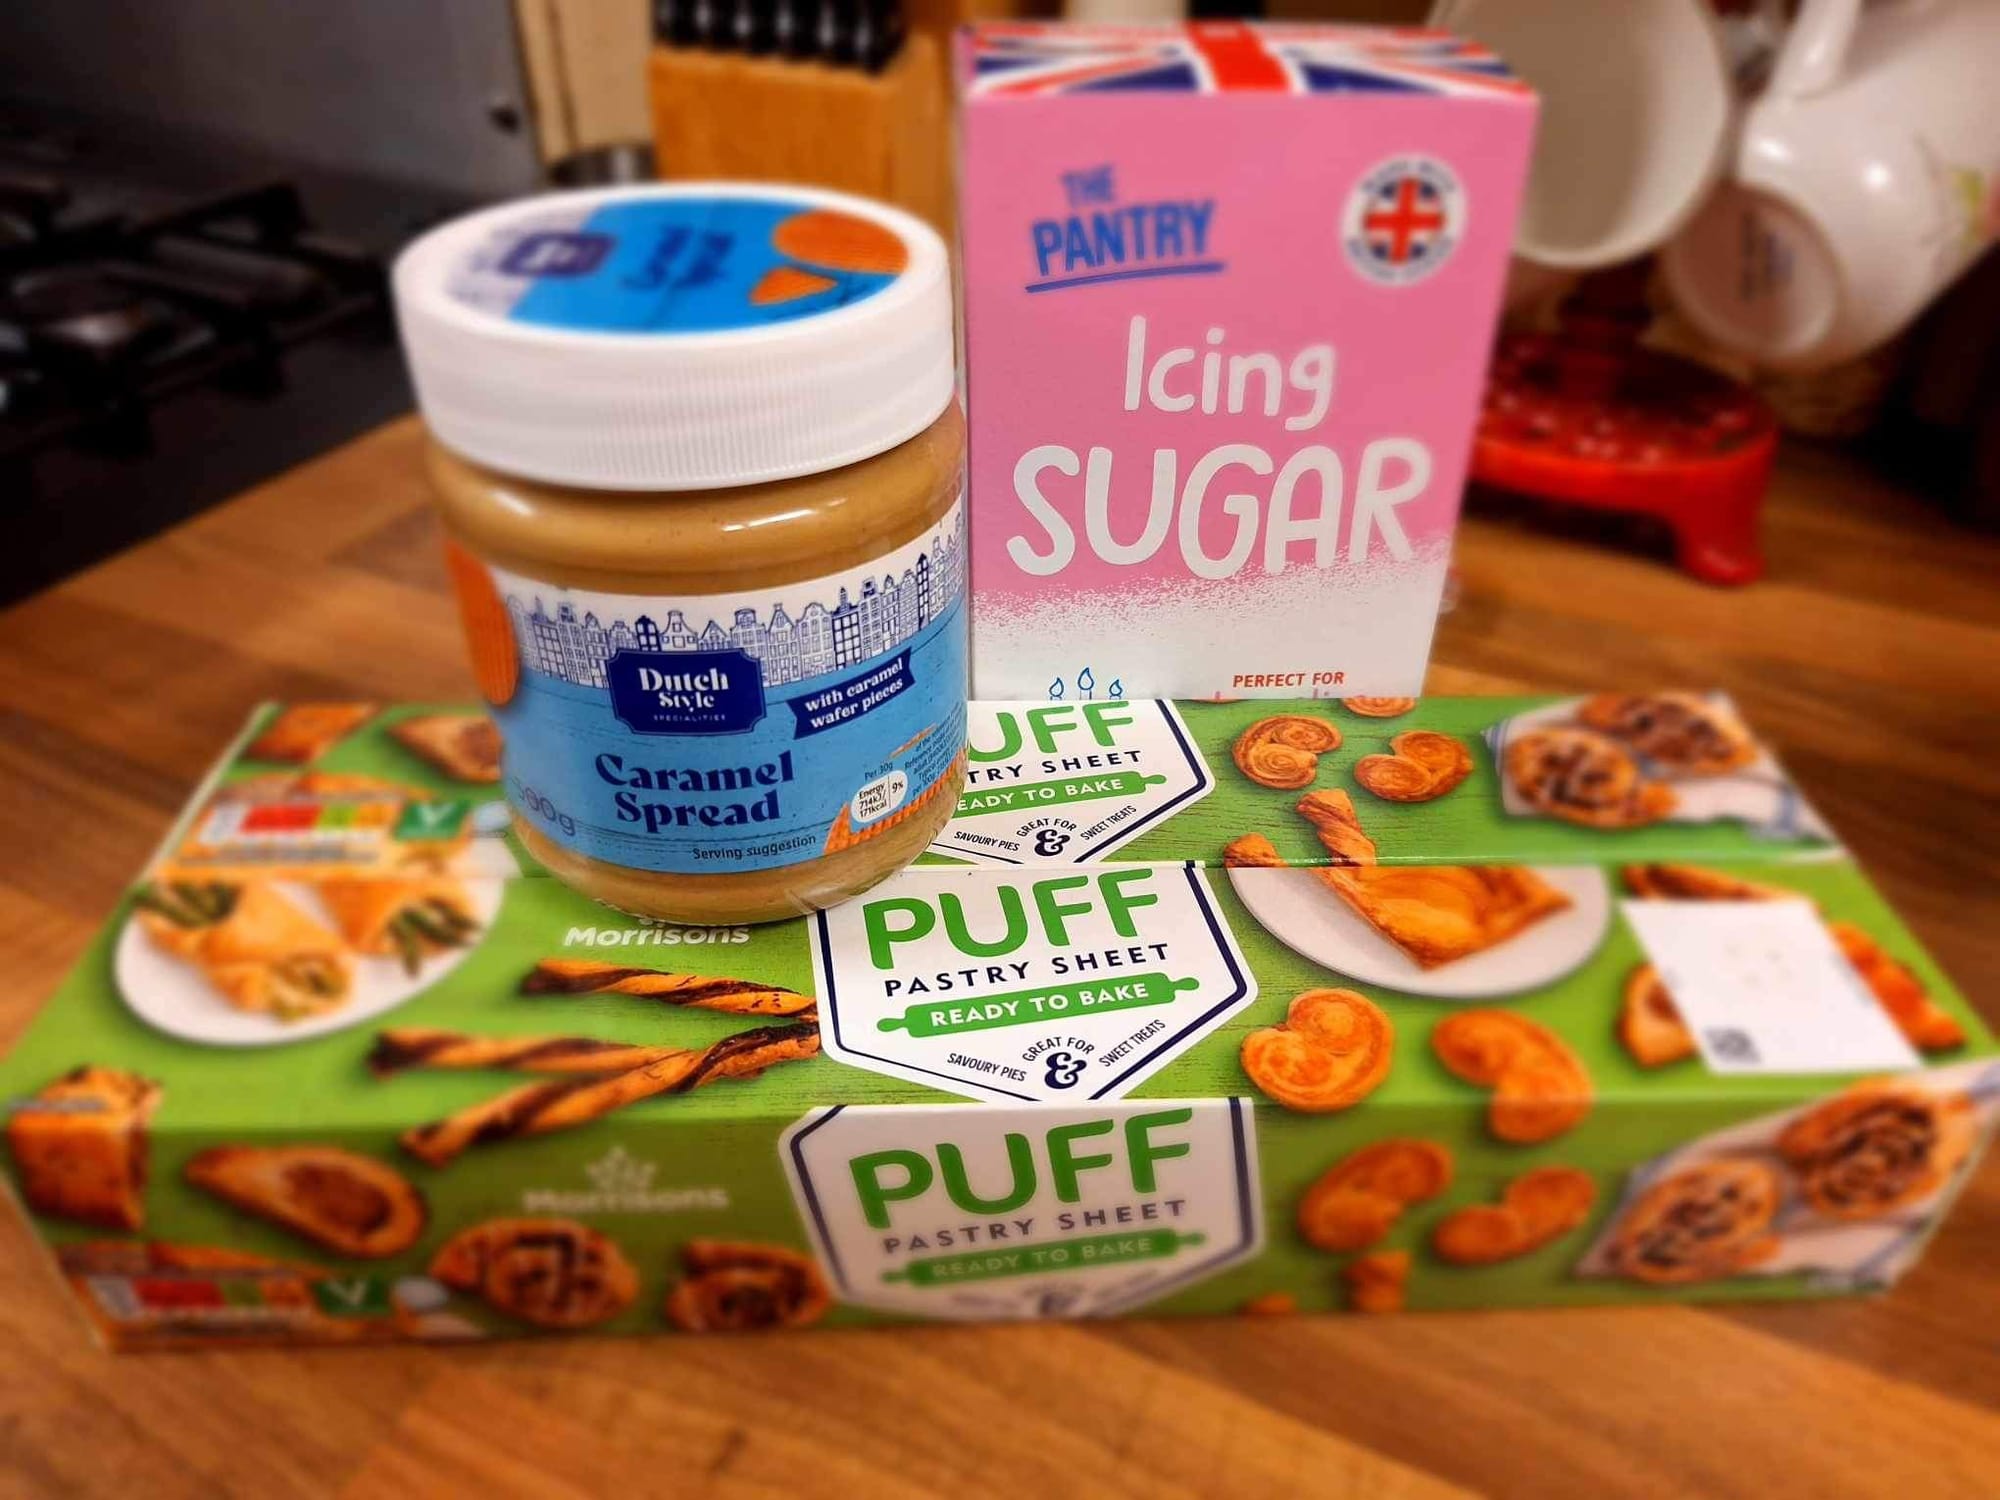
Ingredients
- Puff Pastry (I used ready roll pastry as a cheat for this time of year)
- Milk
- Stroopwafel Spread (Available at Lidls)
- Icing Sugar
- Sugar

Method
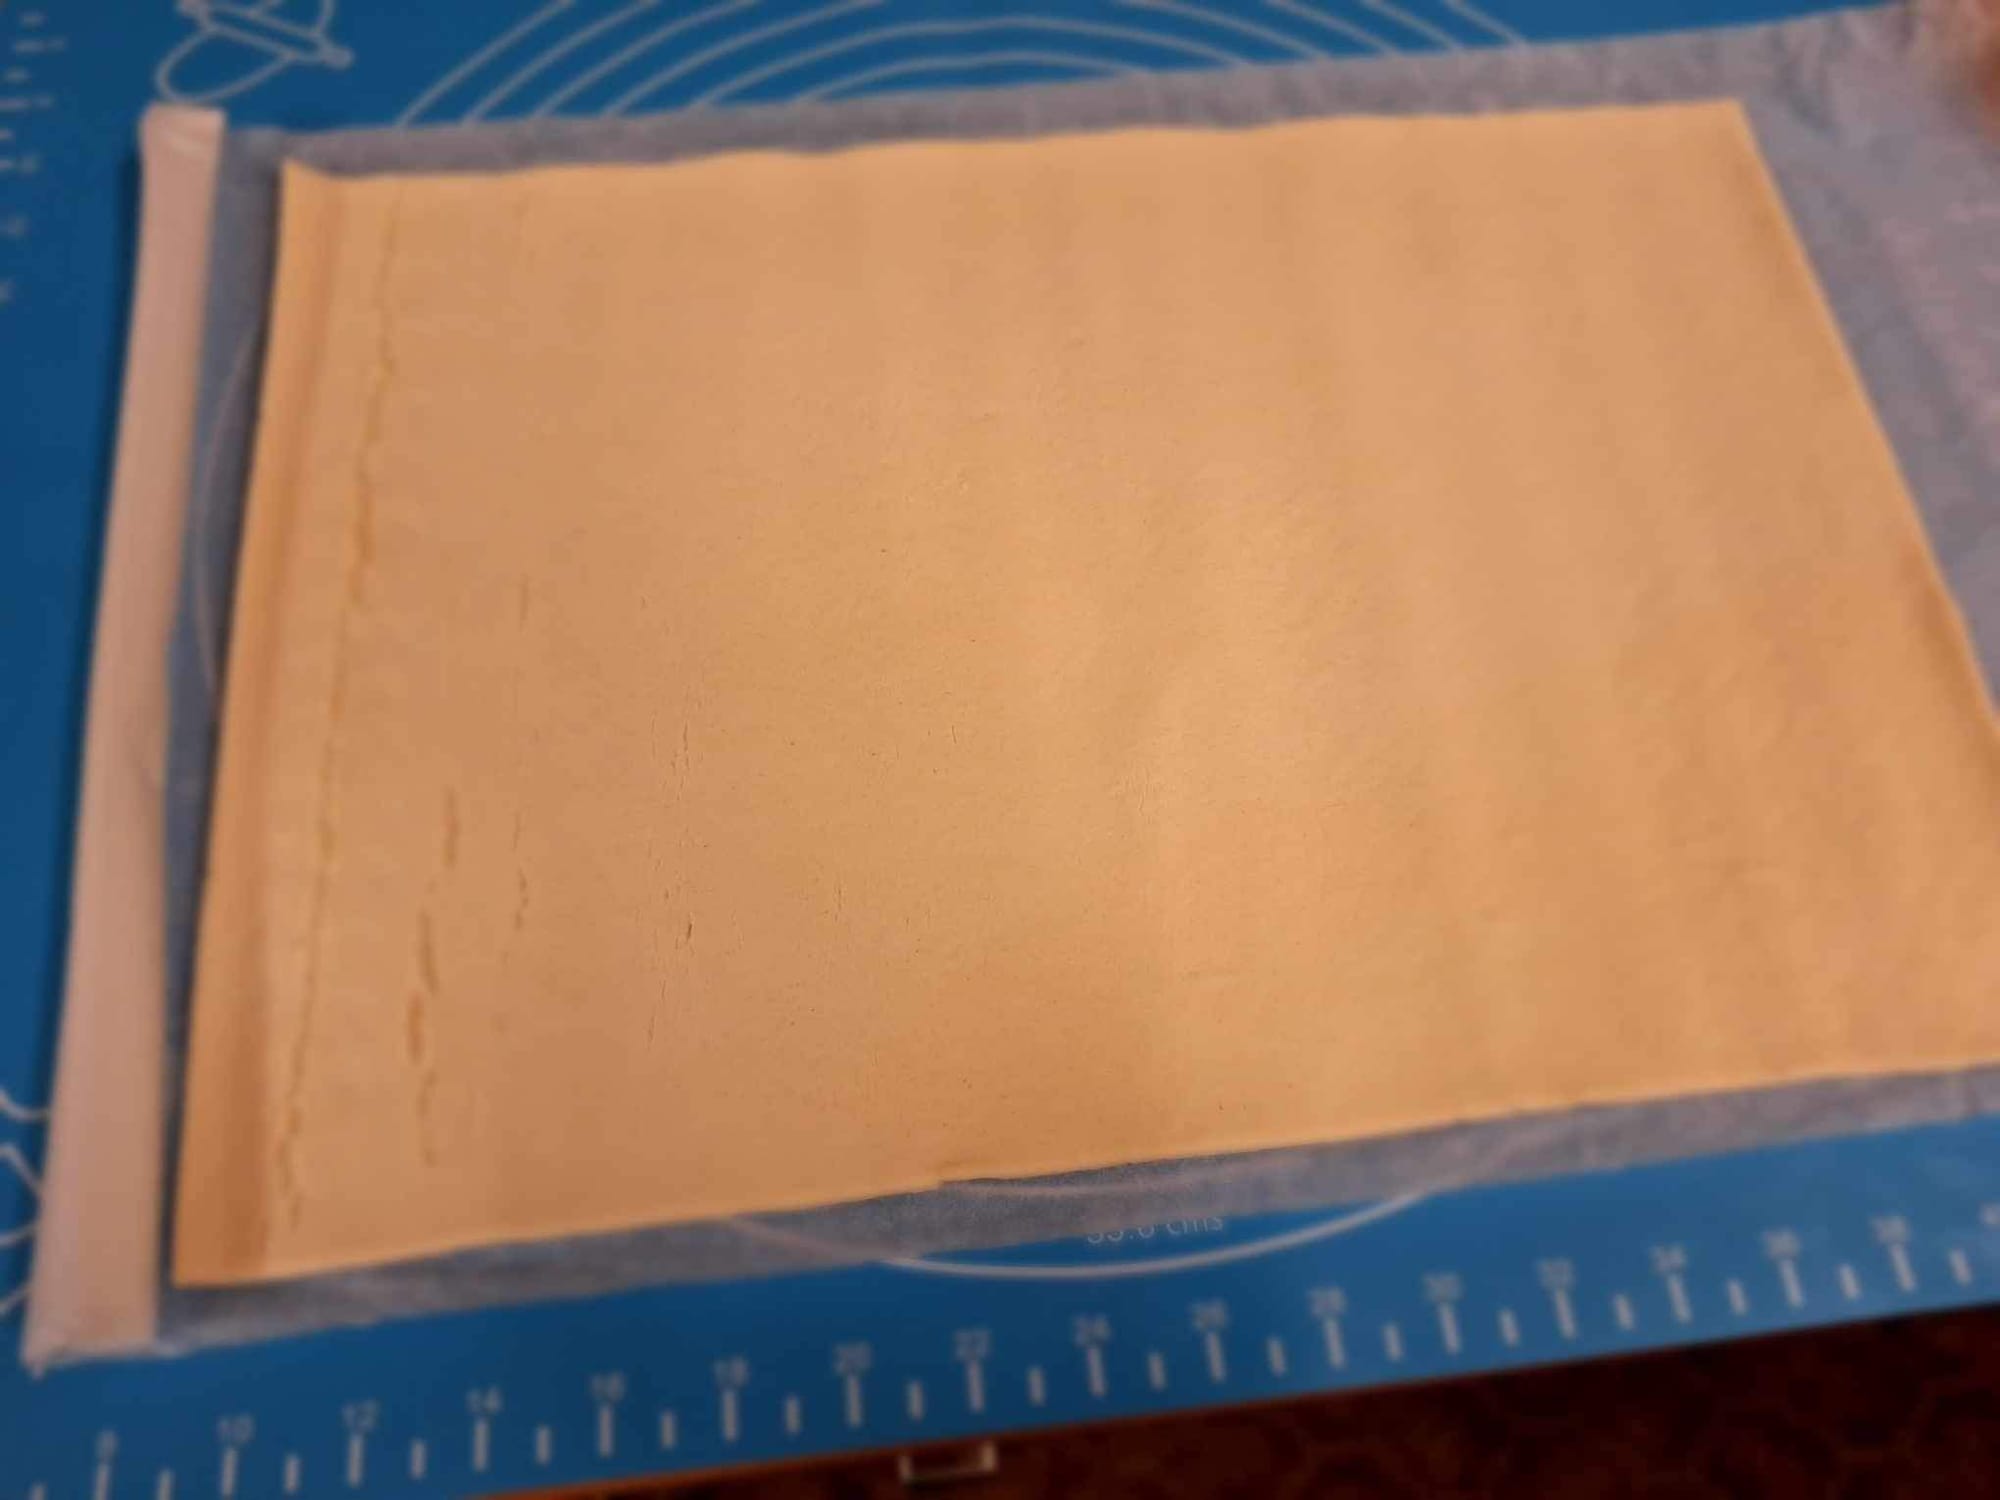
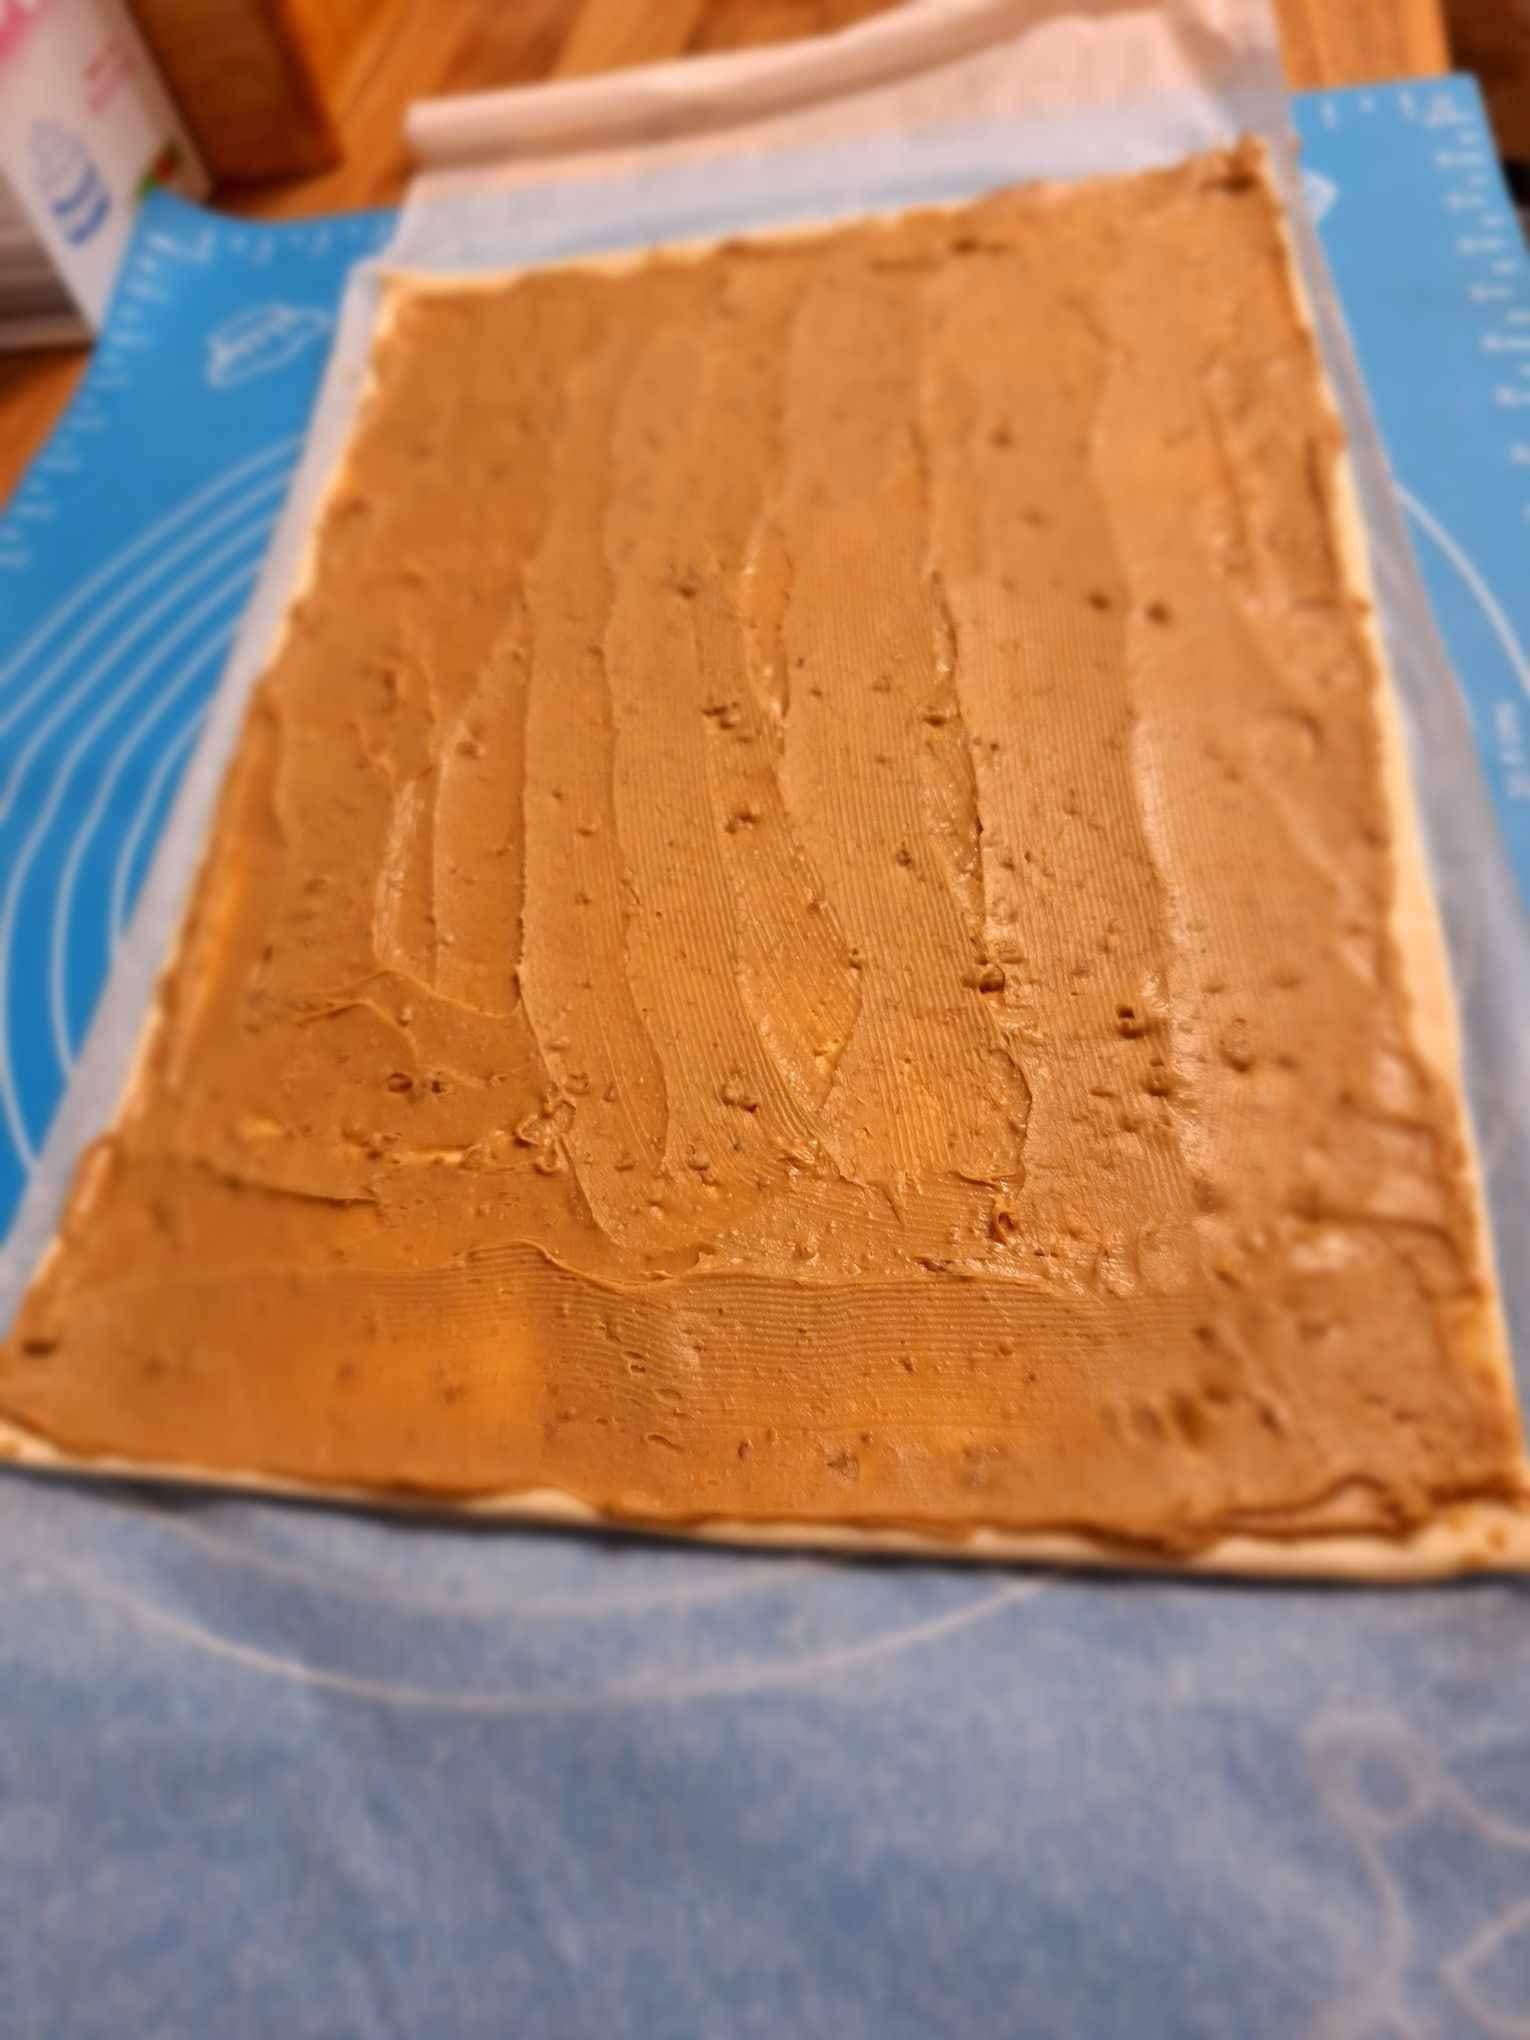
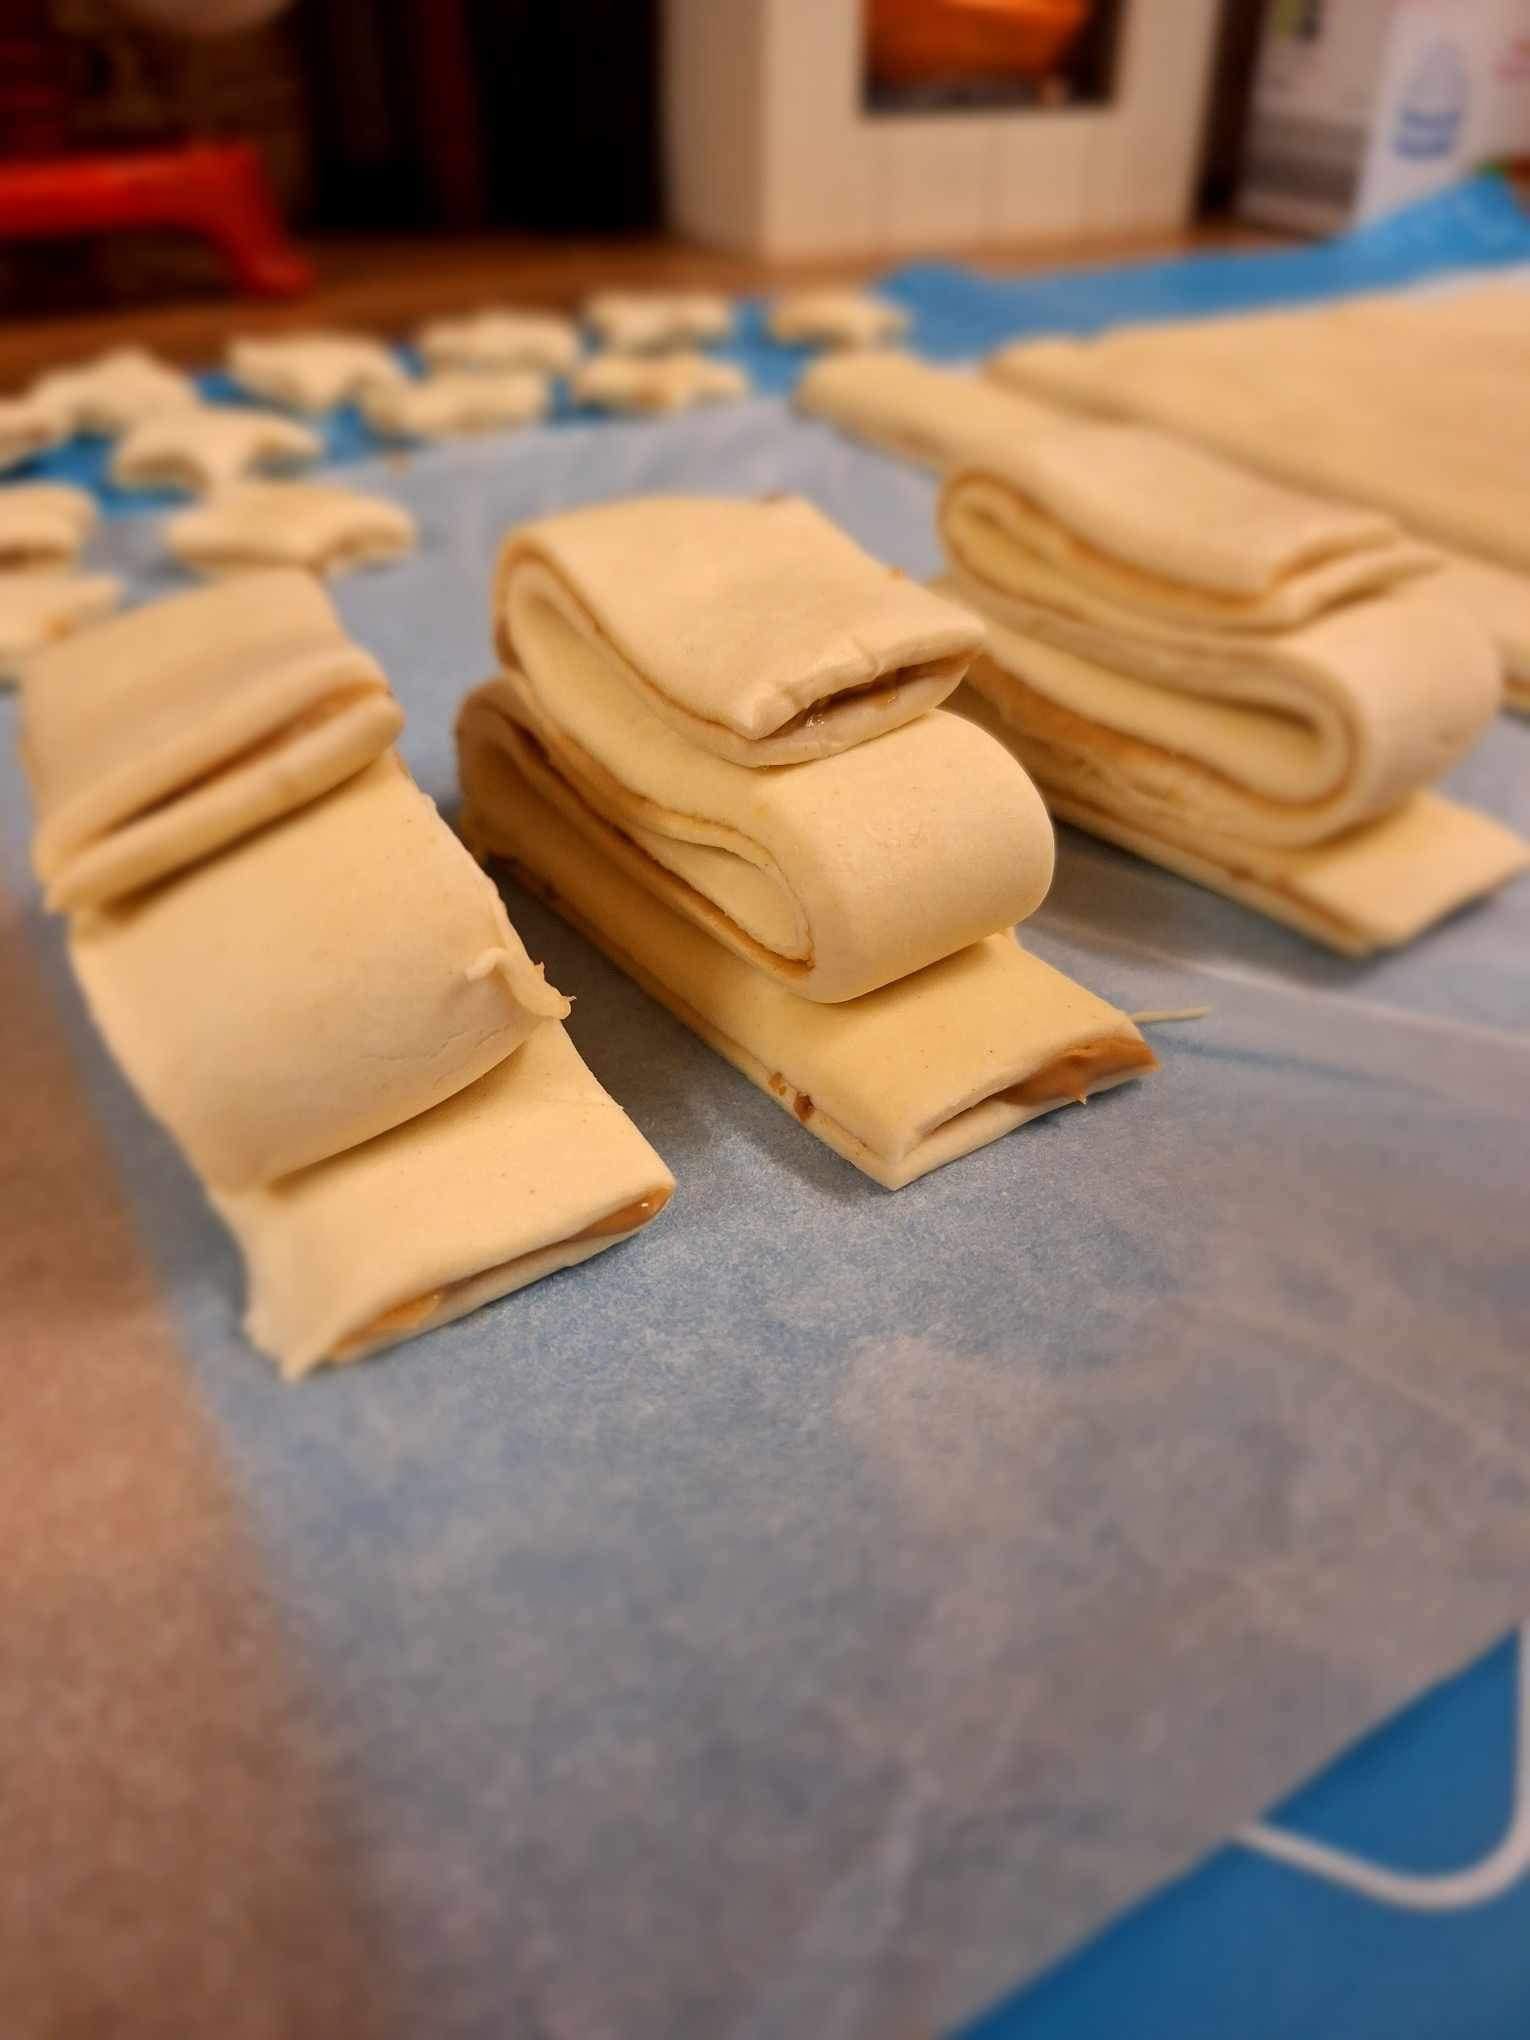
- Taking your sheet of pastry, lay flat on your work surface making sure the longer side is facing you. I find using a rolling pin helps to flatten out any crinkles on the pastry. Dollop a generous tablespoon or two or 4 of the golden Stroopwafel spread onto the pastry and smooth across the entire pastry front right to the very edges.
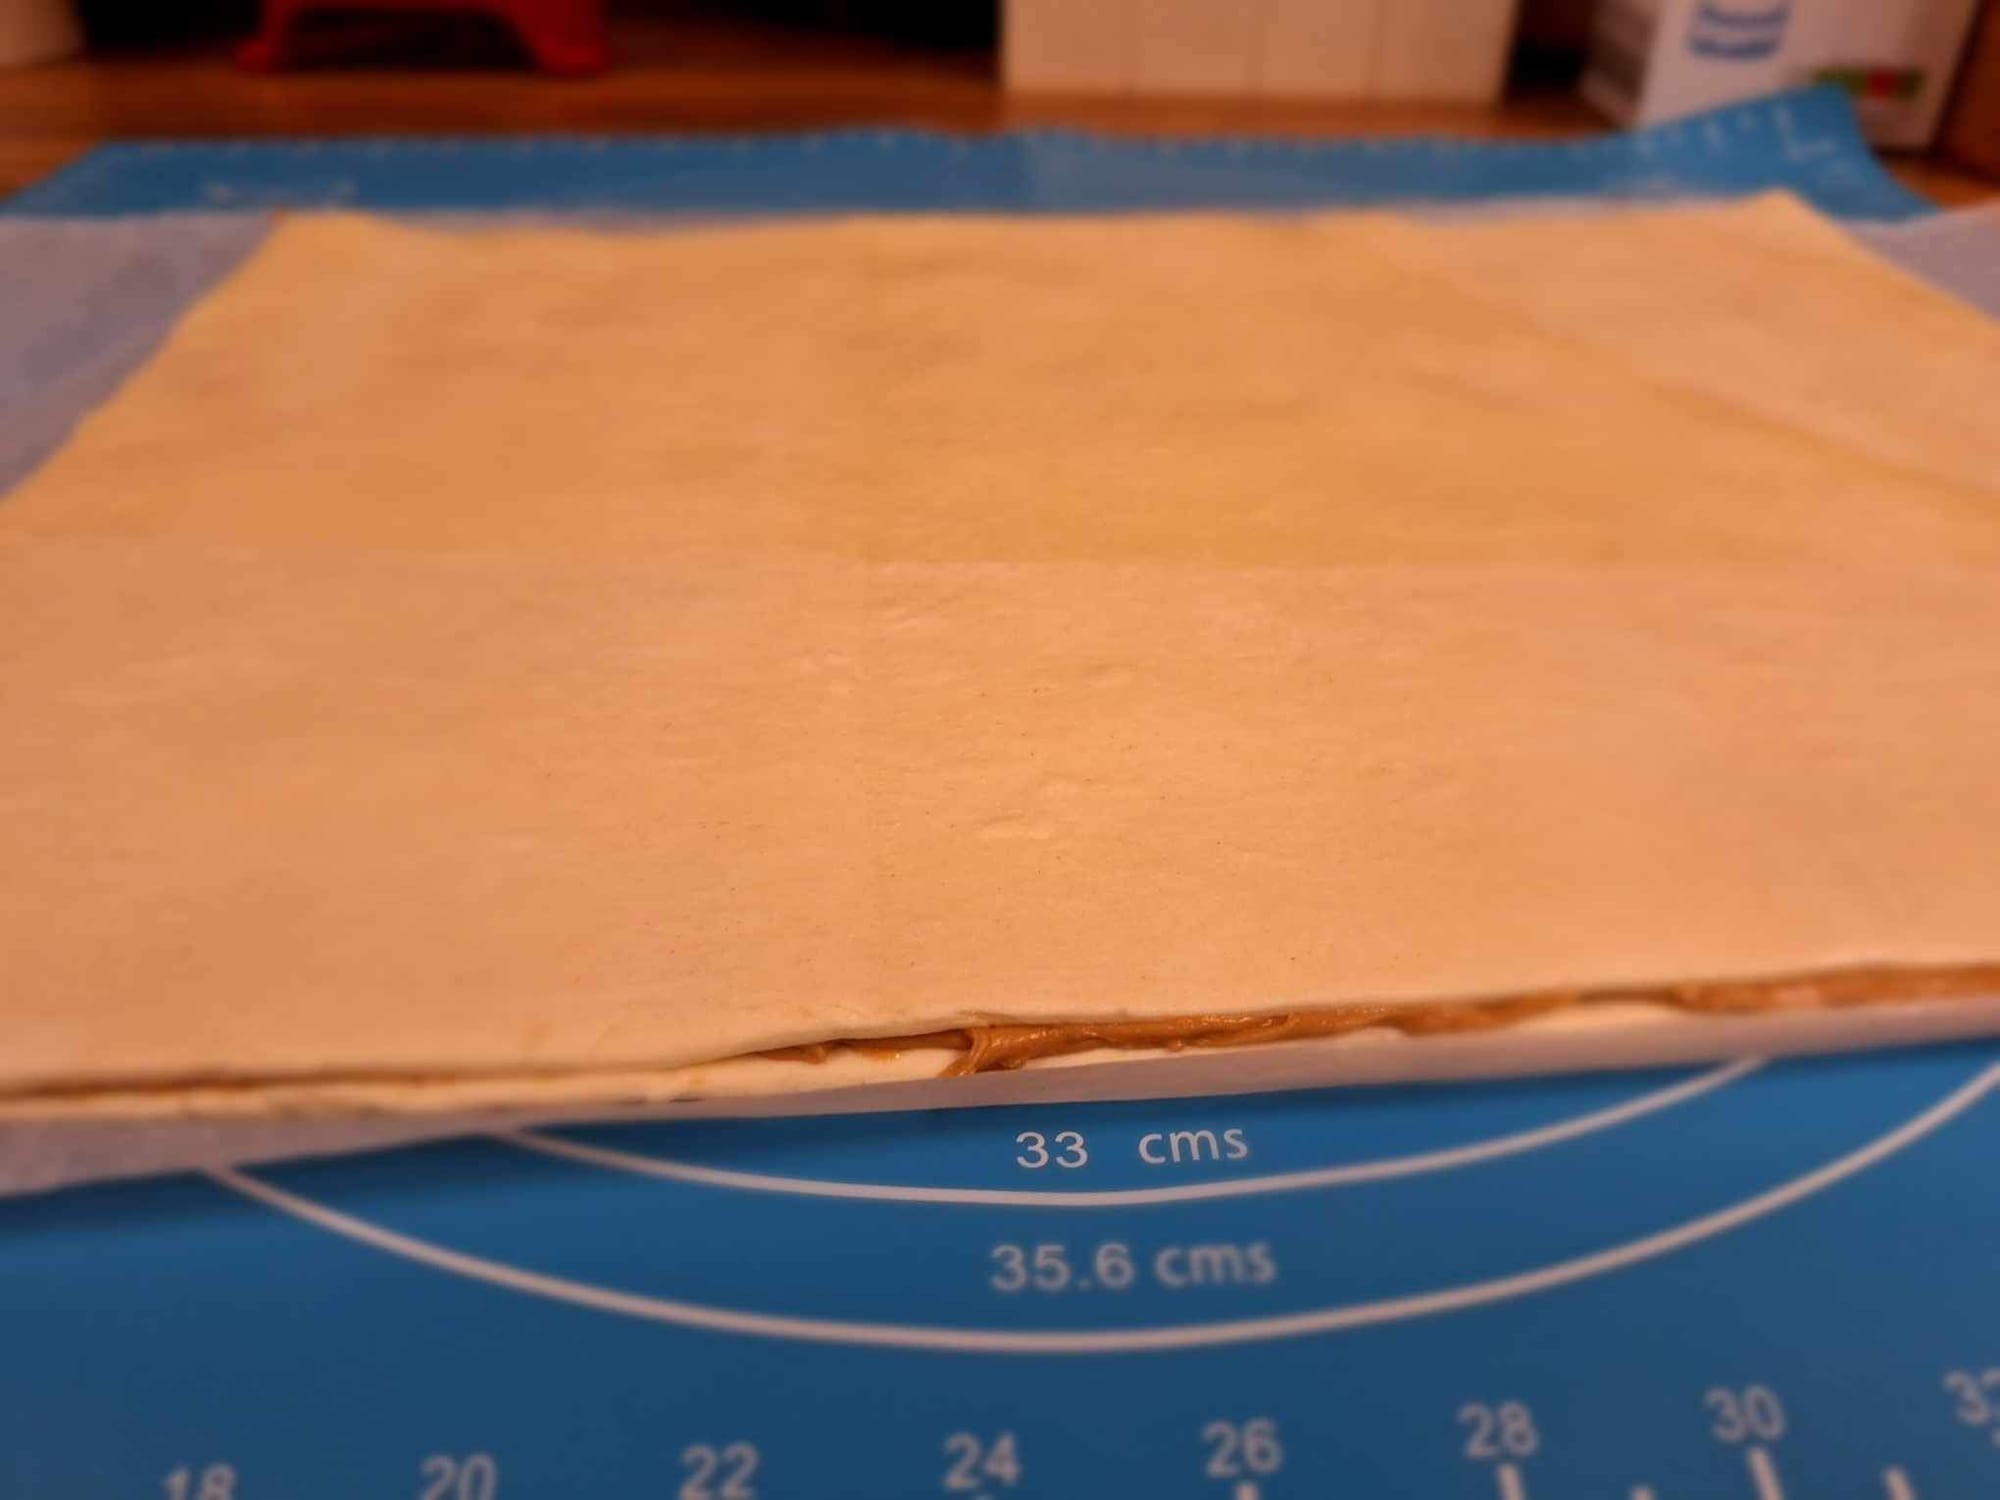
- Next take your final piece of pastry and lay directly on top the spread and press down gently to ensure they are well sandwiched together.
- Carefully cut the sandwiched pastry into strips (about 1 inch wide) along the shorter side leaving about 10cm at the end.
- Now comes the fun, but slightly tricky and messy part. Taking one of the strips you've just cut, lay it flat in your hand or on a clean worktop and roll it up going winder to smaller at the top to create a Christmas tree shape.

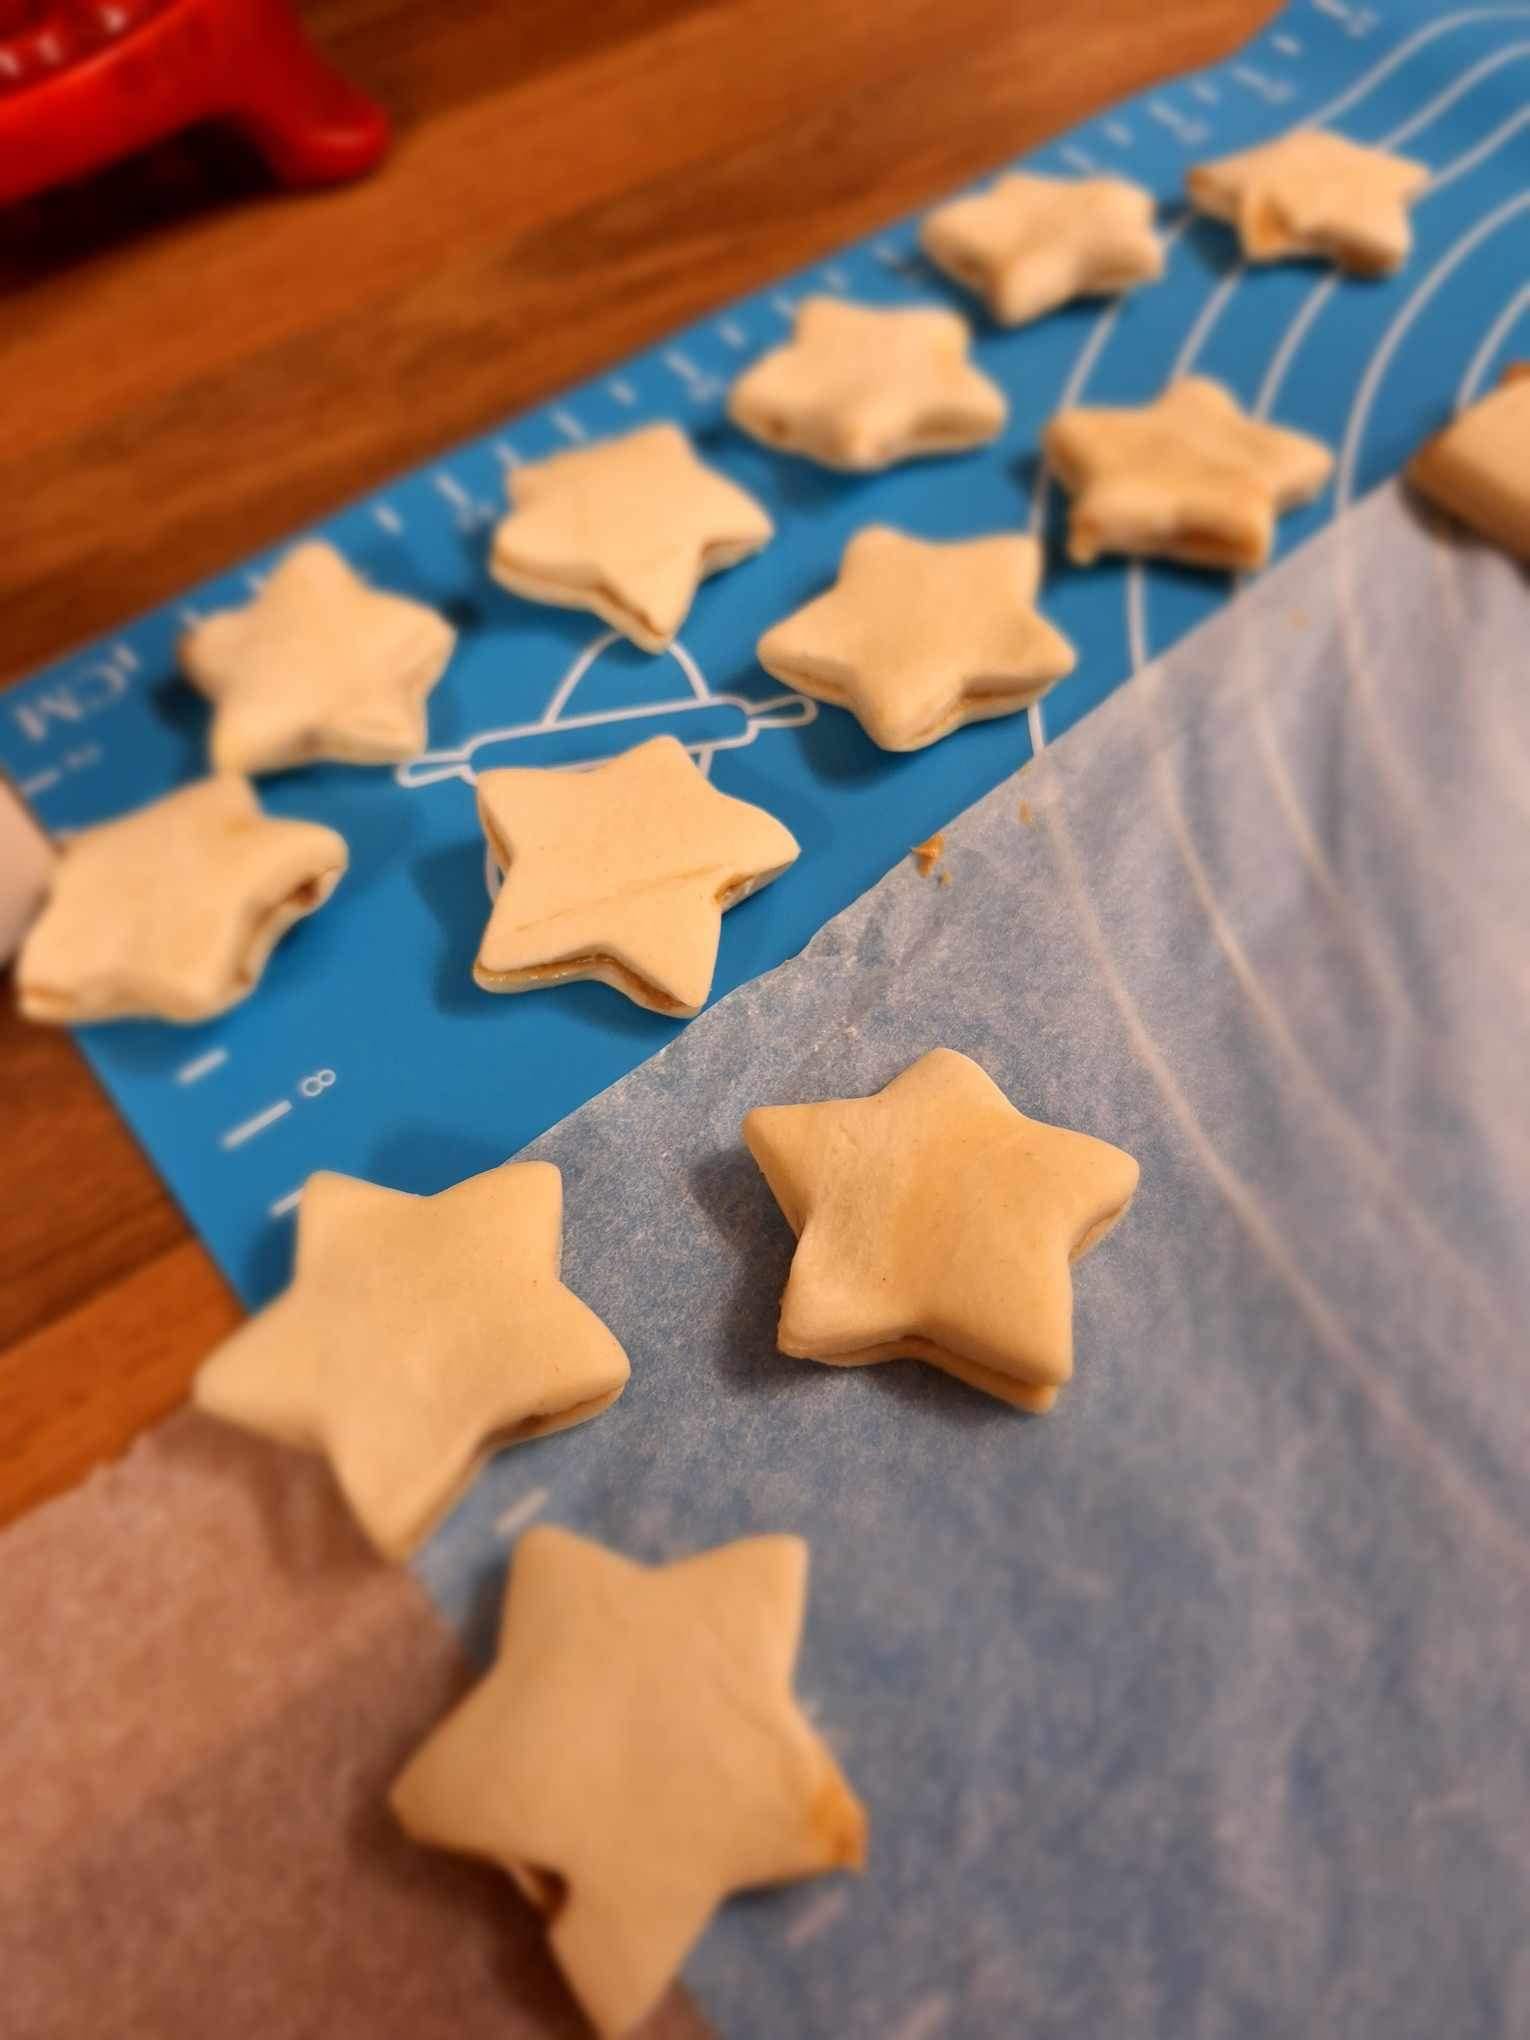
- To hold the tree shape in place carefully skewer it though the middle of the tree being careful not to lose the tree shape. With the left over pastry take a star cutter, and cut star shapes out of the pastry and place on top of each trees.

- Place the trees on a prepared, lined baking tray, leave a nice gap between each tree to give them room to spread out when baking.
- Brush a little milk over the pastry then sprinkle over some sugar. Bake for 10-15 minutes in a 180c fan pre heated oven or until golden.
- Remove from the baking tray and dust with a little icing sugar, this givens the charming appearance of ‘snow'. I also added a tiny dusting of edible glitter to the tops because who doesn't love sparkles this time of year.

There you have it! My adorable Stoopwafle Puff Pastry Christmas Trees. Once you've made your adorable Stroopwafel Christmas trees, it's time to serve and store them for maximum enjoyment. These festive treats are best served fresh, so try to assemble them close to the time you plan to serve them.
Serve them as a delightful pudding at your Christmas party or as a sweet surprise for your family and friends.
As for storing your Stroopwafel Christmas trees, it's best to do so in an airtight container at room temperature. However, keep in mind that the longer they are stored, the softer the layers may become.
Remember, these Stroopwafel Christmas trees are meant to be enjoyed fresh, so try to eat them within a day or two of making them. But let's be honest, with their delicious taste and festive charm, they are unlikely to last that long!

If you make this dish, why not send me a picture on Instagram using the #acountrygirlskitchen so I can go over and show it some love.
I hope you all have a wonderful day.
*Chefs Kiss*