Strawberry Cheesecake Danish Pastries
Delicate, flaky pastry, tangy cream cheese filling, and a burst of fresh strawberries. These Strawberry Cheesecake Danish Pastries are the perfect sweet treat for breakfast, brunch, or as an indulgent dessert. Let’s make these mouthwatering beauties together!
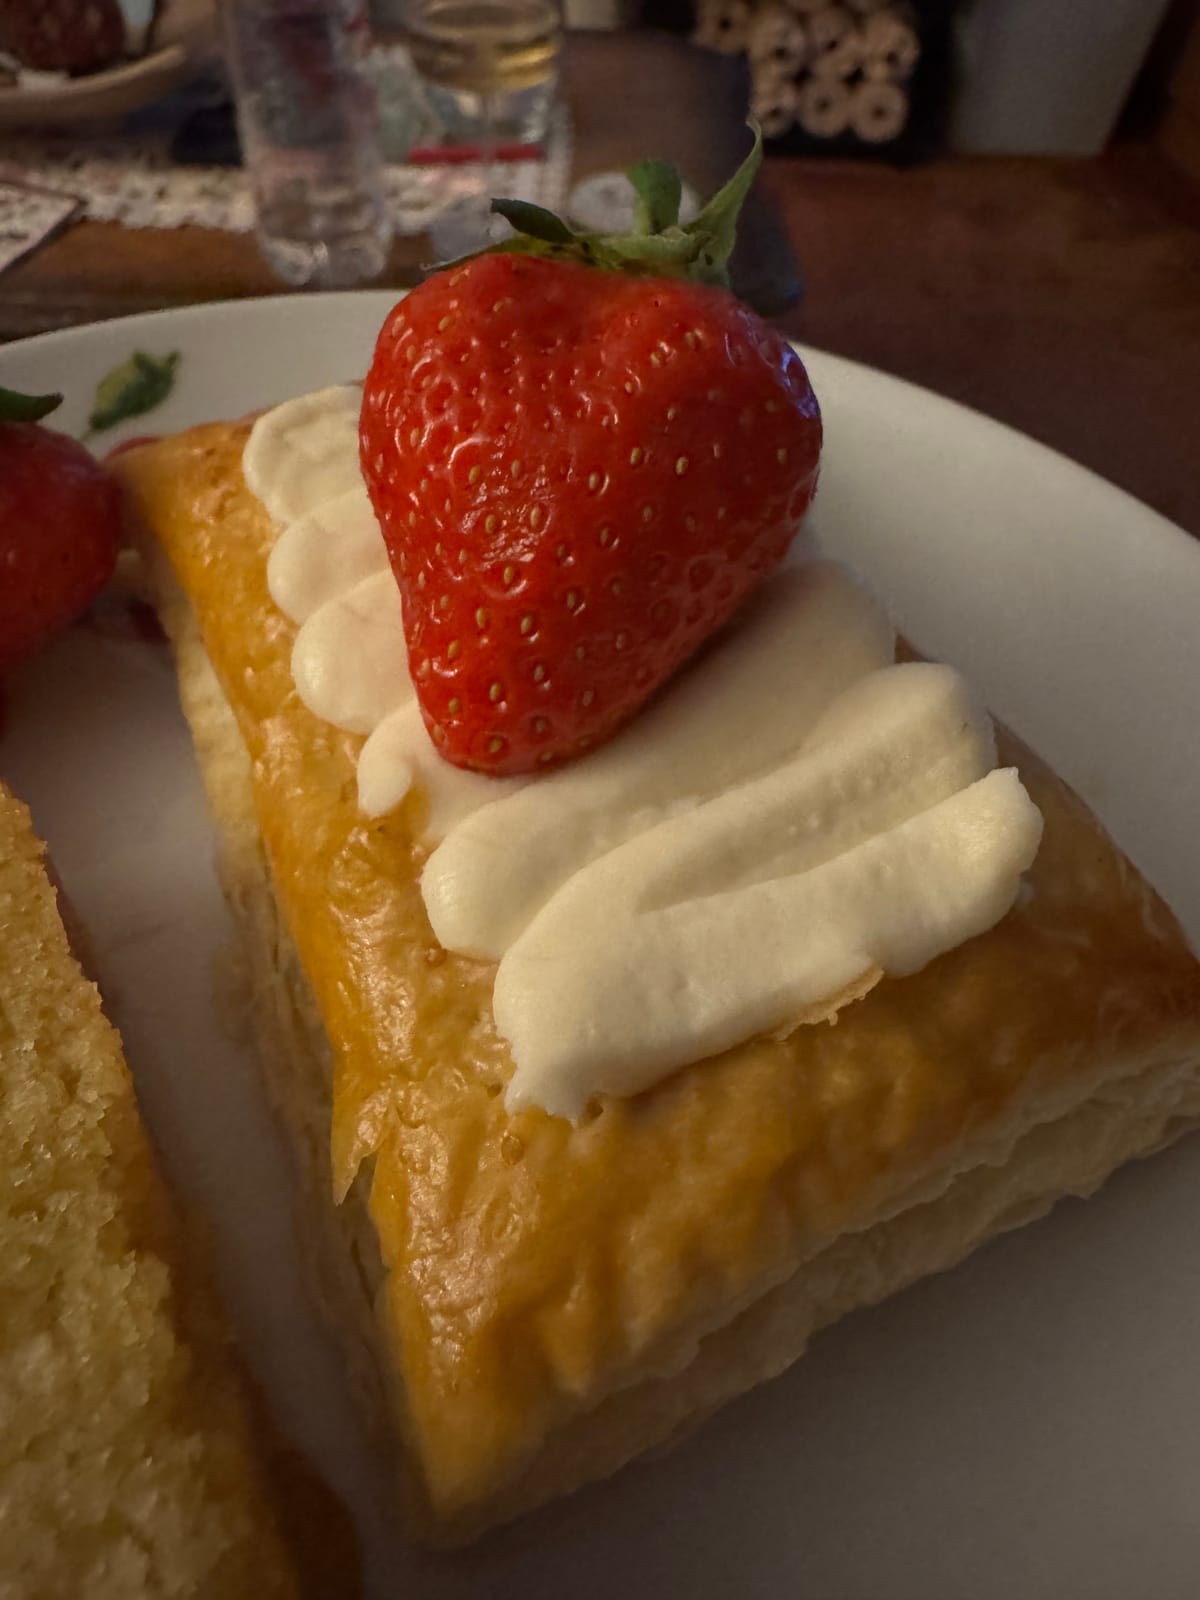
Who doesn’t love a Danish pastry? Whether it’s a lazy weekend morning, an afternoon tea, or a dessert to impress, these flaky, buttery pastries are a guaranteed crowd-pleaser. But let’s take it up a notch with a gorgeous Strawberry Cheesecake Danish, filled with a rich cream cheese filling and topped with fresh strawberries. It’s the perfect combination of sweet, tangy, and flaky—a delightful treat that’s both satisfying and elegant.

Making Danish pastries might sound a bit tricky, but trust me, they’re easier than you think! With puff pastry as the base, and a simple cheesecake filling, these pastries come together in no time, making them a great option for special occasions or simply treating yourself to something delicious.
Let’s get baking, shall we?
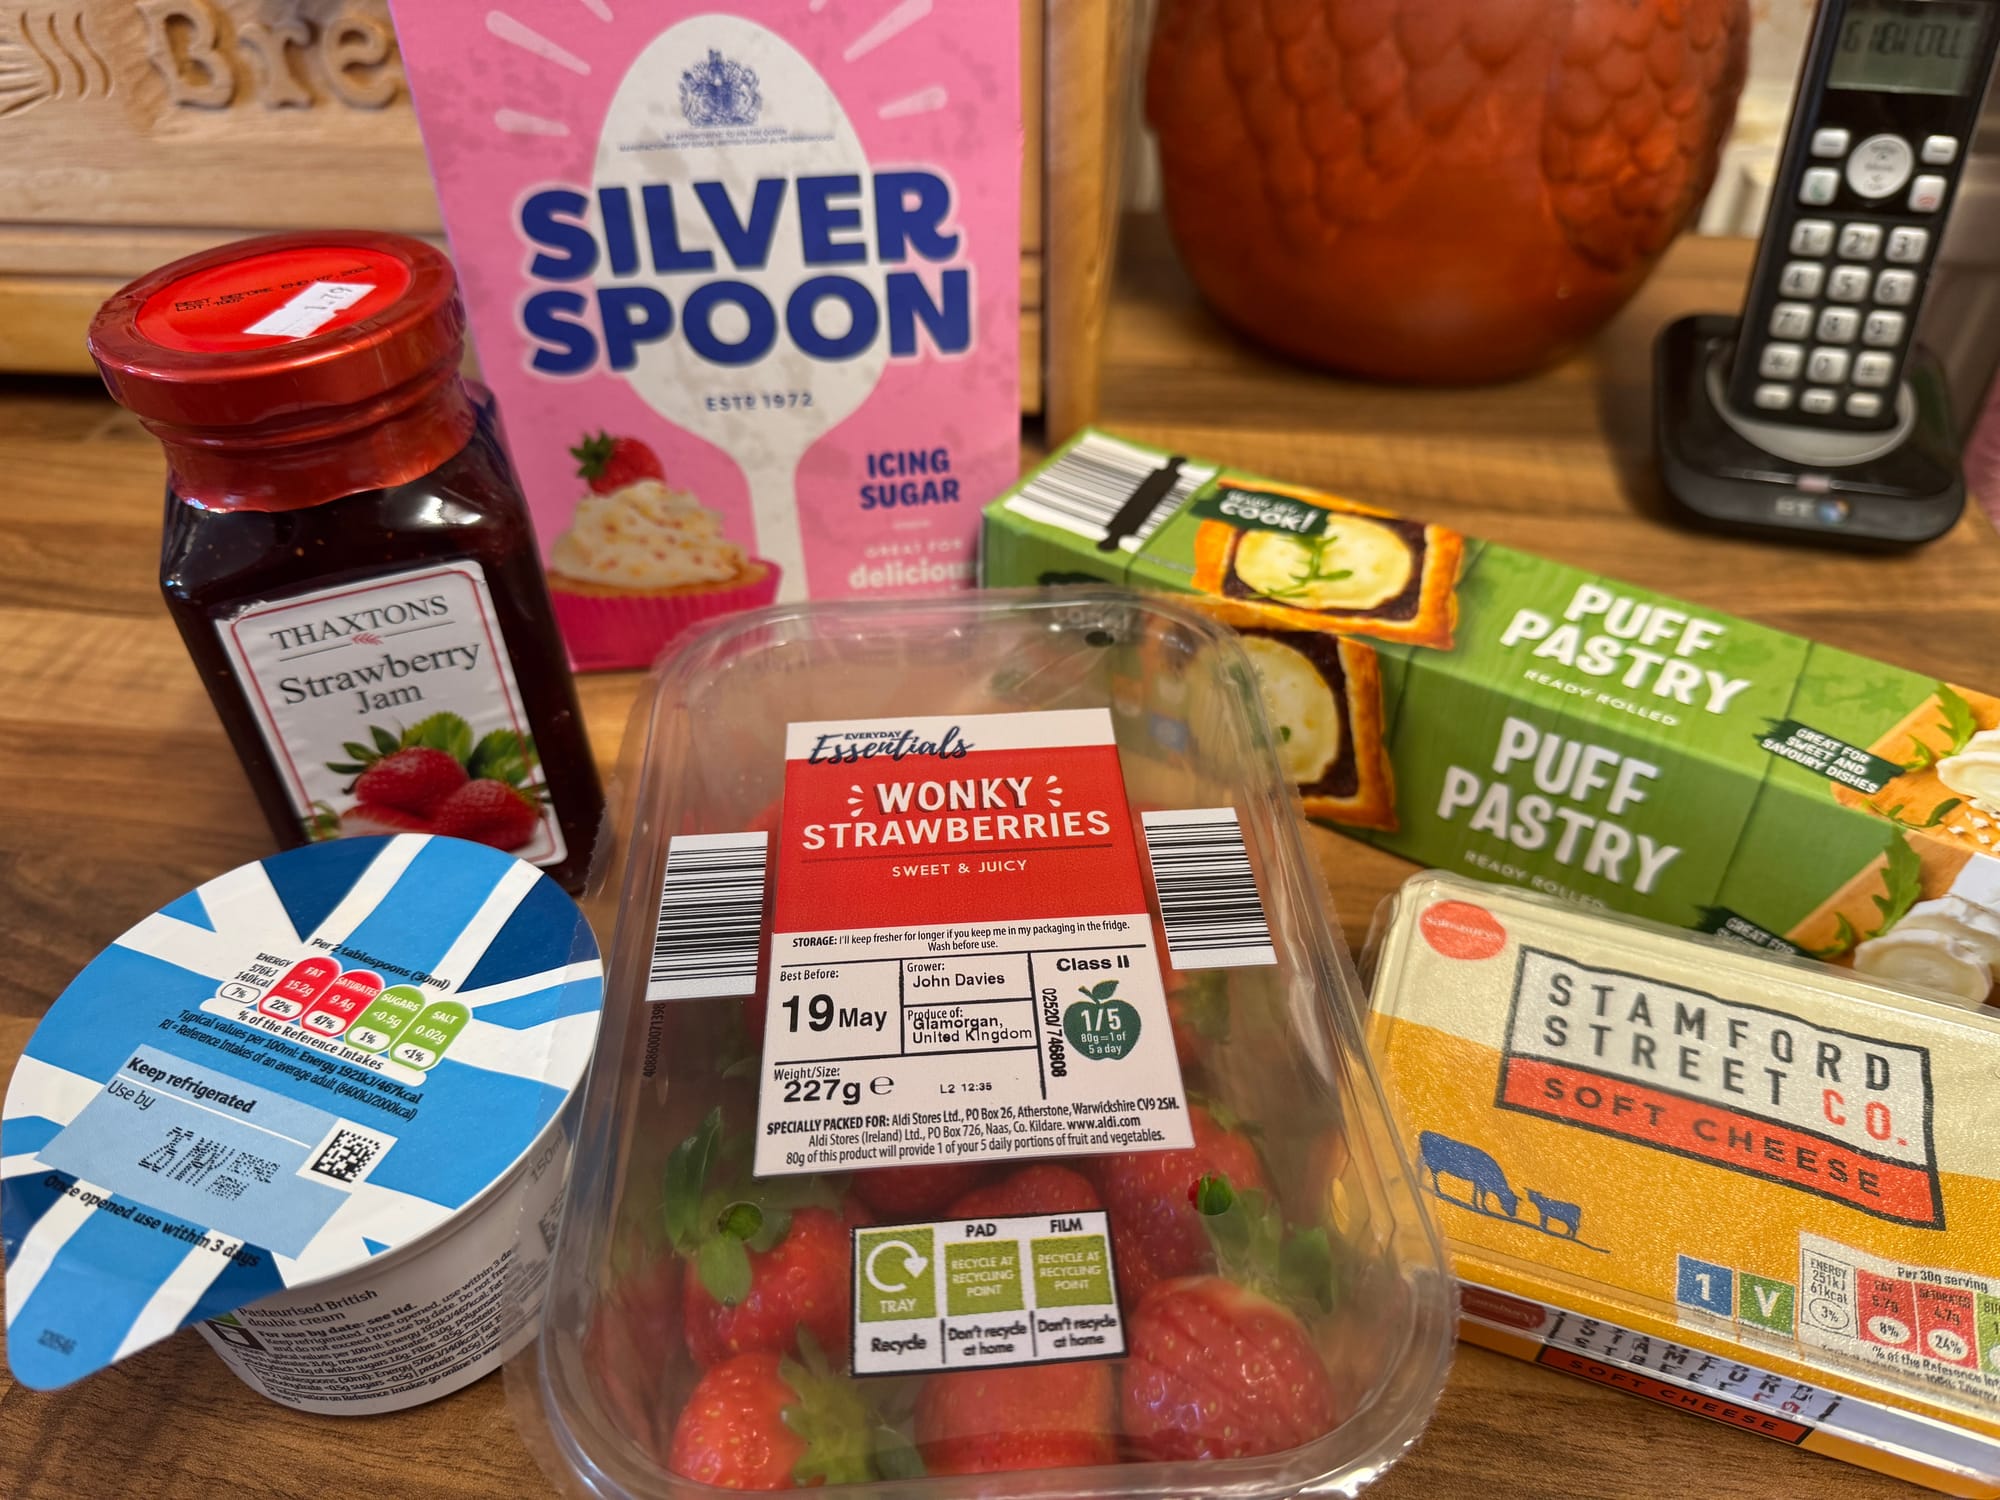
Ingredients
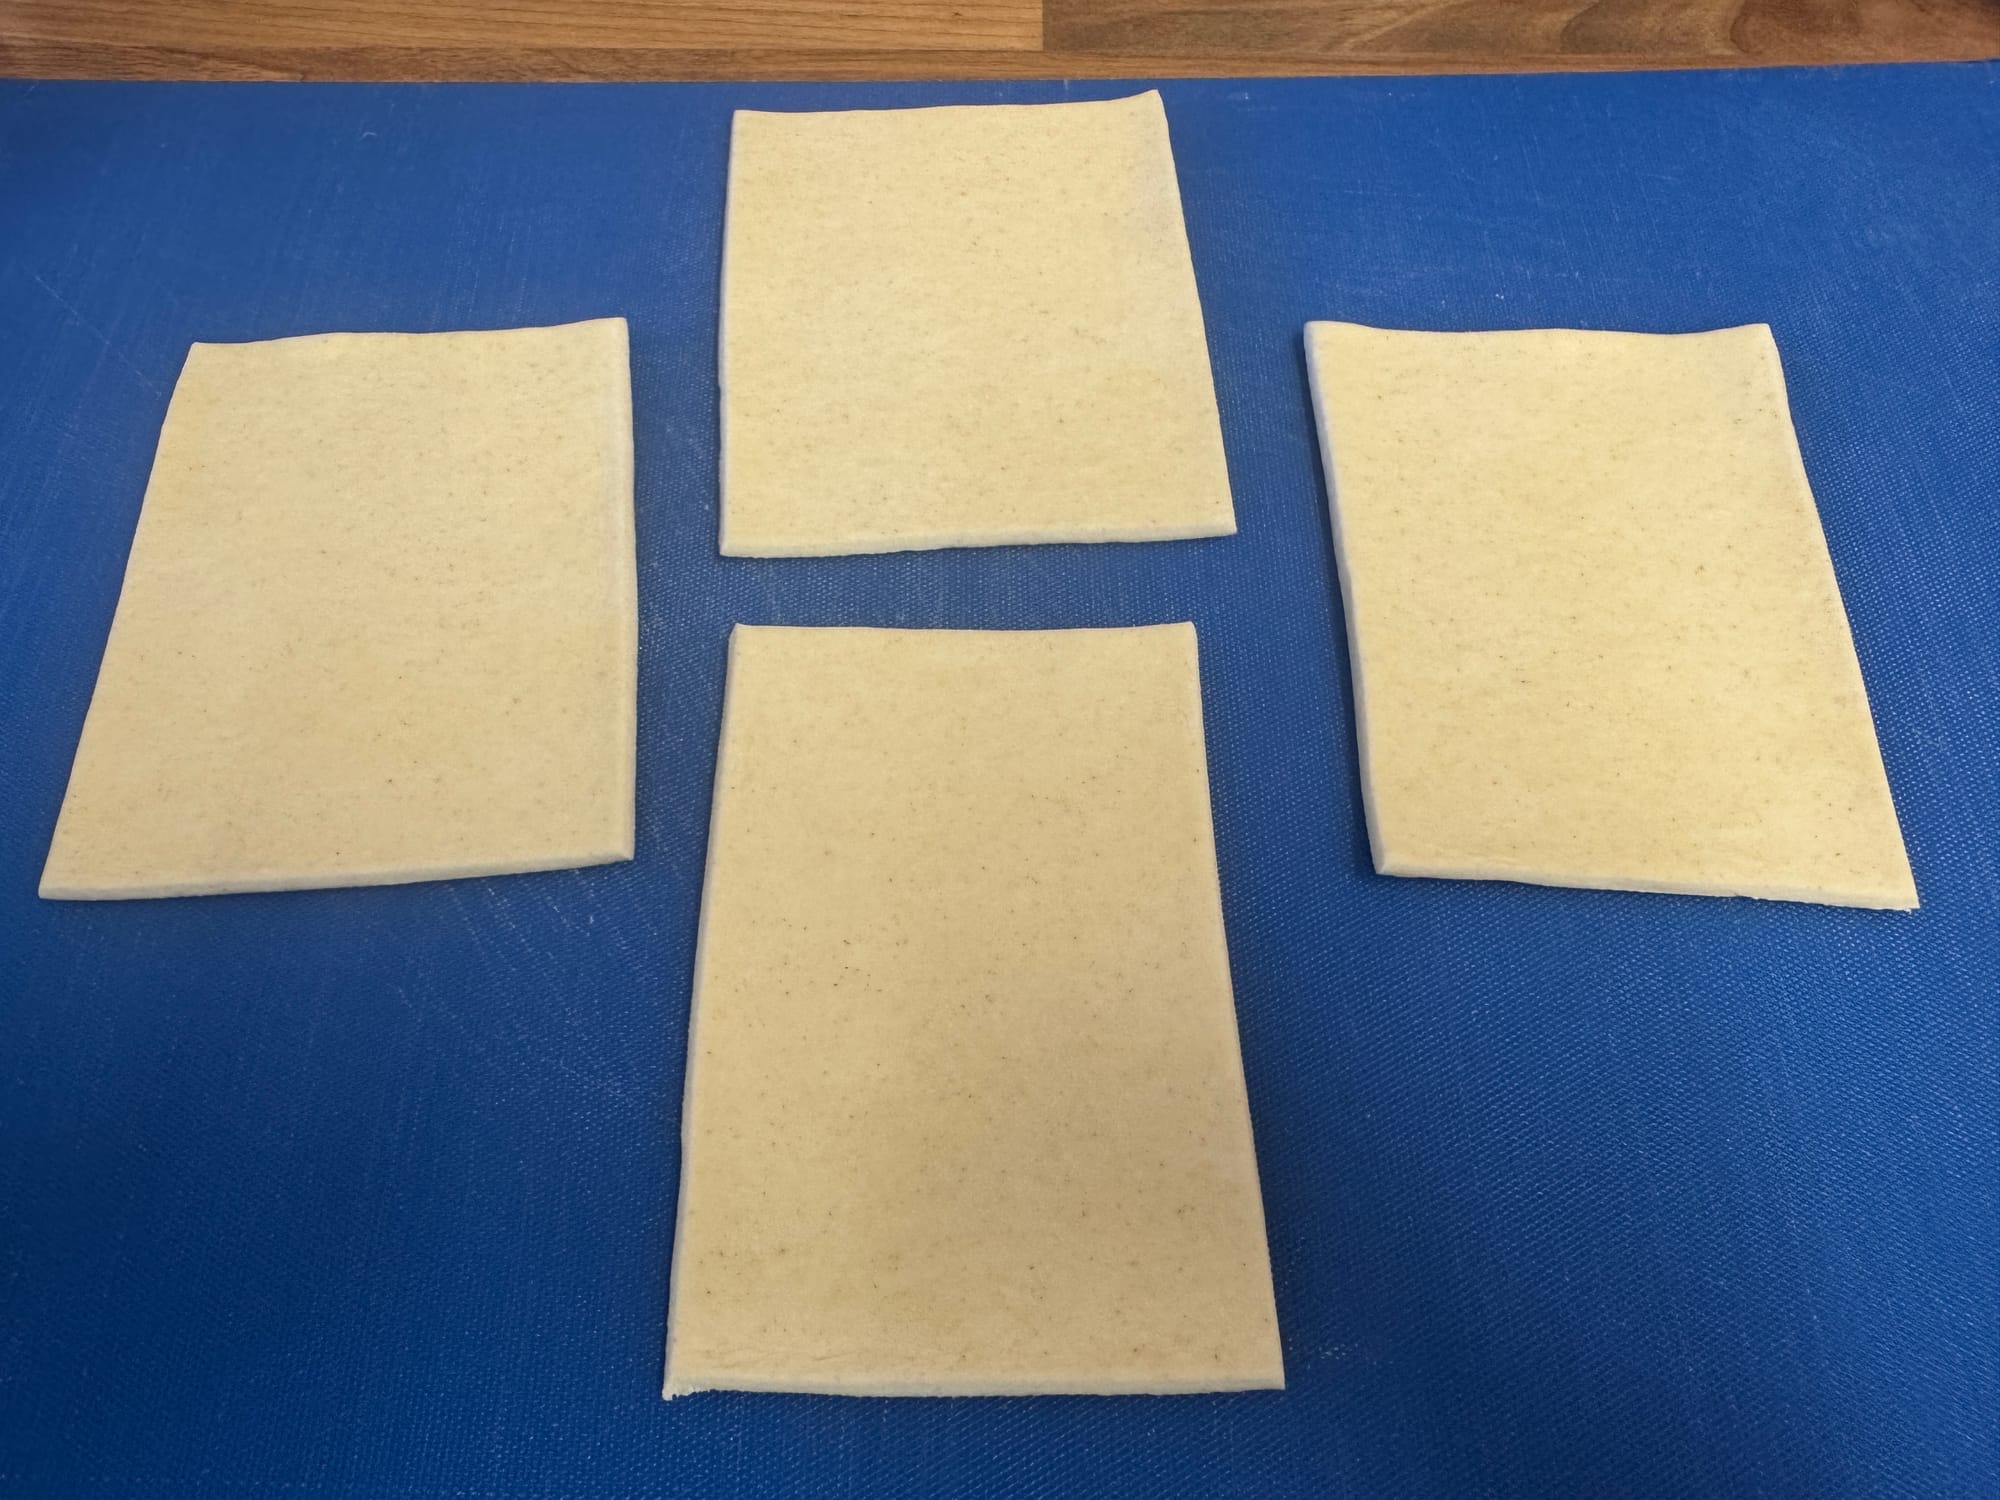
Makes 8 pastries but for i'll be showing you a batch of 4.
For the Pastry:
- 1 sheet of puff pastry (ready-rolled, about 320g)
- 1 egg (for egg wash)
For the Cheesecake Filling:
- 200g cream cheese (softened)
- 50g icing sugar
- 1 tsp vanilla extract
- 1 tbsp double cream (optional, to loosen the mixture)
For the Topping:
- 100g fresh strawberries
- 1 tbsp strawberry jam
Method
1. Preheat the Oven
Start by preheating your oven to 200°C (fan)/220°C (conventional), or 400°F. Line a baking tray with parchment paper so that your pastries don’t stick while baking.
2. Prepare the Puff Pastry
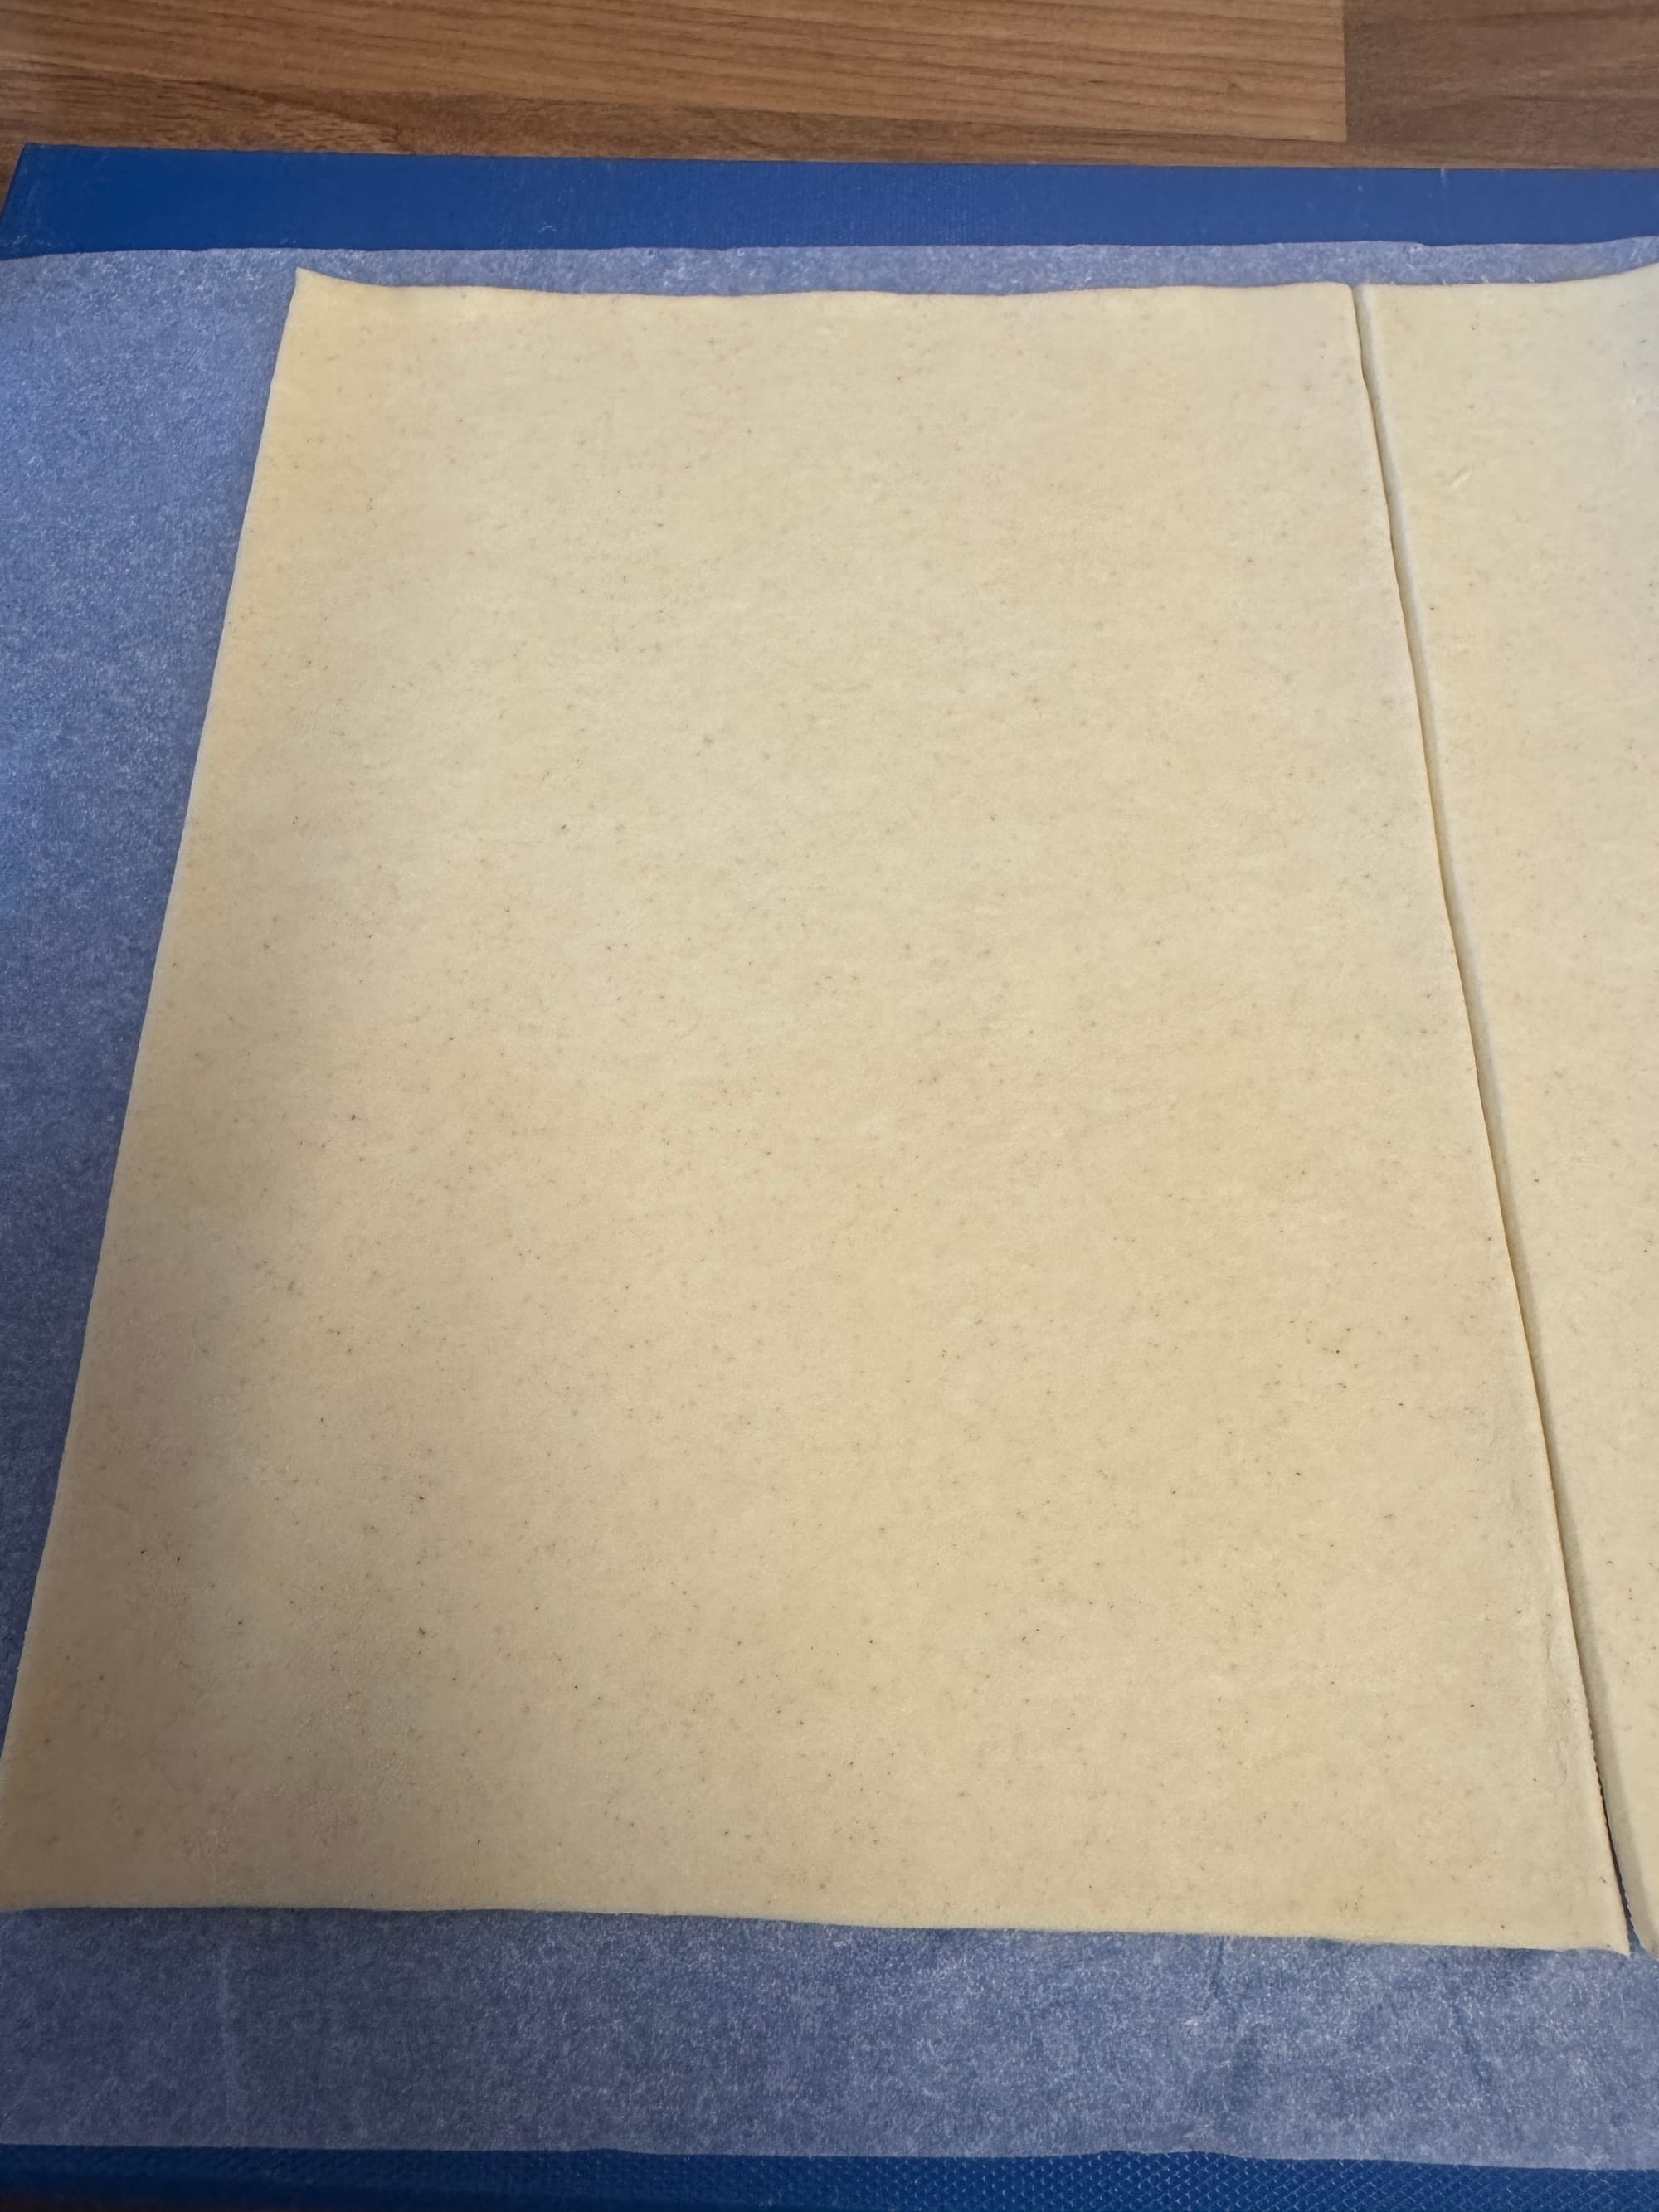
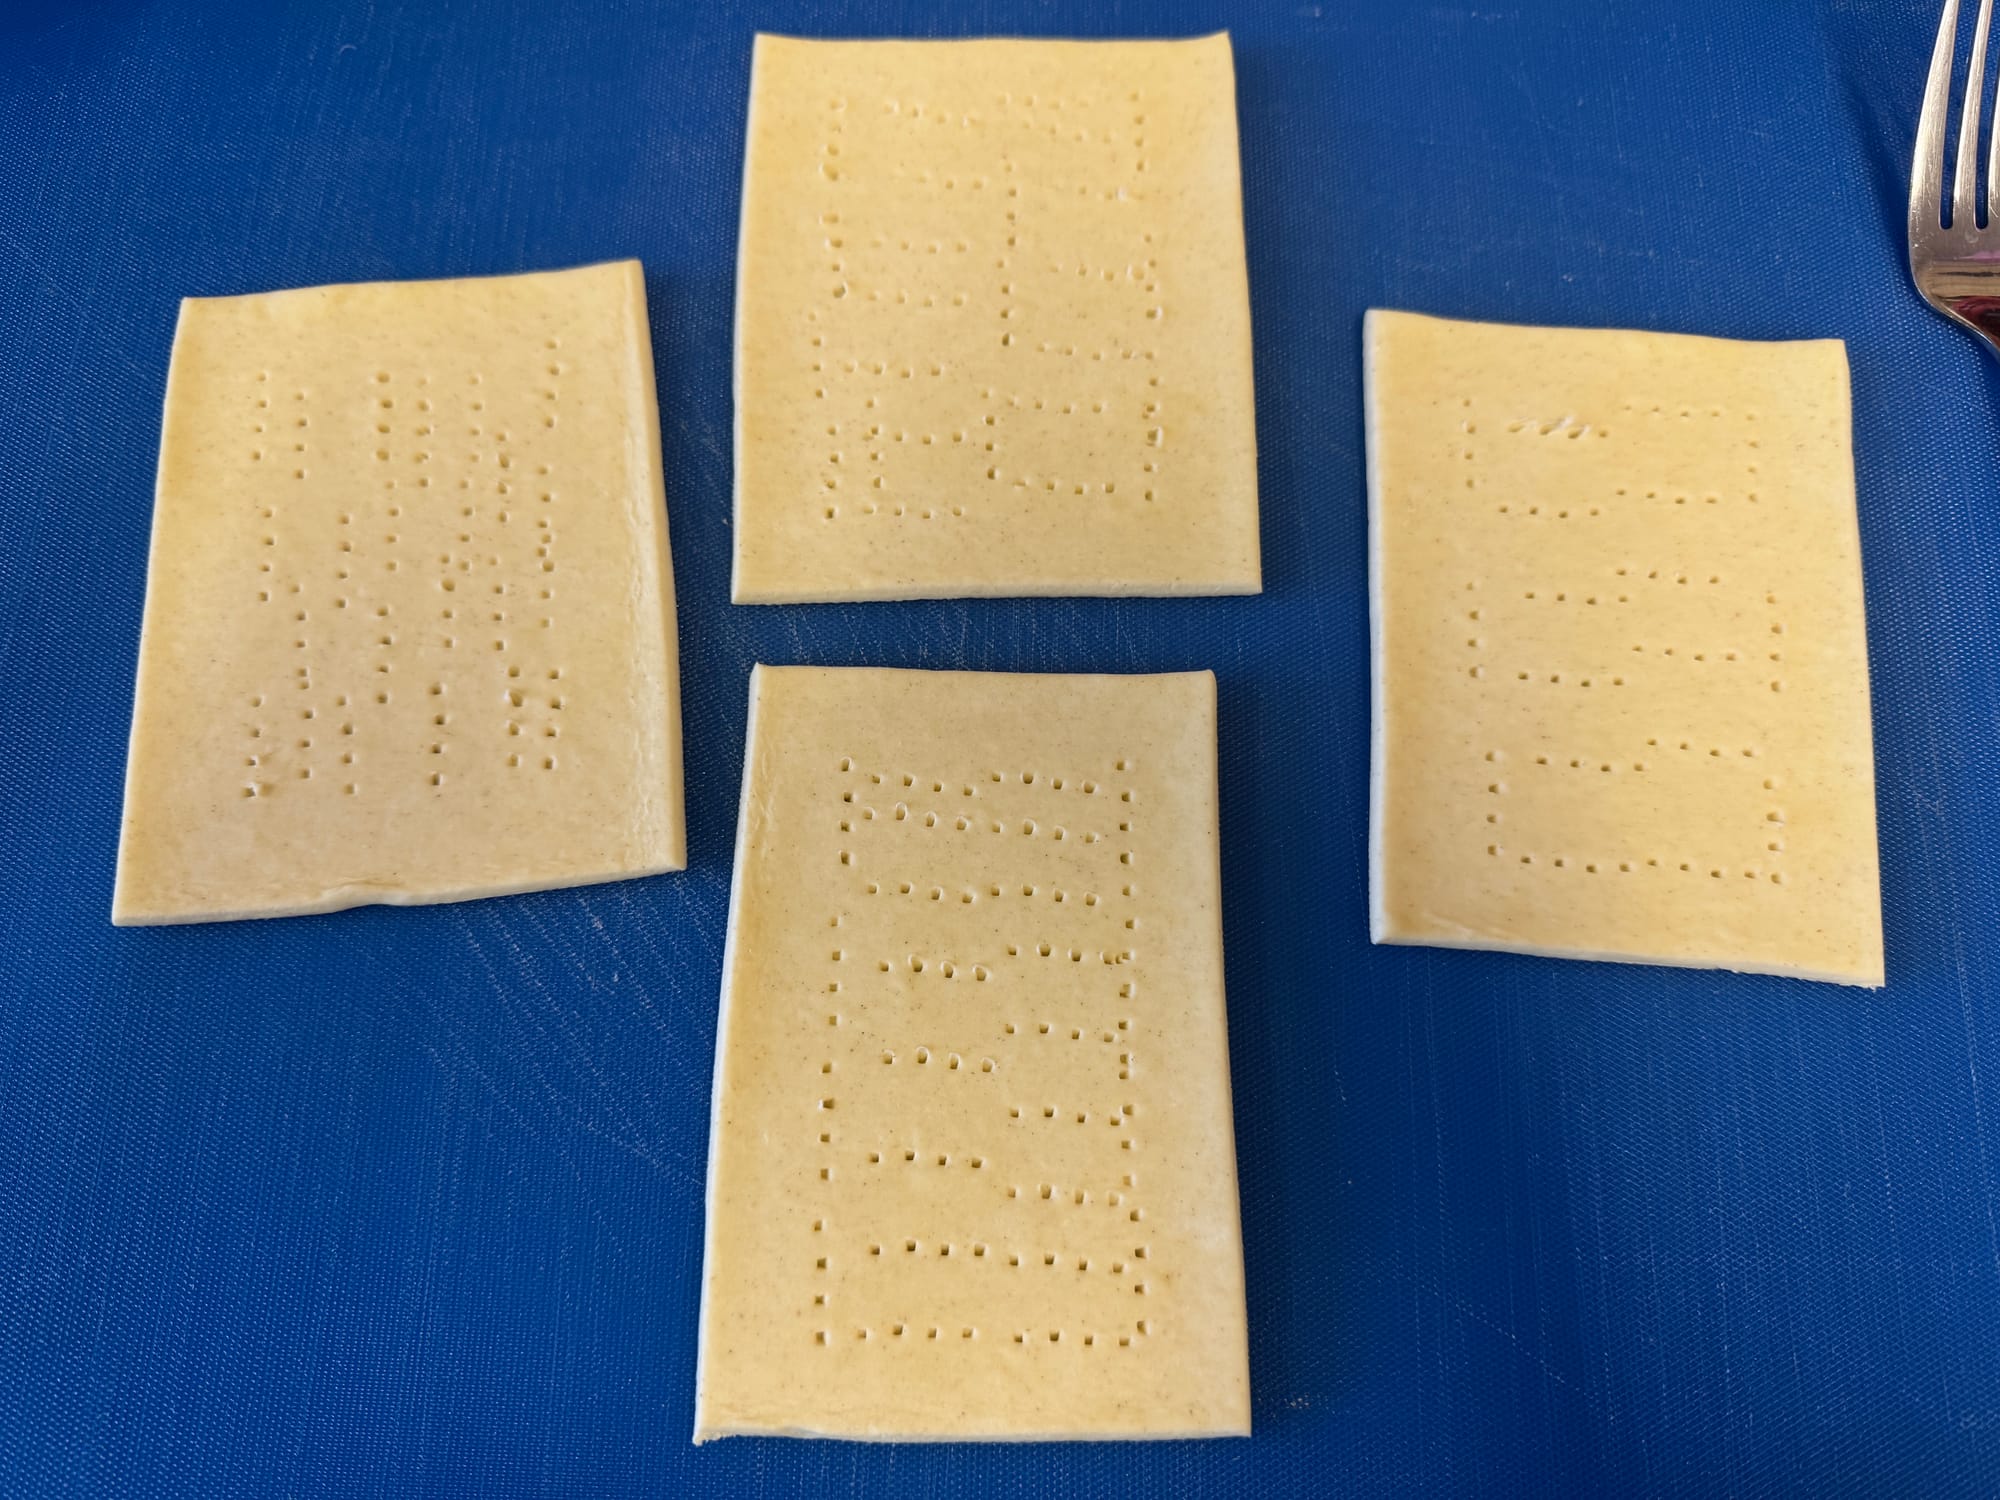
- Unroll your sheet of ready-rolled puff pastry on a lightly floured surface. Using a sharp knife or a pizza cutter, cut the pastry into 8 equal rectangles. Each rectangle should be about 10 x 8cm.
- Now, take a fork and gently poke a few holes in the centre of each rectangle to prevent the pastry from puffing up too much in the centre while baking. Leave a small border around the edges to form a nice, crisp crust.
3.Brush With Egg Wash
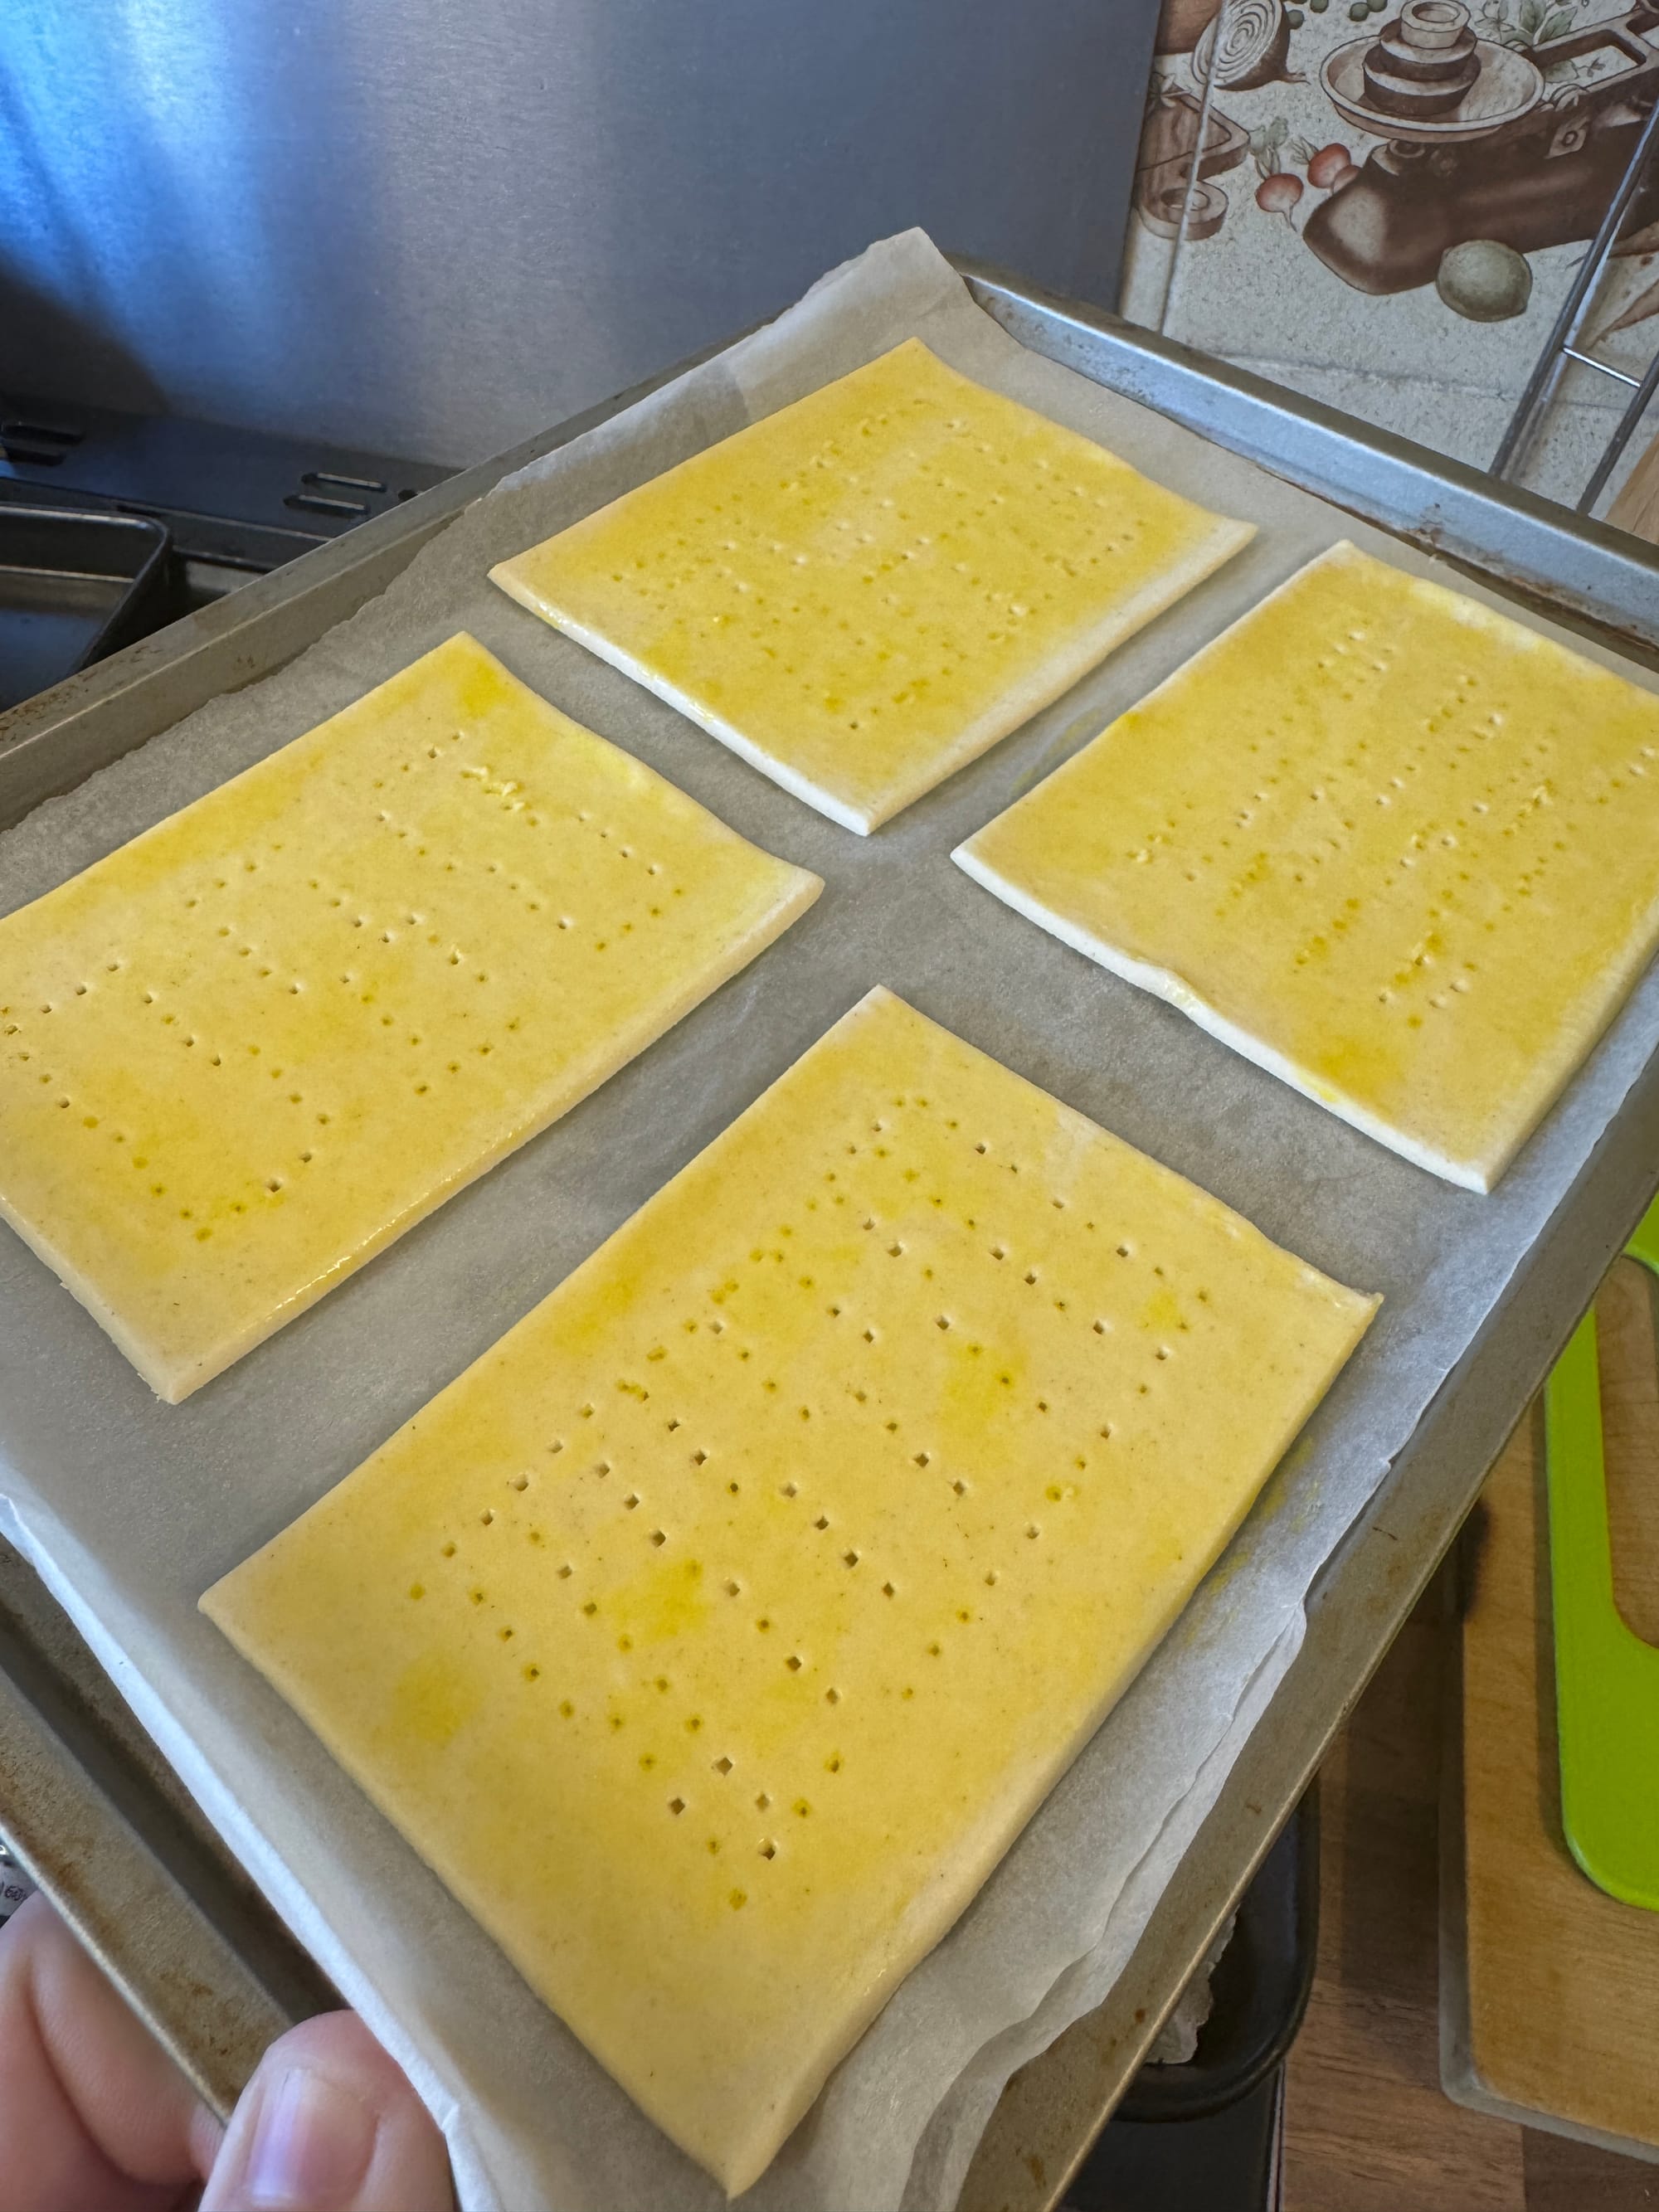
For a beautiful golden finish, brush the edges of the pastry with beaten egg. This step helps achieve that glossy, golden crust that makes your Danish pastries look absolutely irresistible.
- Bake the Pastries
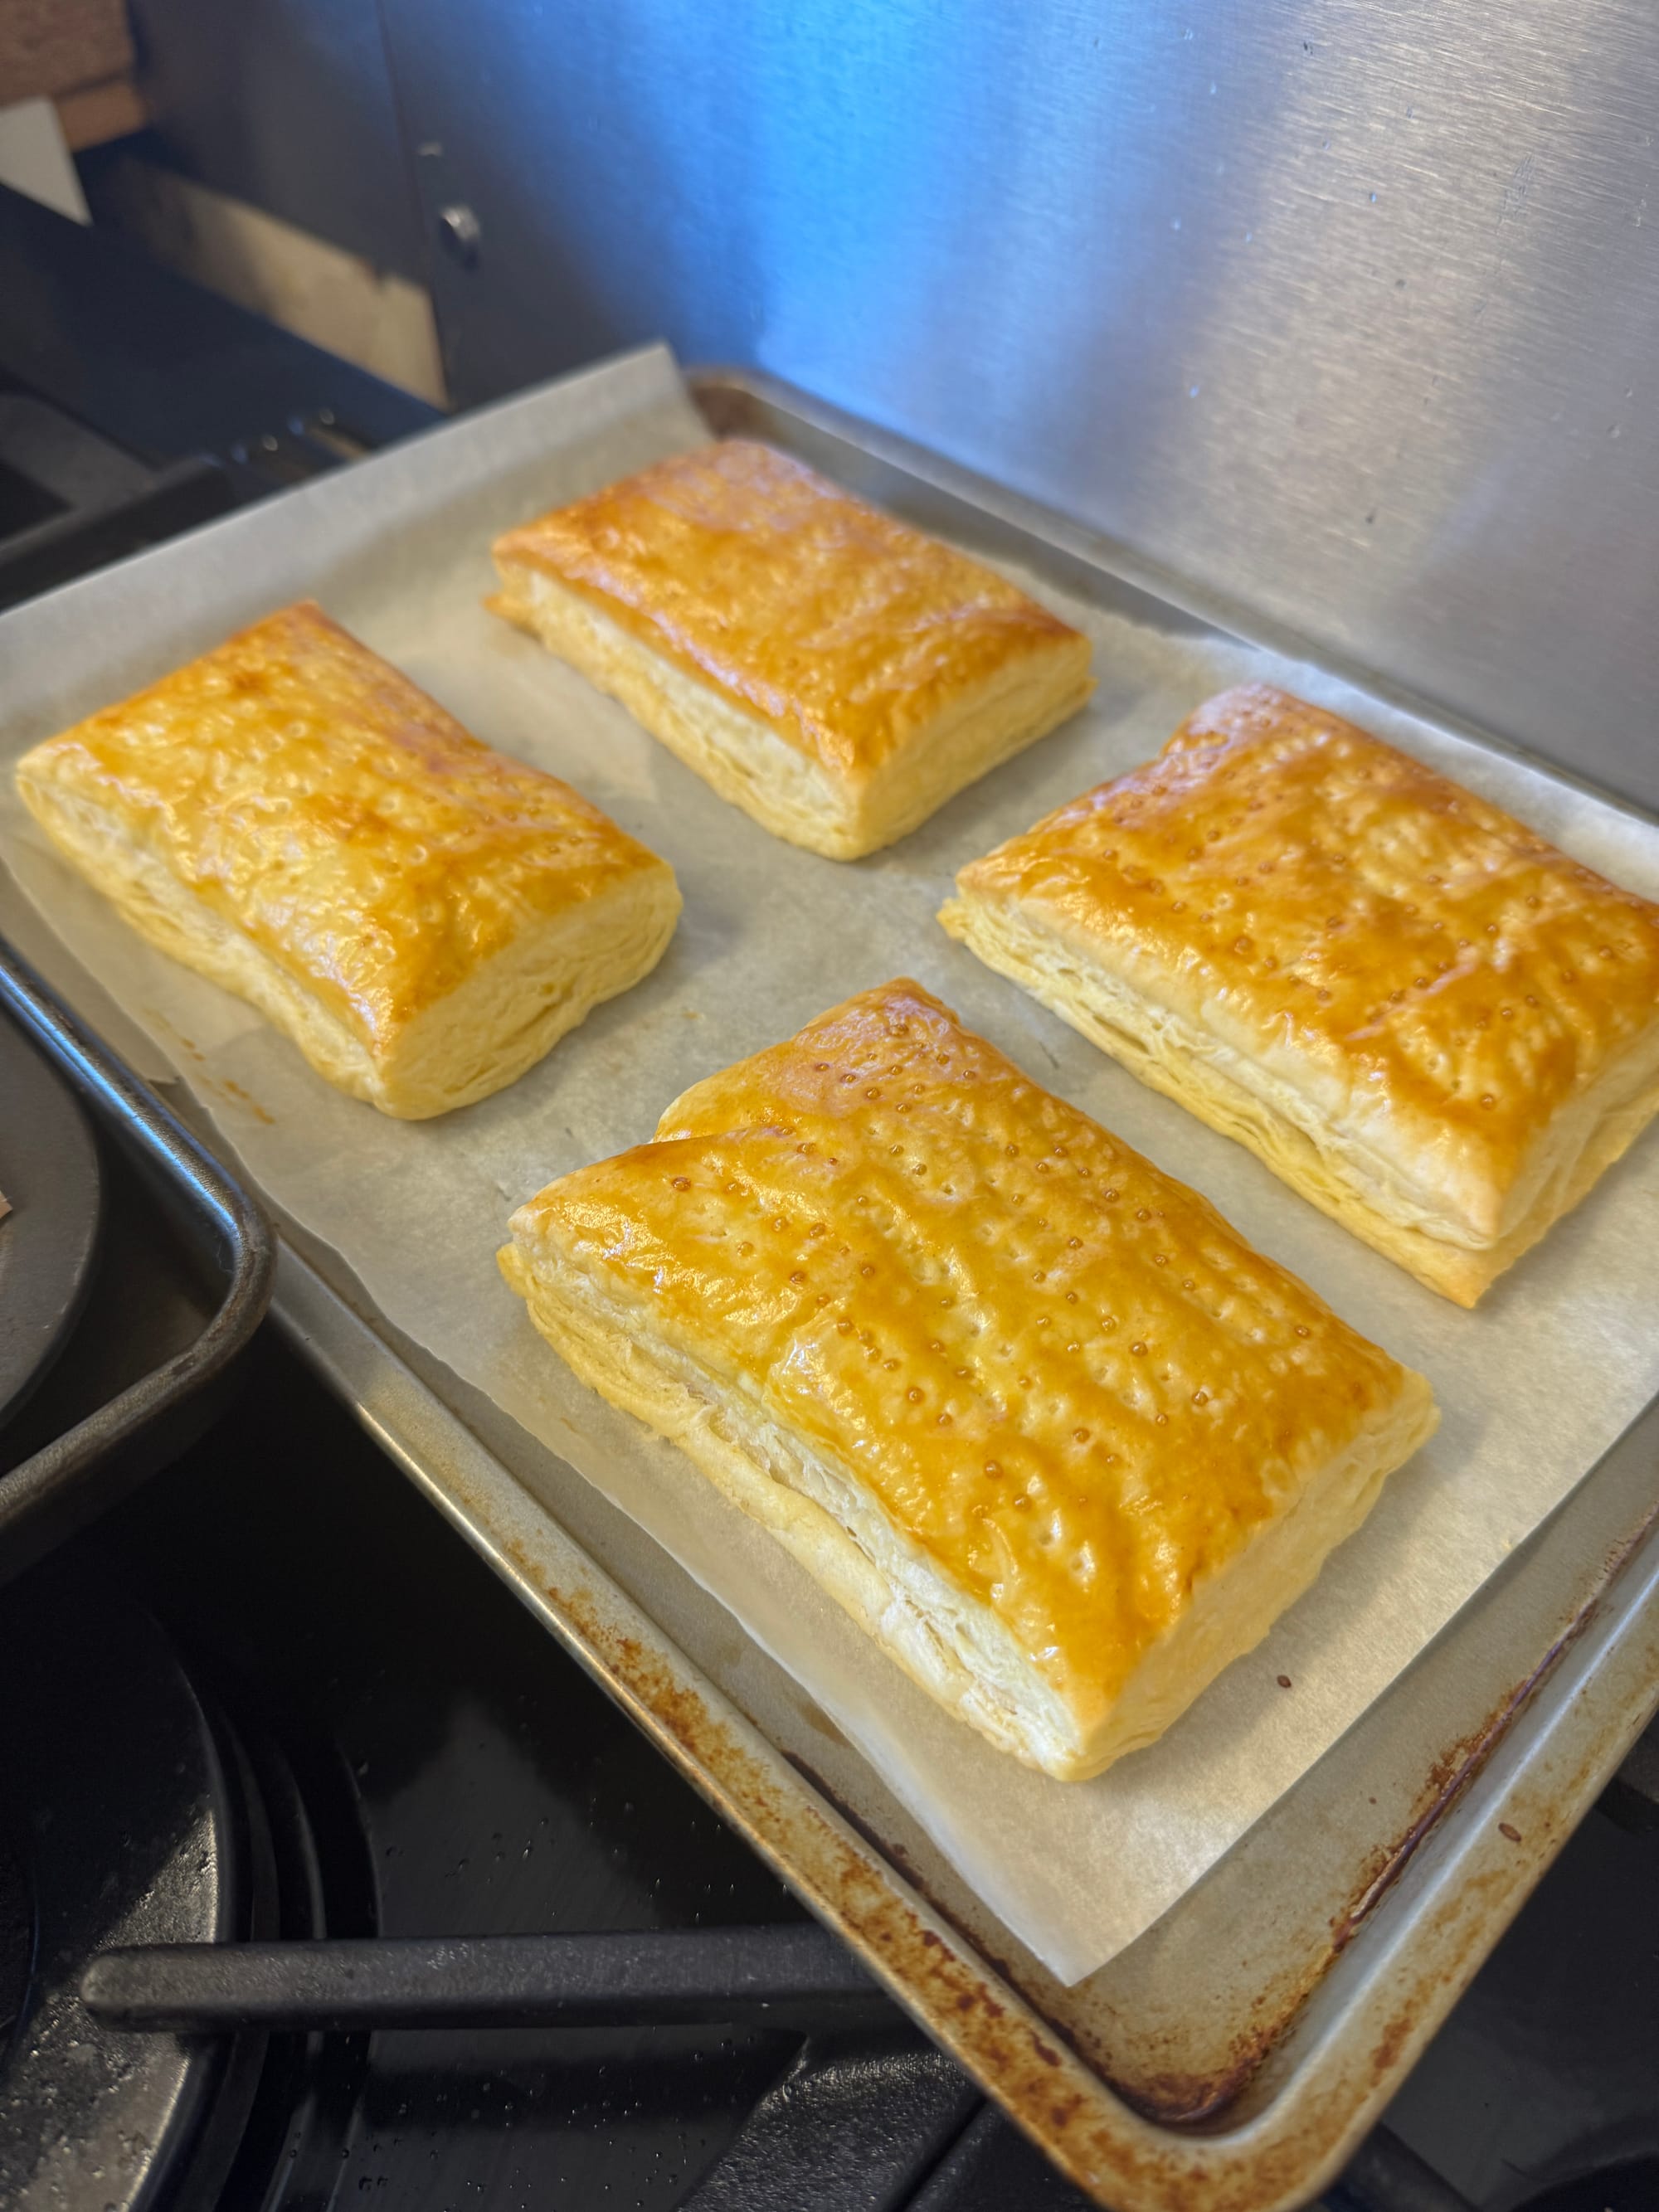
Pop the tray into your preheated oven and bake the pastries for 15-20 minutes, or until the puff pastry is golden brown and crispy. Keep an eye on them towards the end of baking to make sure they don’t burn, as oven temperatures can vary.
3. Make the Cheesecake Filling
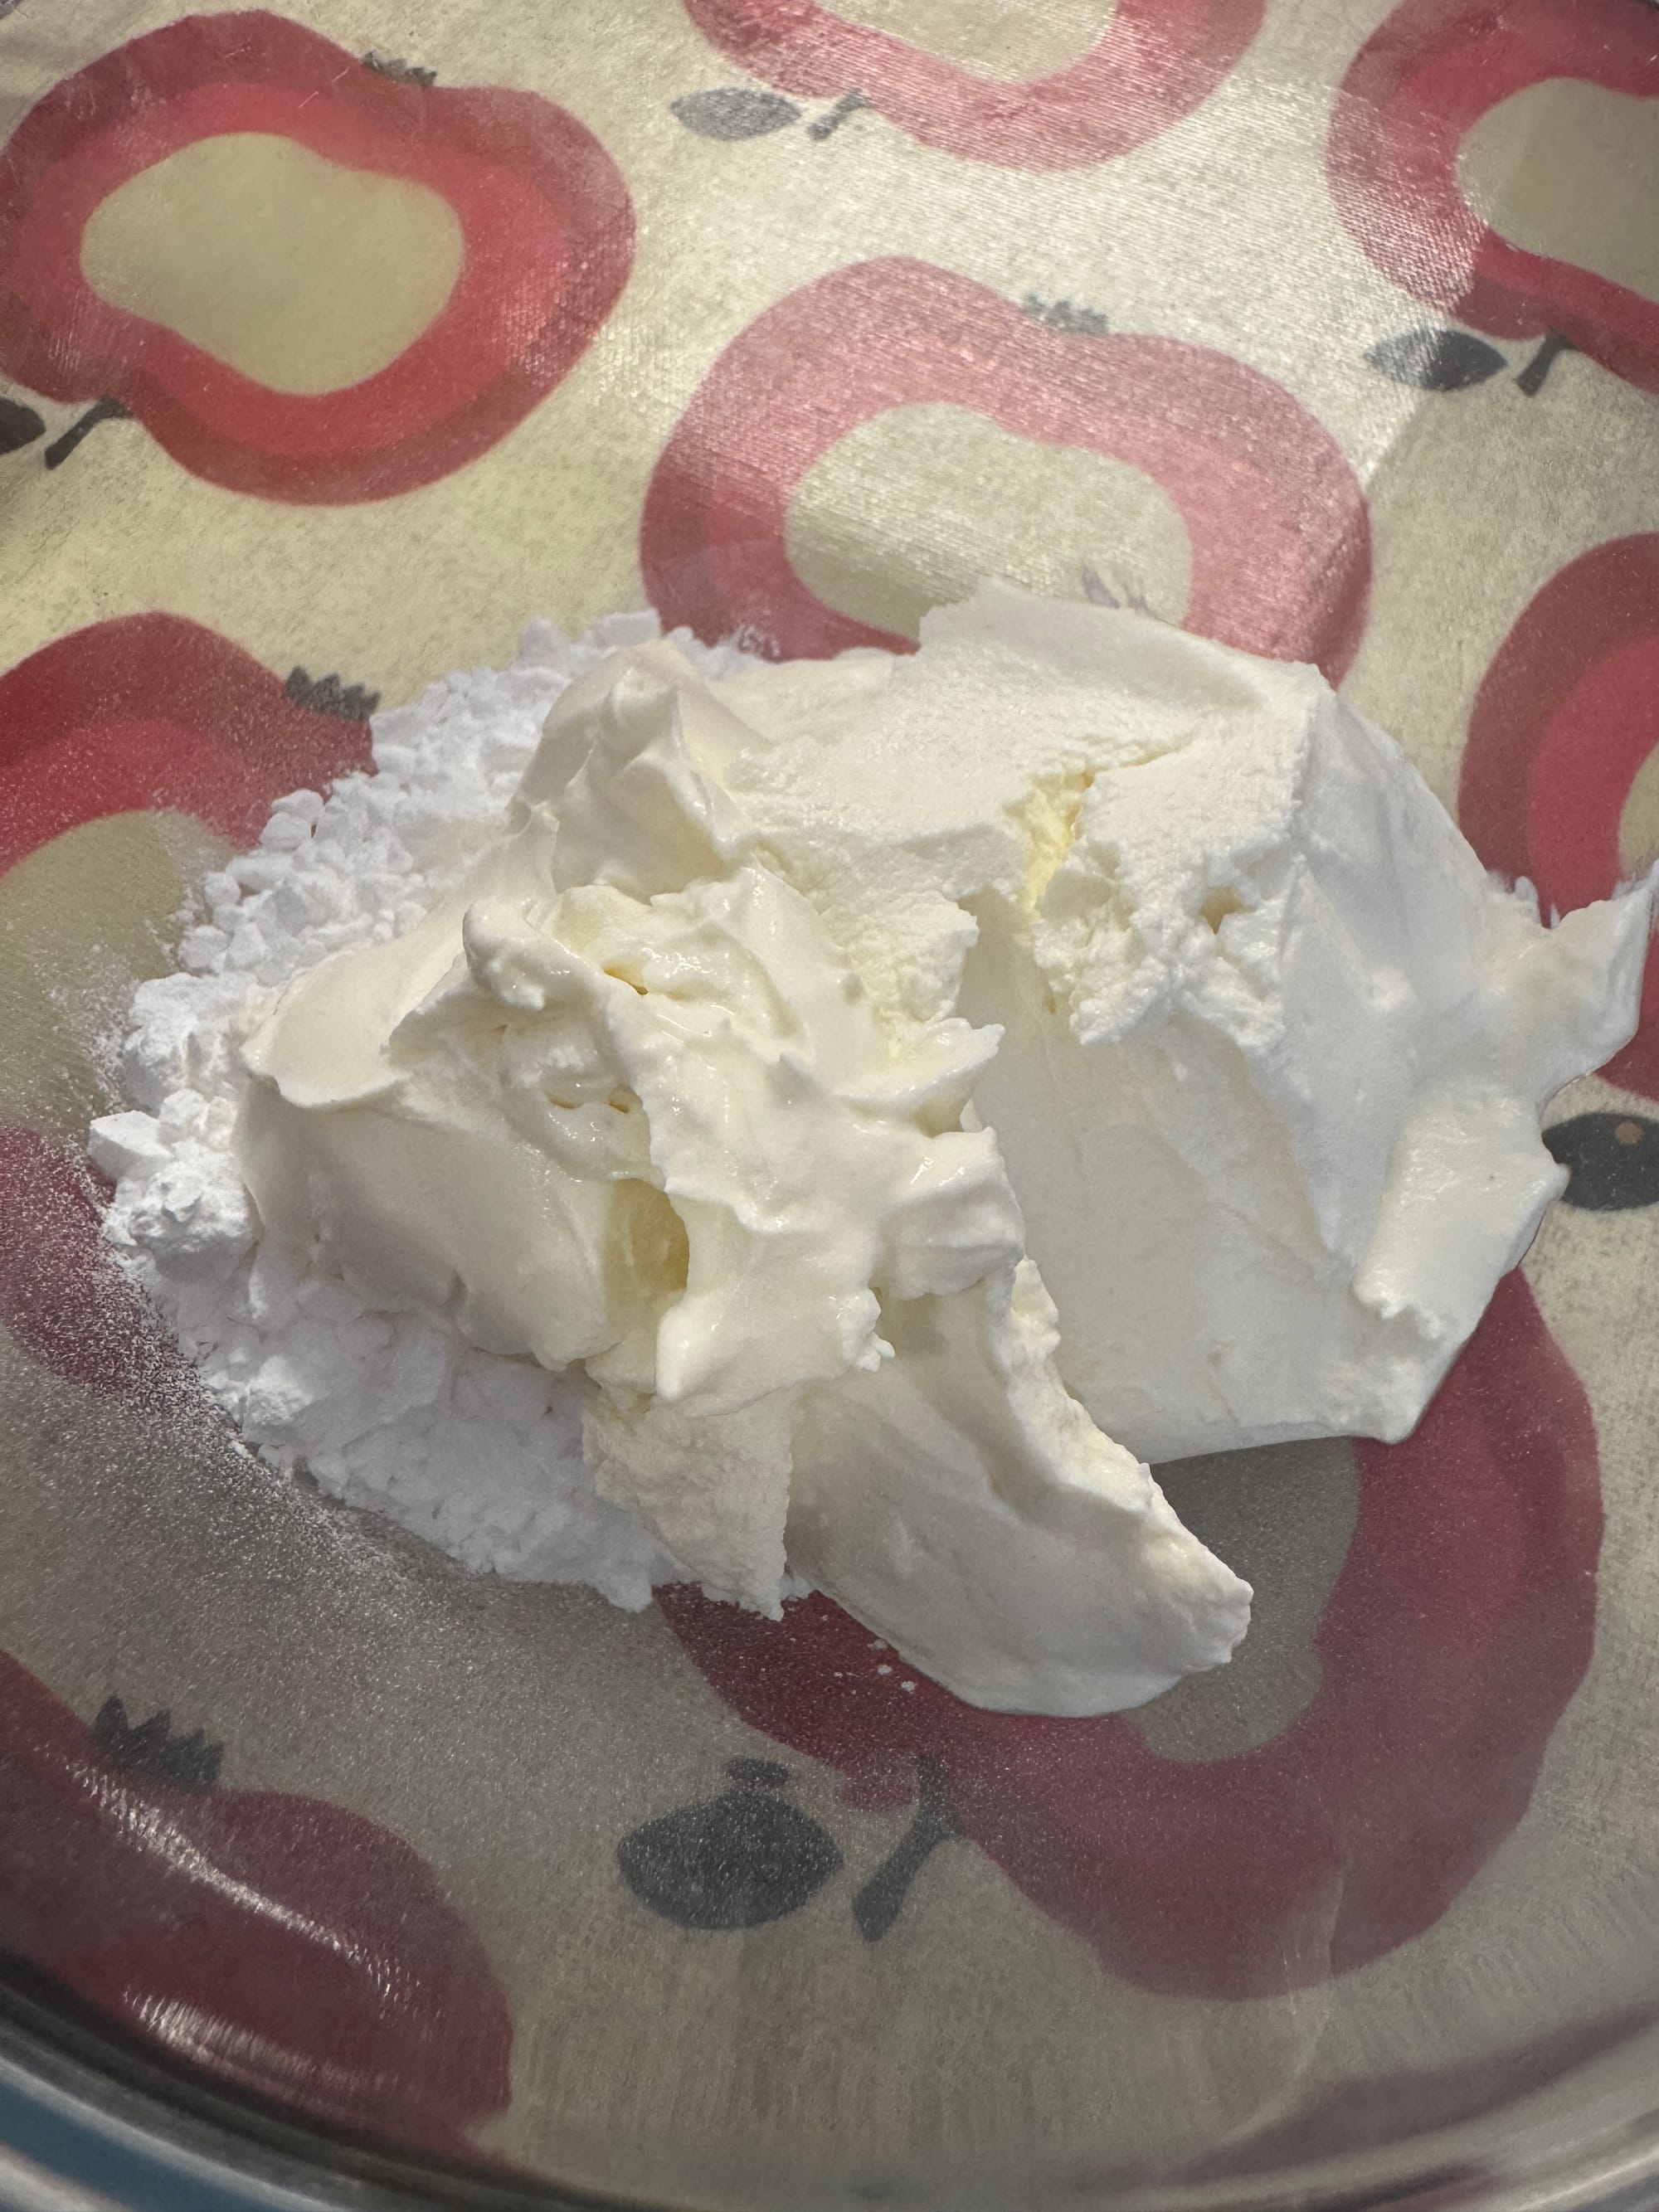
In a medium-sized bowl, mix together the cream cheese, icing sugar, and vanilla extract until smooth and well combined. If the mixture feels too thick, you can add a tablespoon of double cream to loosen it up a bit, making it easier to spread.
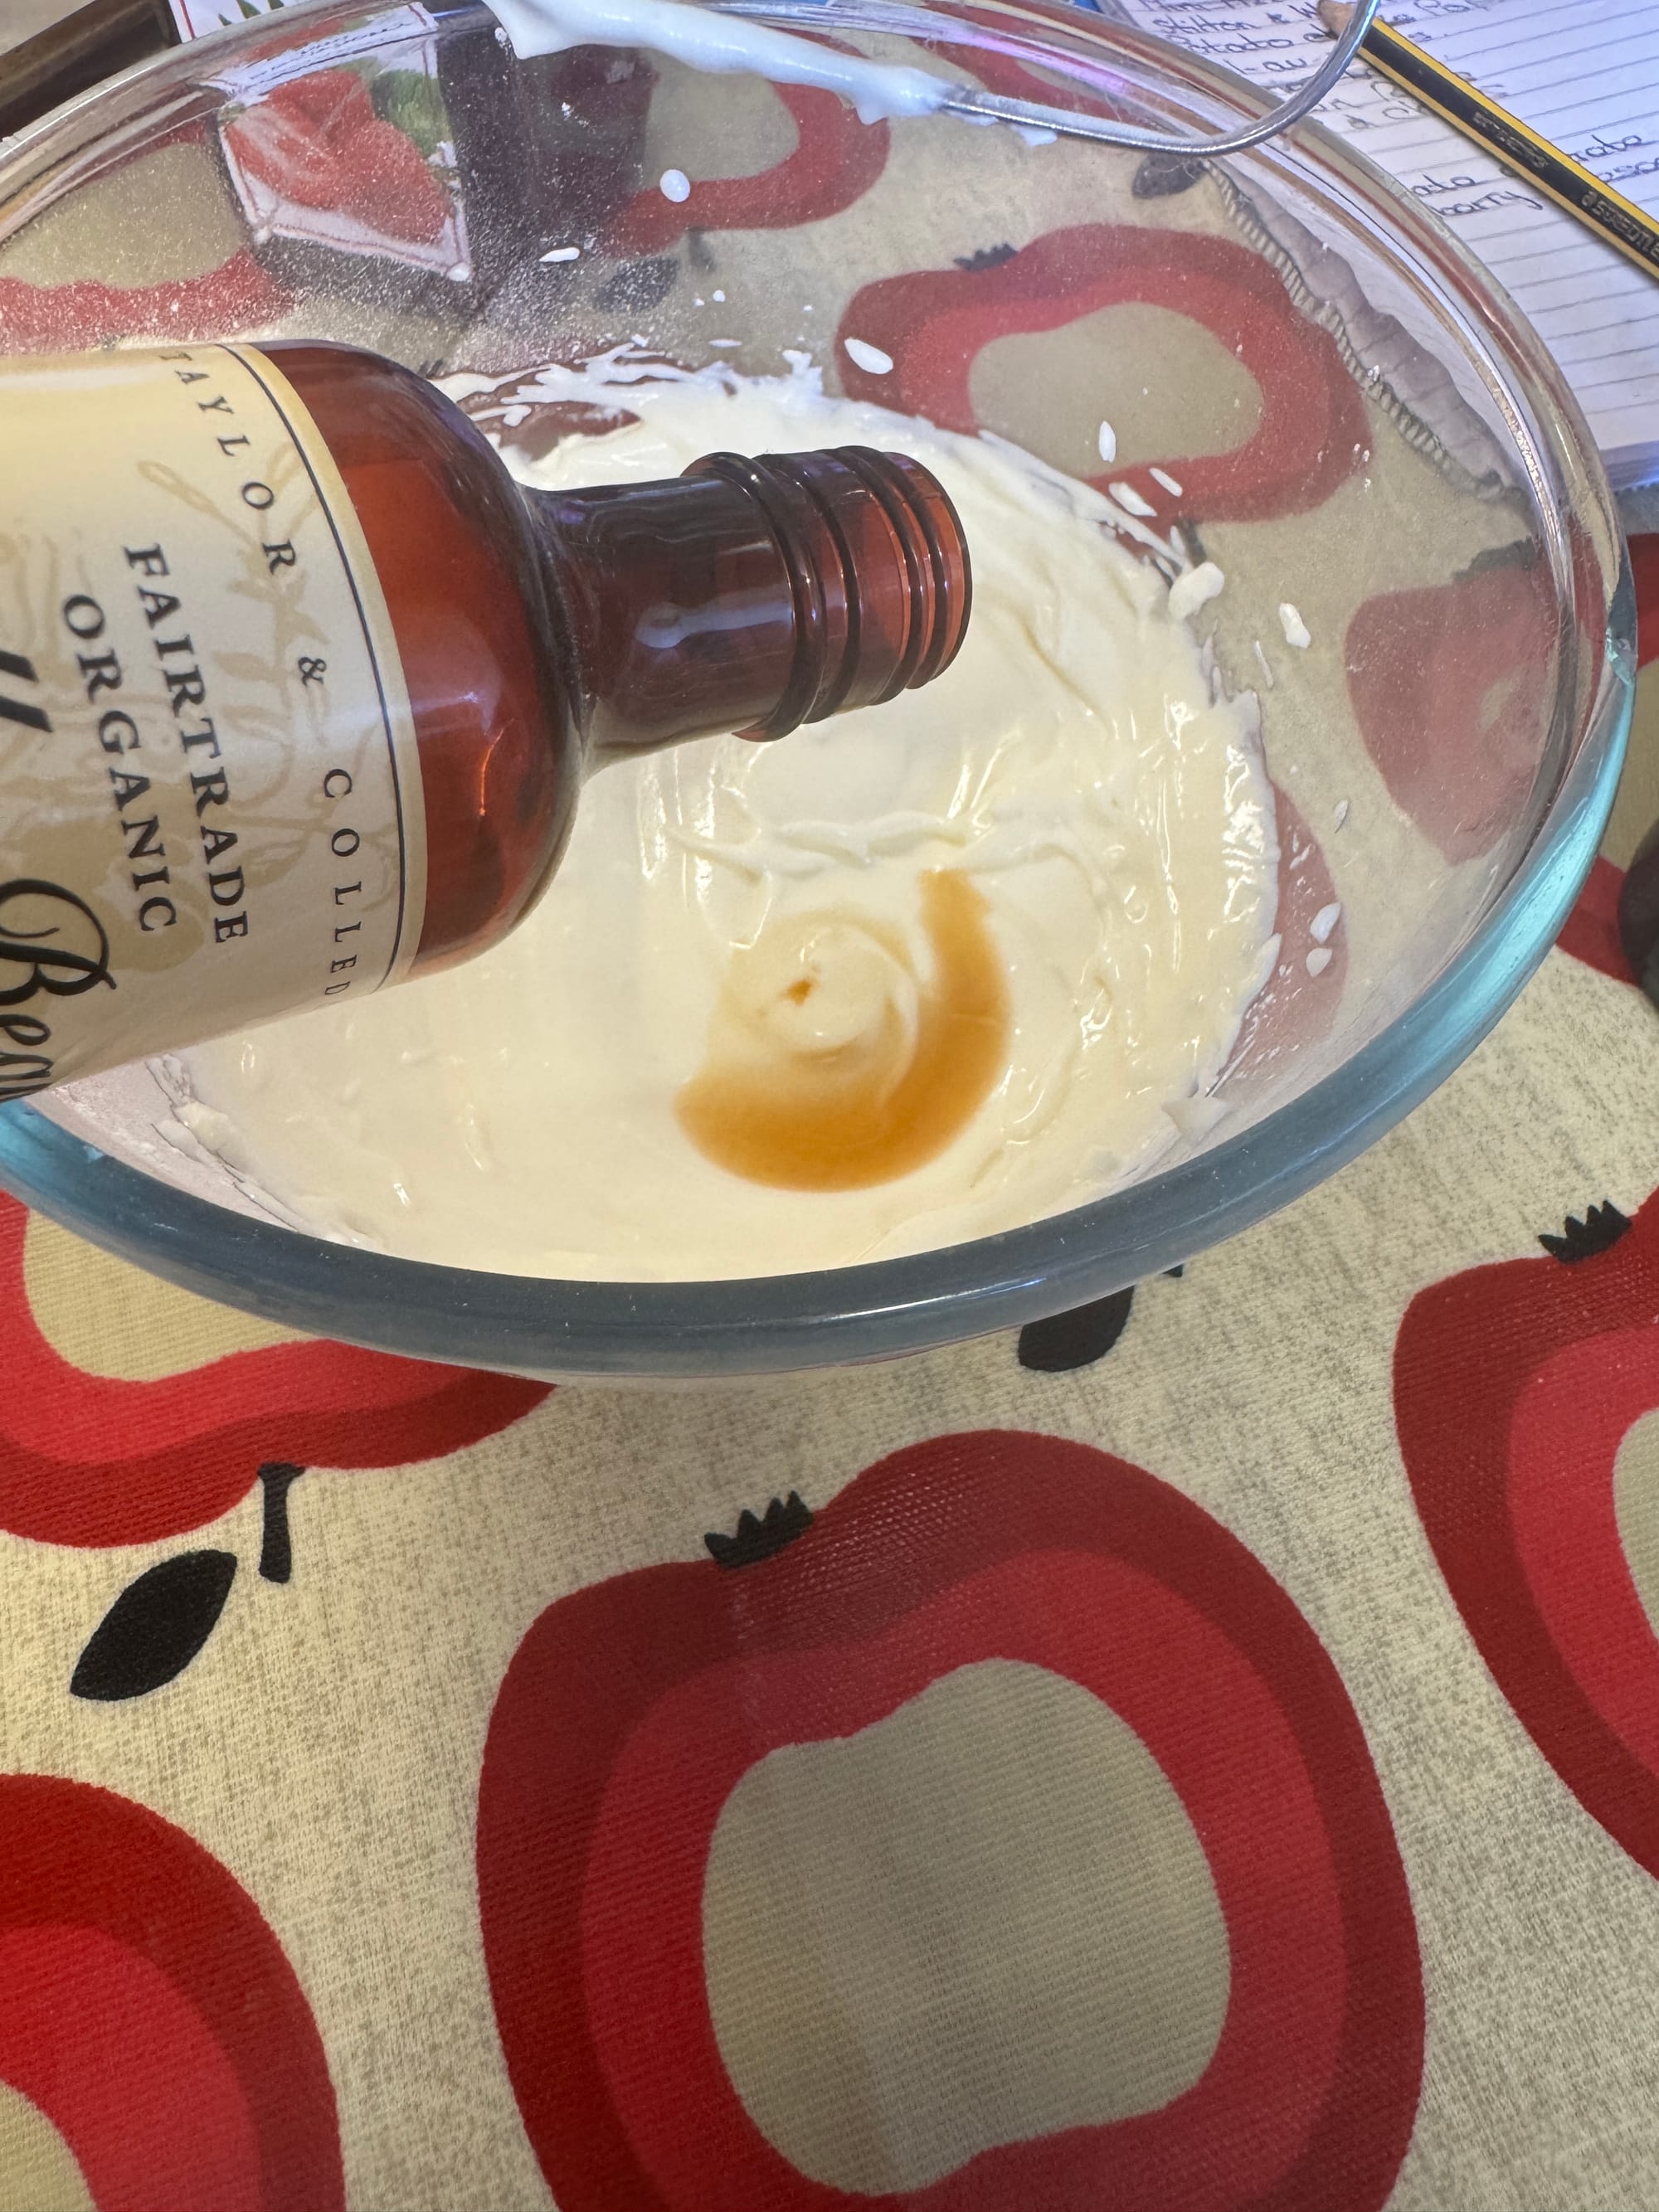
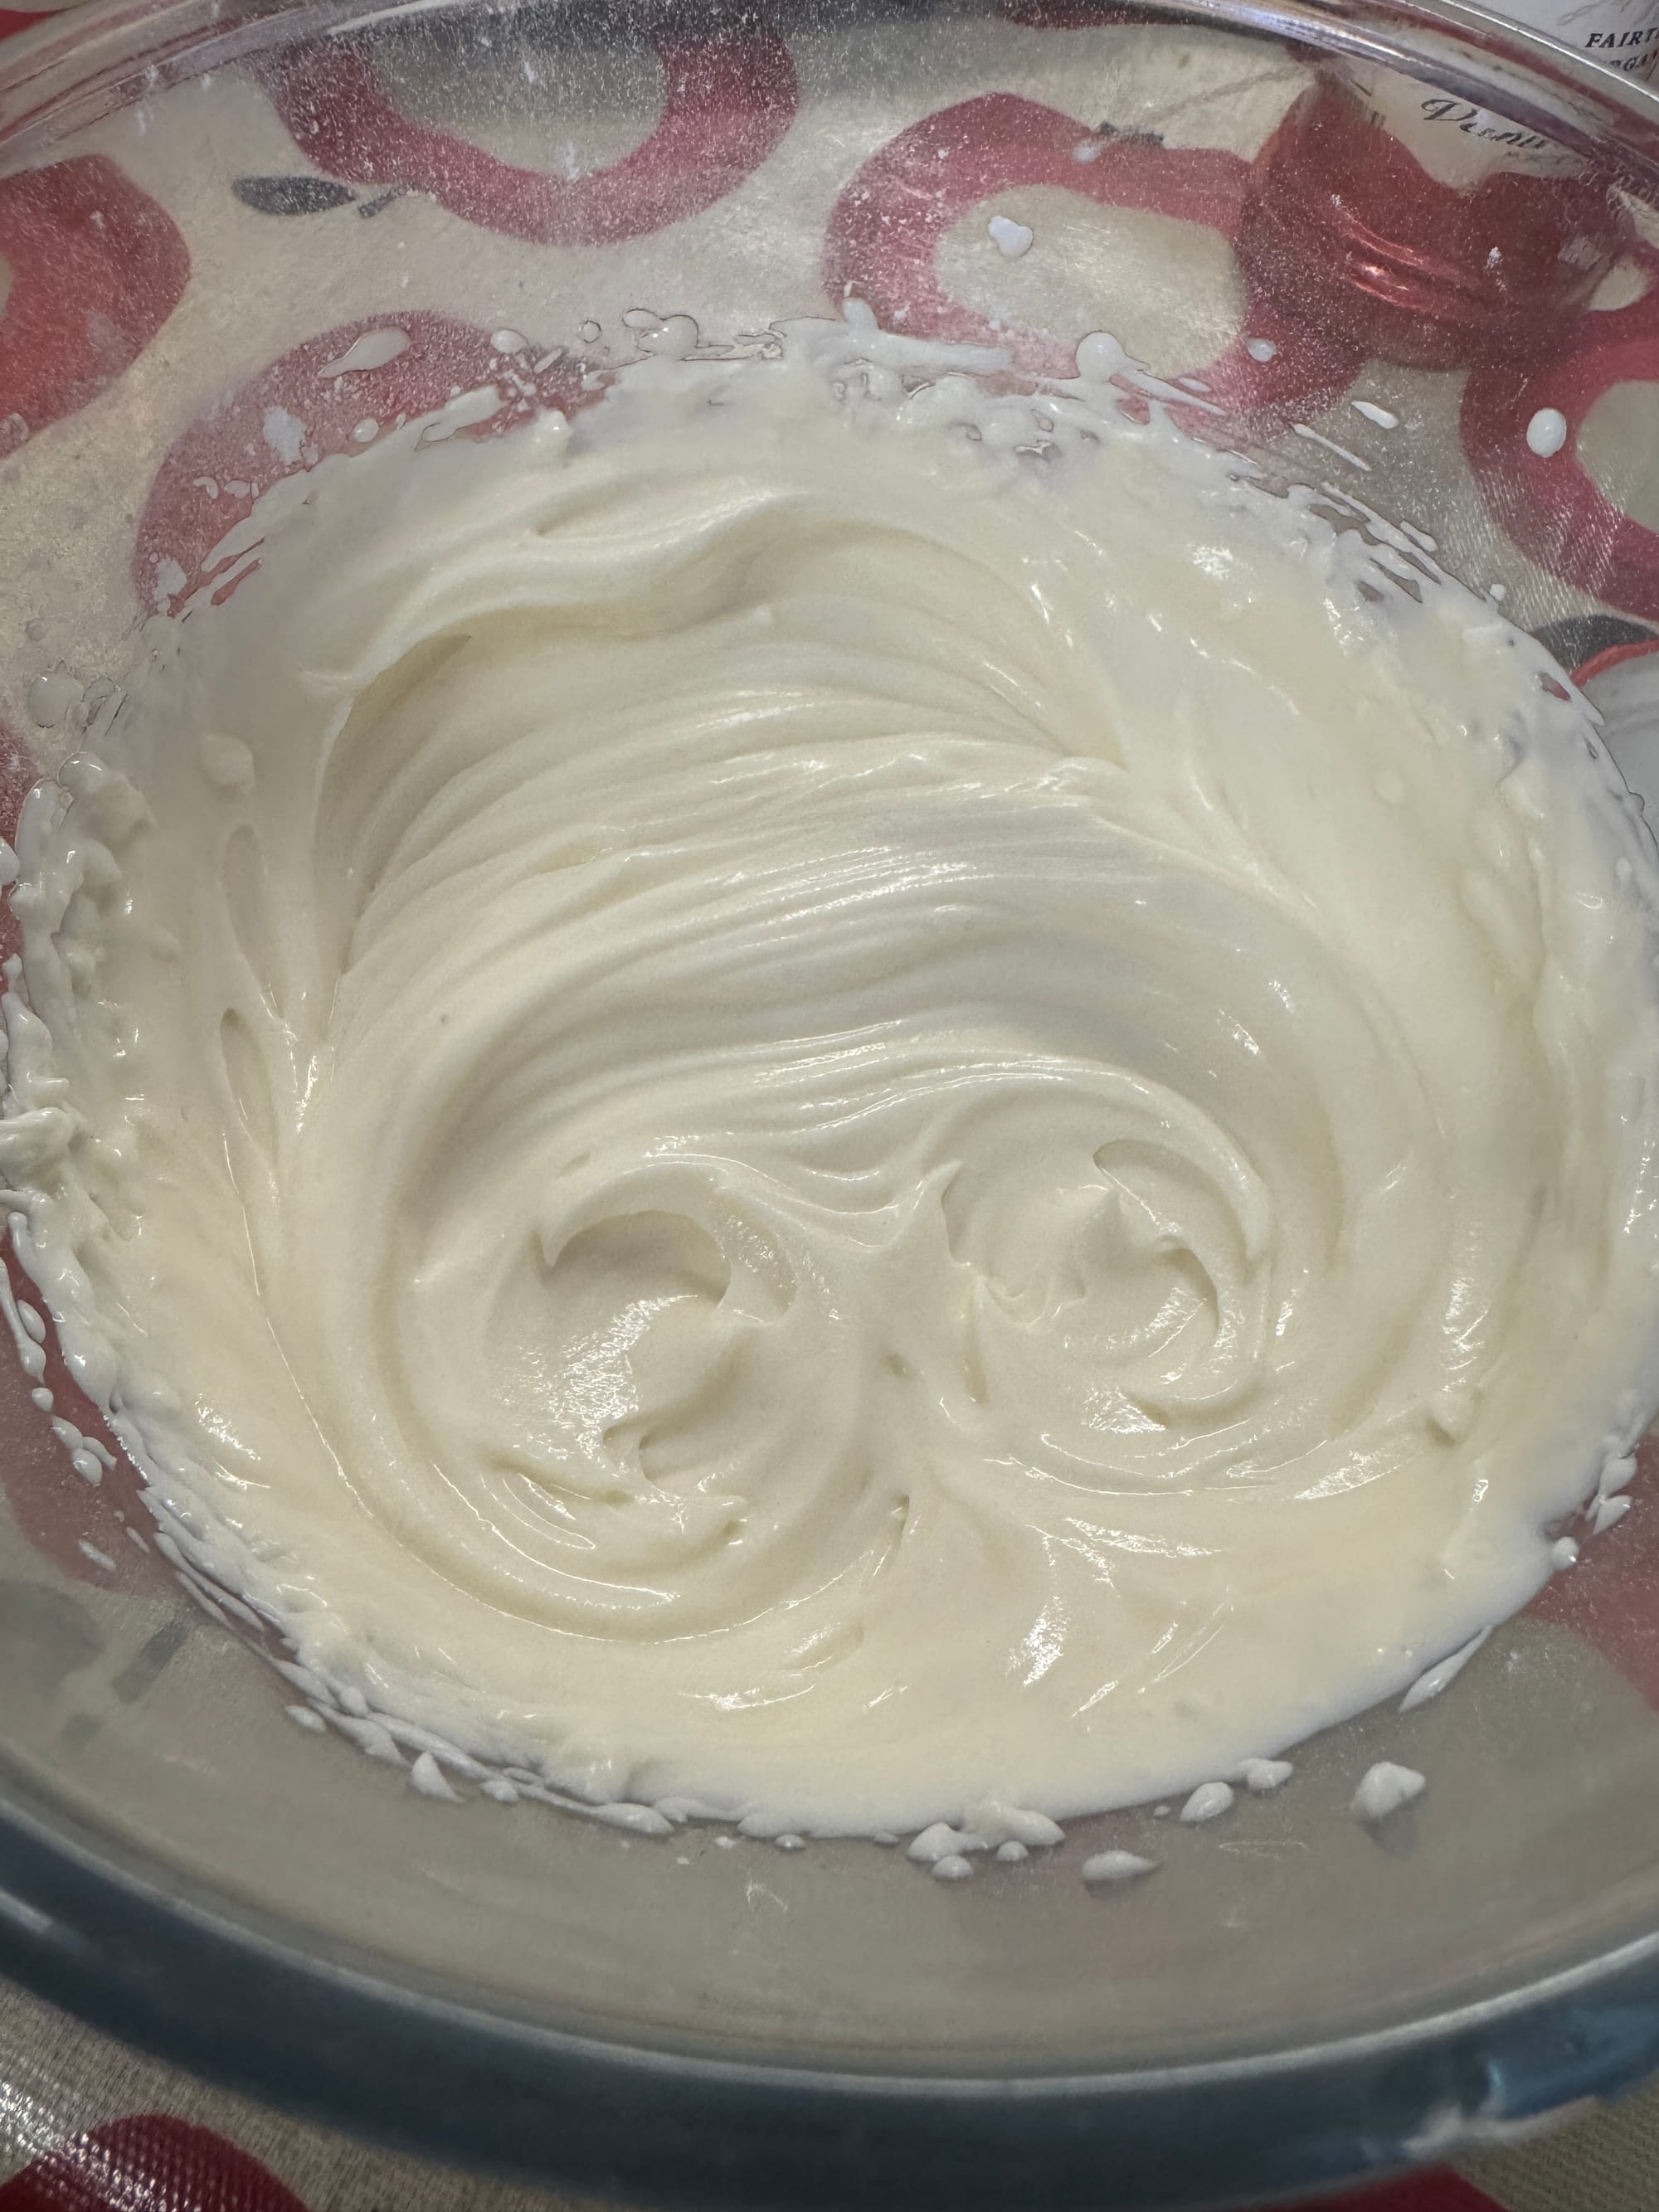
4. Assemble the Danish Pastries
Spoon a generous amount of strawberry jam into the centre of each puff pastry rectangle. Spread it out evenly, but be careful not to over fill leaving space for the cheesecake topping.
Next pipe whichever design or style you wish with the cheesecake filling to completely cover and fill the pastry case.
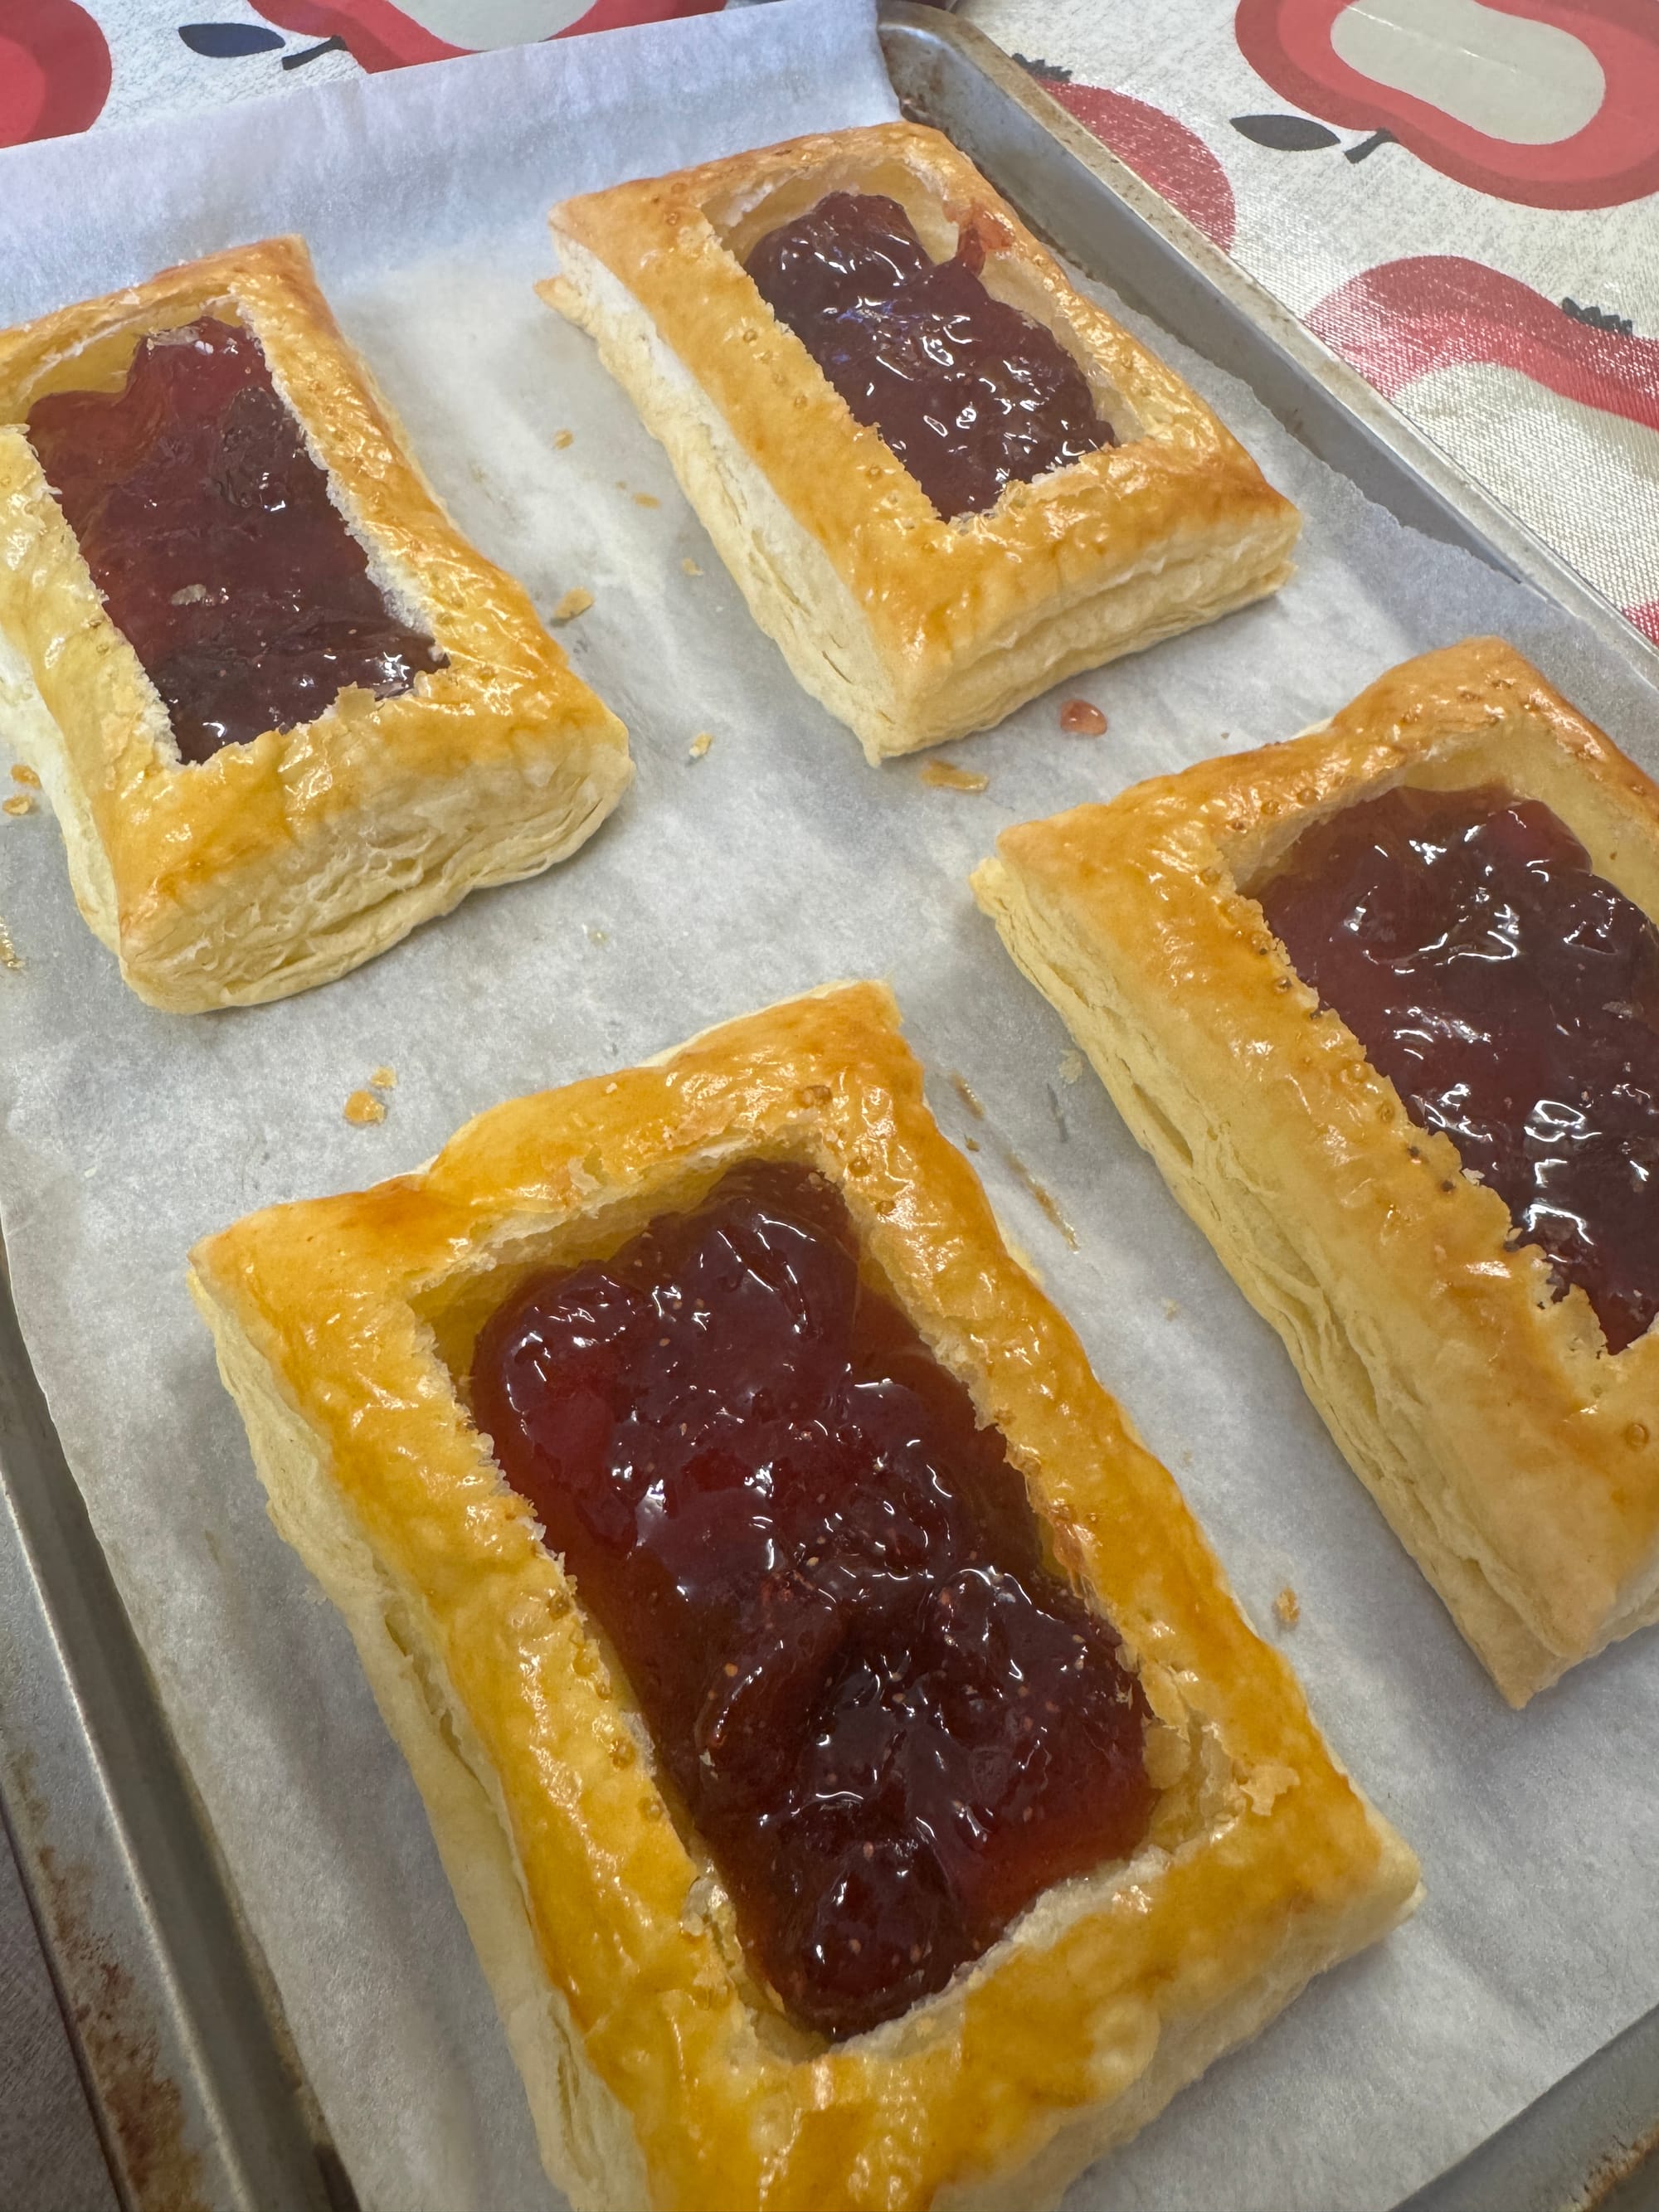

5. Add the Strawberries
Top each pastry with 2-3 slices of fresh strawberries or if like me just one whole strawberry. Feel free to get creative and arrange them in a pretty pattern if you like. The fresh strawberries add a juicy, sweet pop of flavour that perfectly balances the tangy cheesecake filling.
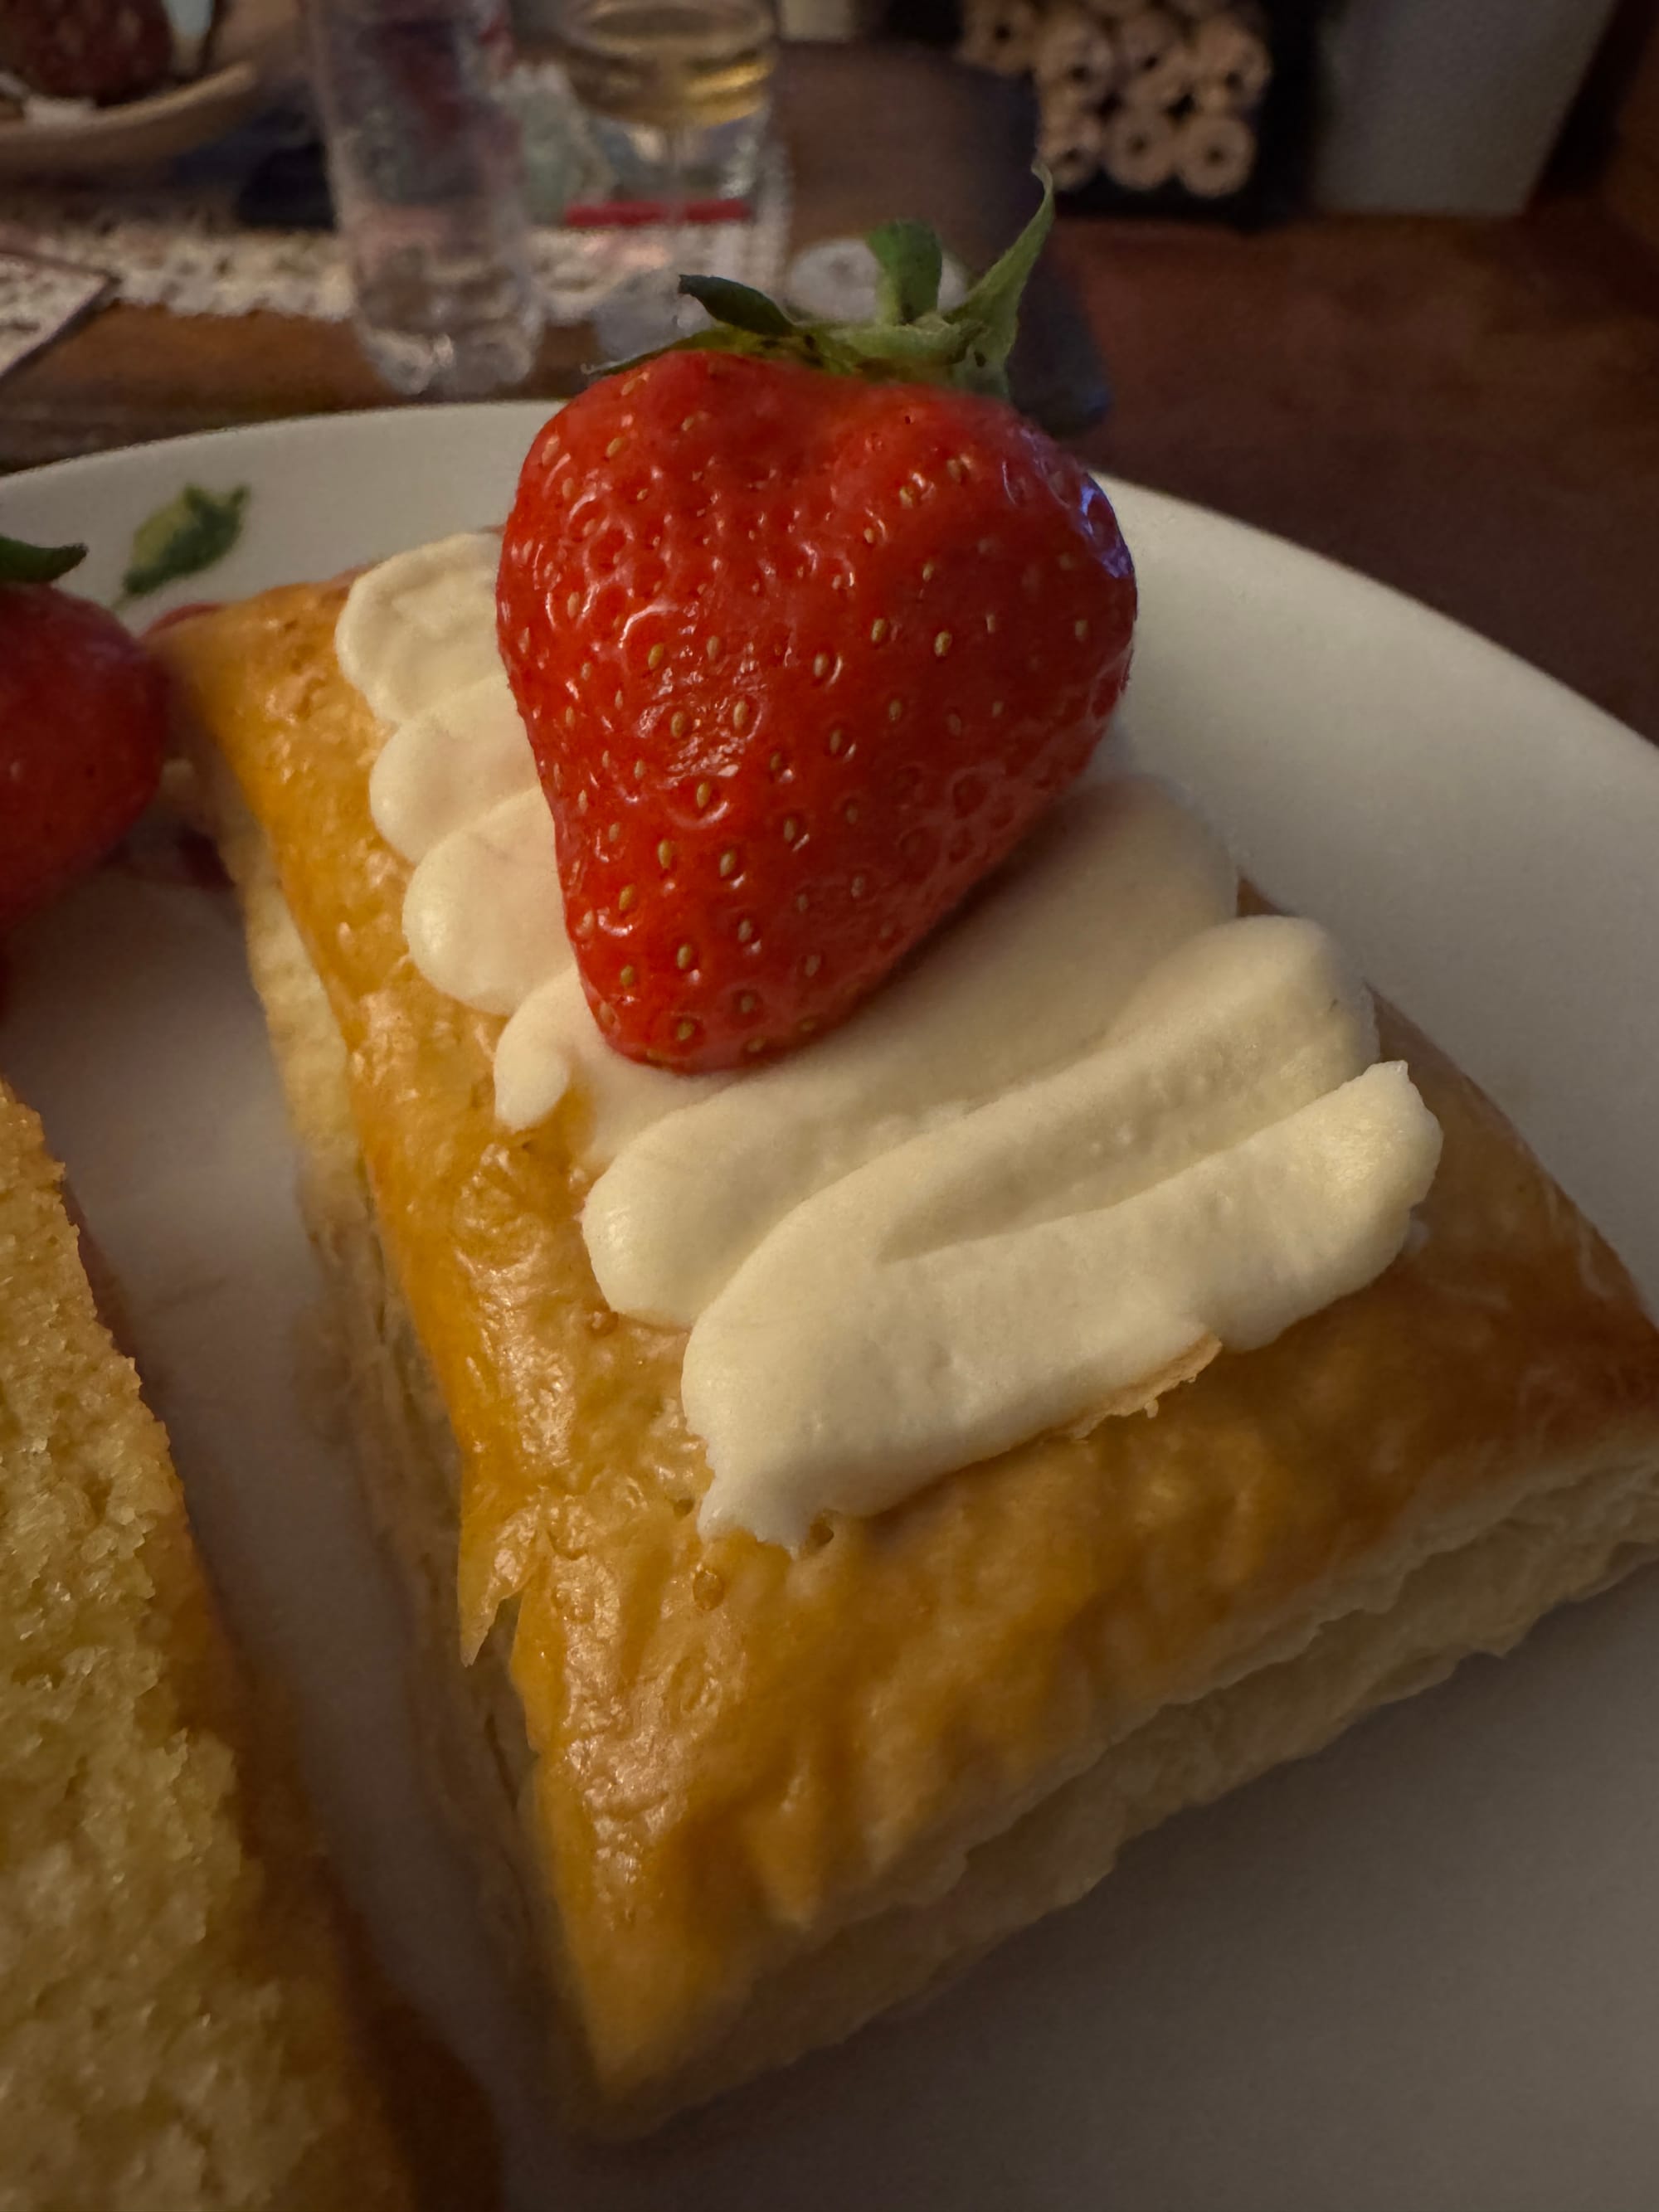
6. Enjoy
You can garnish with a little extra fresh strawberry or a dusting of icing sugar if you’re feeling extra fancy.
Cosy Cooking Closing
And there you have it—Strawberry Cheesecake Danish Pastries! They’re the perfect combination of sweet, creamy, and flaky, and the addition of fresh strawberries takes them to the next level. Whether you’re indulging in these for breakfast, brunch, or dessert, they’re sure to bring a smile to anyone who bites into them.
Baking should always feel like a warm and comforting experience, and these pastries are the perfect treat to whip up when you need a little extra cosiness in your day. So take your time, enjoy the process, and don’t forget to share a few with someone special (or keep them all to yourself!).
Happy baking, and may your kitchen always be filled with delicious smells and even better memories.