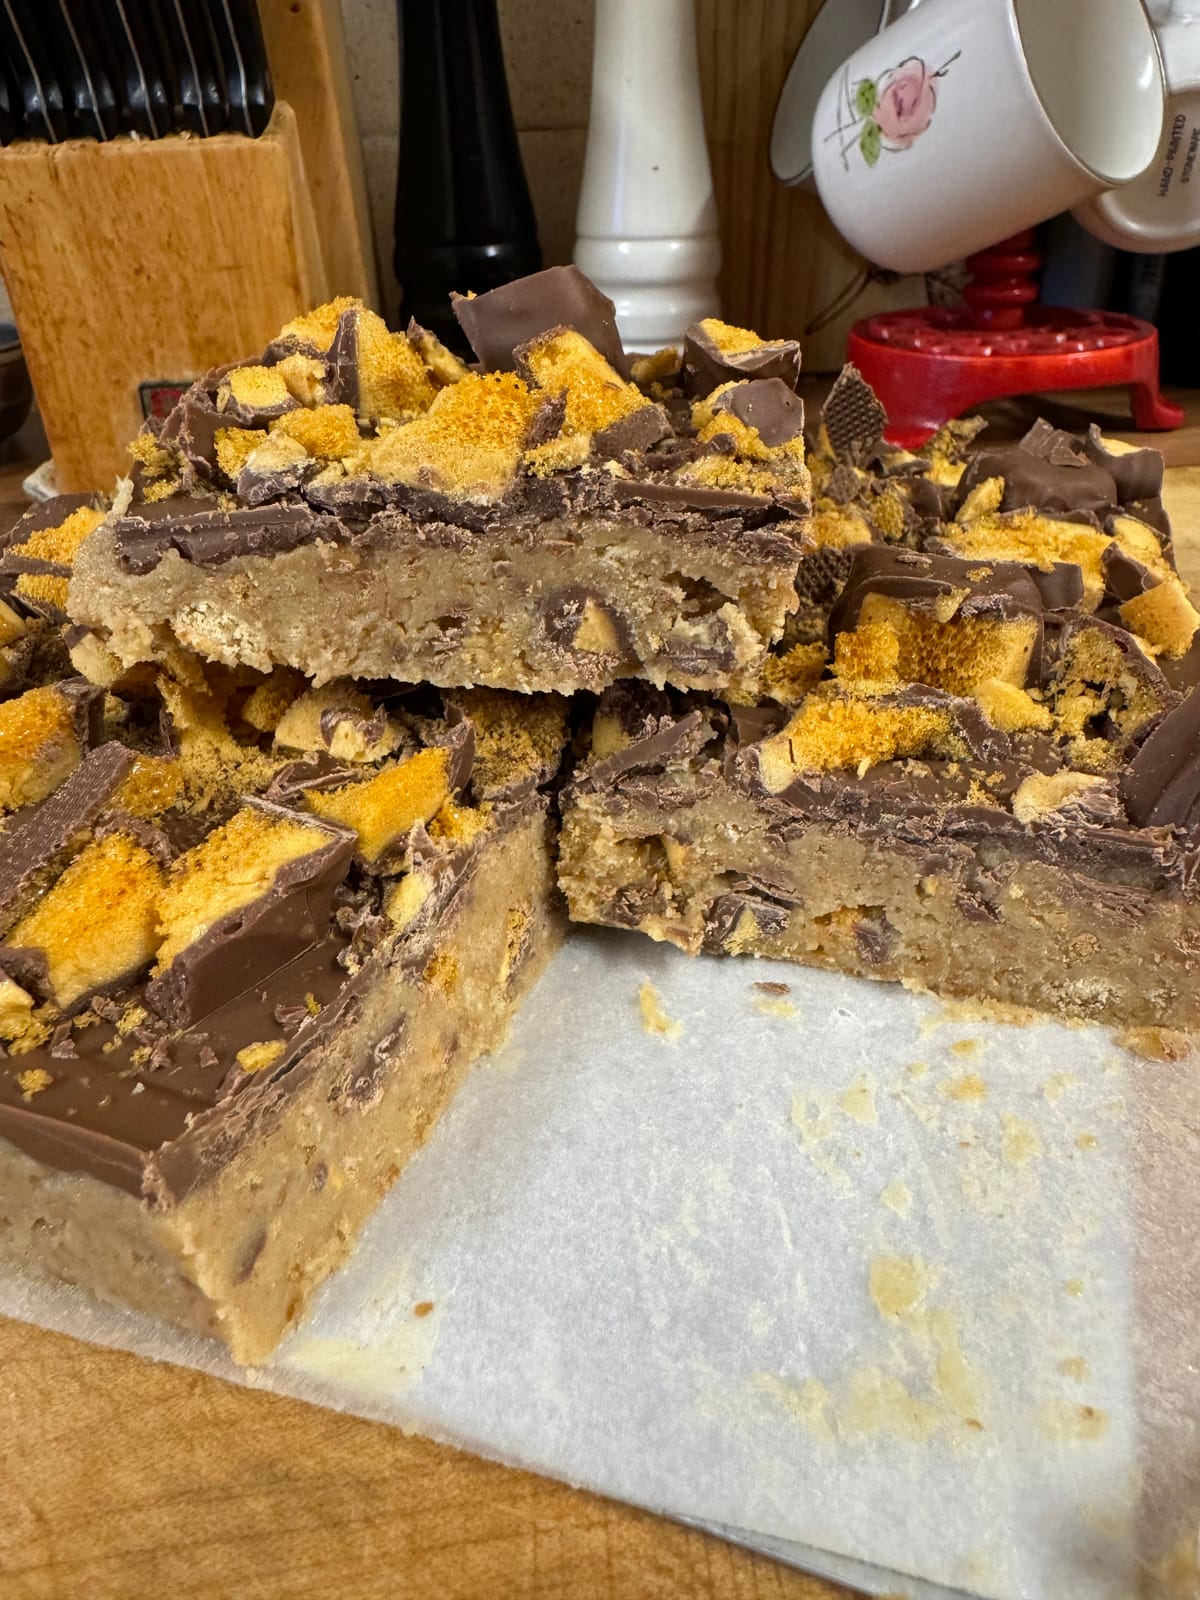
Effortless No-Bake Crunchie Slice
In the bustling world we live in, finding time to bake can be a luxury many can't afford. But who says you can't whip up a delightful dessert without even turning on the oven? Enter the No-Bake Crunchie Slice – a mouth-watering treat that combines the joy of chocolate with the unmistakable crunch of honeycomb, all without the need for any baking. This treat is not only easy to make but also incredibly versatile, making it perfect for last-minute guests, a family treat, or simply to satisfy your sweet tooth. This post will guide you through creating the perfect Crunchie Slice that is sure to impress.

No-bake desserts hold a special charm for their sheer simplicity and the convenience they bring into our busy lives. These culinary delights eliminate the need for an oven, making them not only quicker and less labour-intensive to prepare but also a godsend during the sweltering months. The kitchen remains cool, and the process is less daunting, especially for those who might find the precise nature of traditional baking a bit intimidating. This approach to dessert-making opens up a world of creativity and experimentation, allowing even the novice baker to produce treats that are as visually appealing as they are delectable. The no-bake method, such as the Crunchie slice, invites us to explore the wide range of textures and flavours achievable without the conventional bake, offering a fun and accessible way to indulge in homemade desserts. It's a celebration of the joy of making something sweet and satisfying, without the fuss and time commitment usually associated with baking, allowing more time for sharing and enjoying these creations with loved ones.
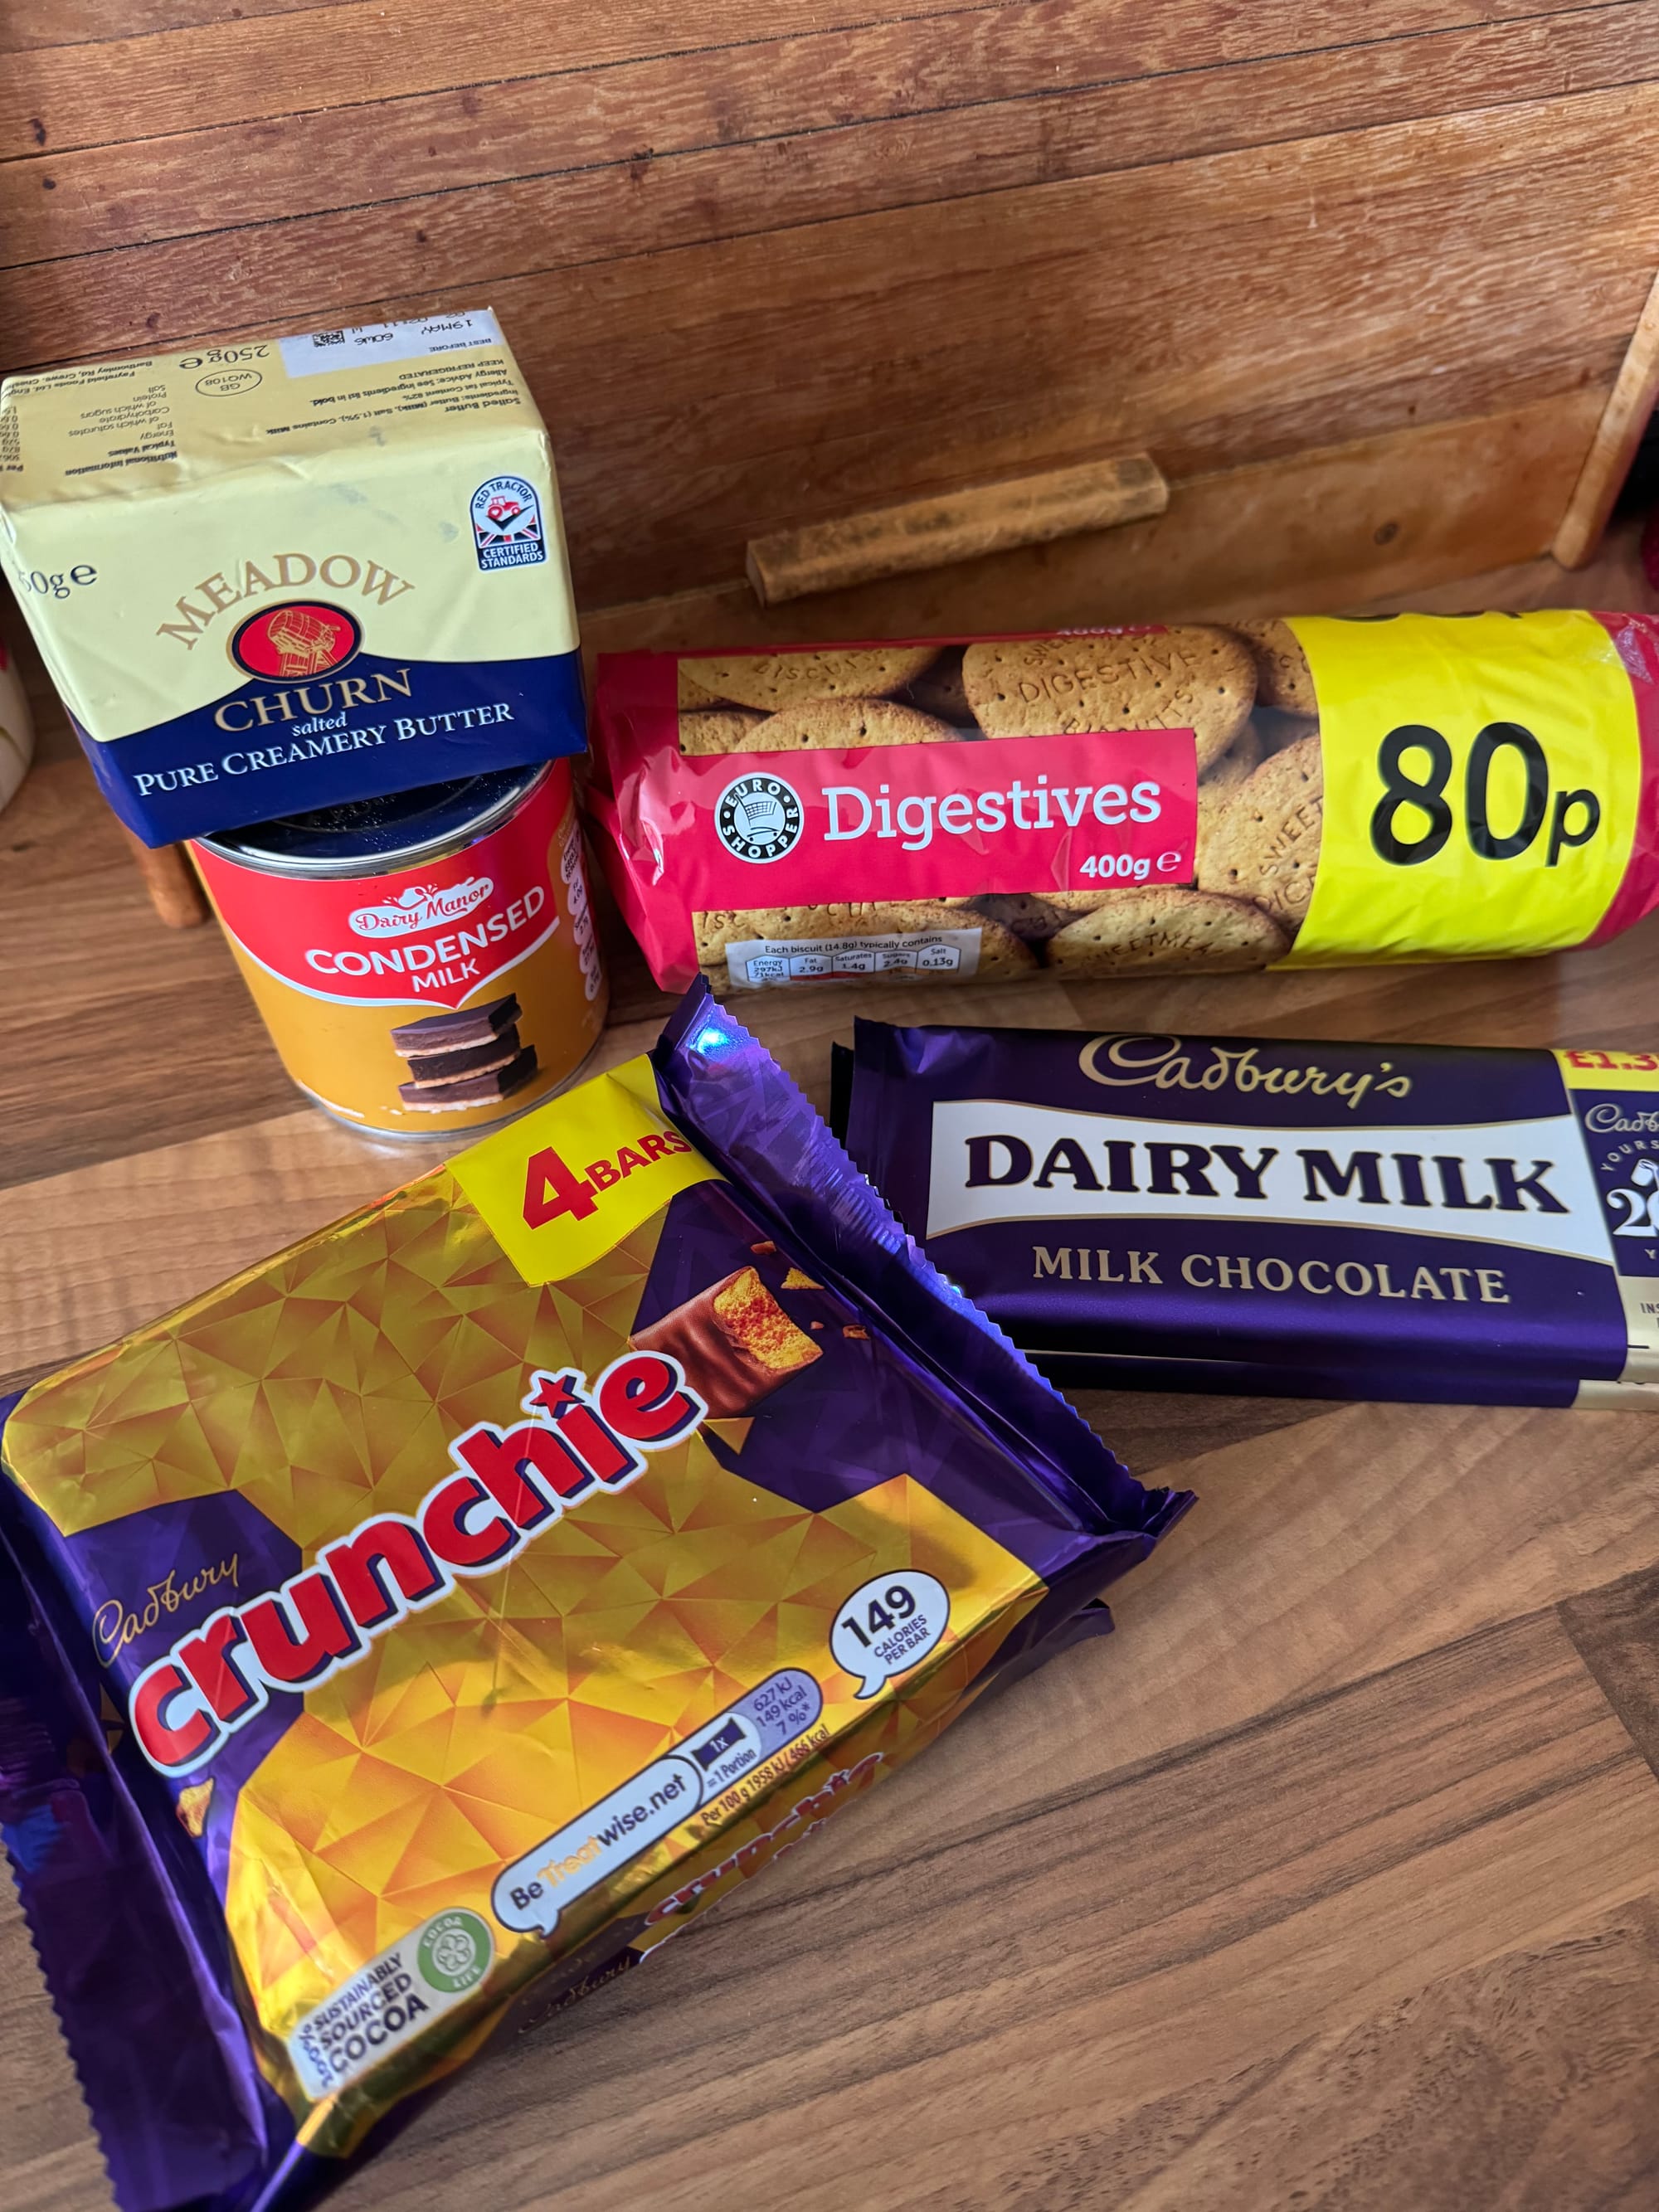
To embark on your Crunchie Slice adventure, the first step is assembling your ingredients. This recipe thrives on simplicity, demanding only a handful of components that pack a punch in flavour and texture. Here's what you'll need:

Ingredients
- 310g Digestive Biscuits
- 1 Tin Condensed Milk
- 100g Butter, melted Plus 10g For The Topping
- 8 Crunchie Bars Roughly Chopped
- 200g Milk Chocolate, Melted
Method
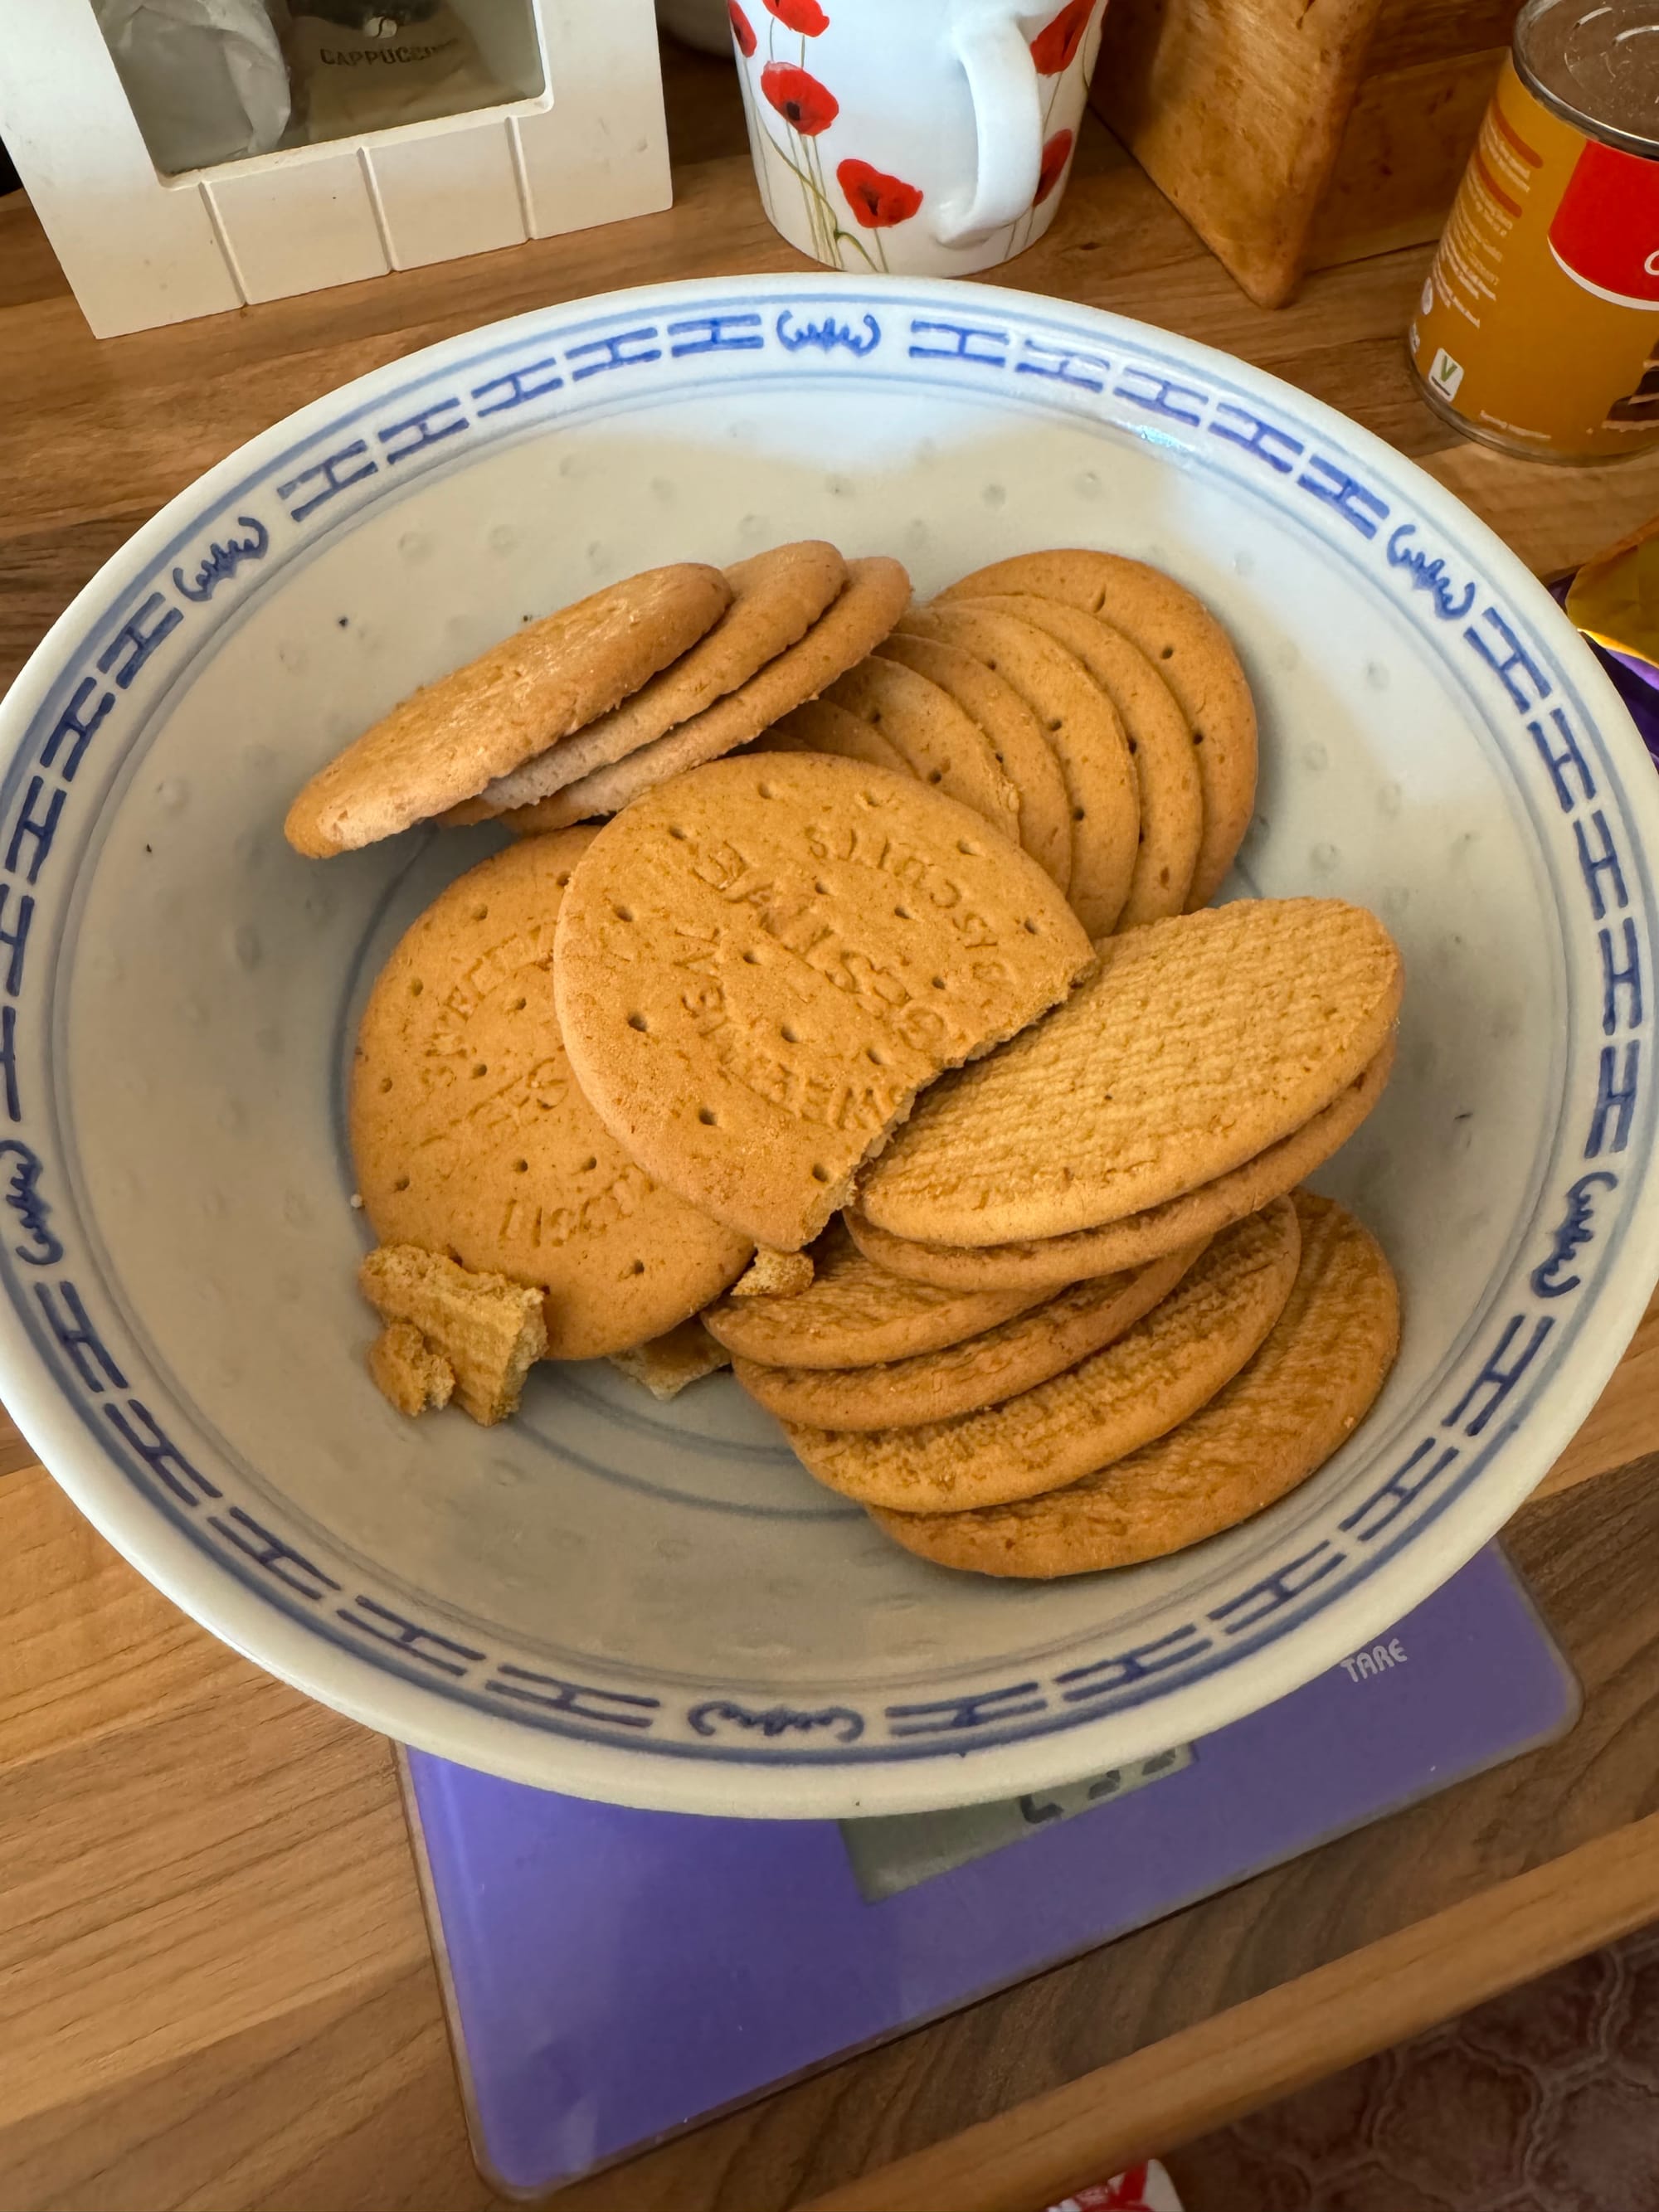
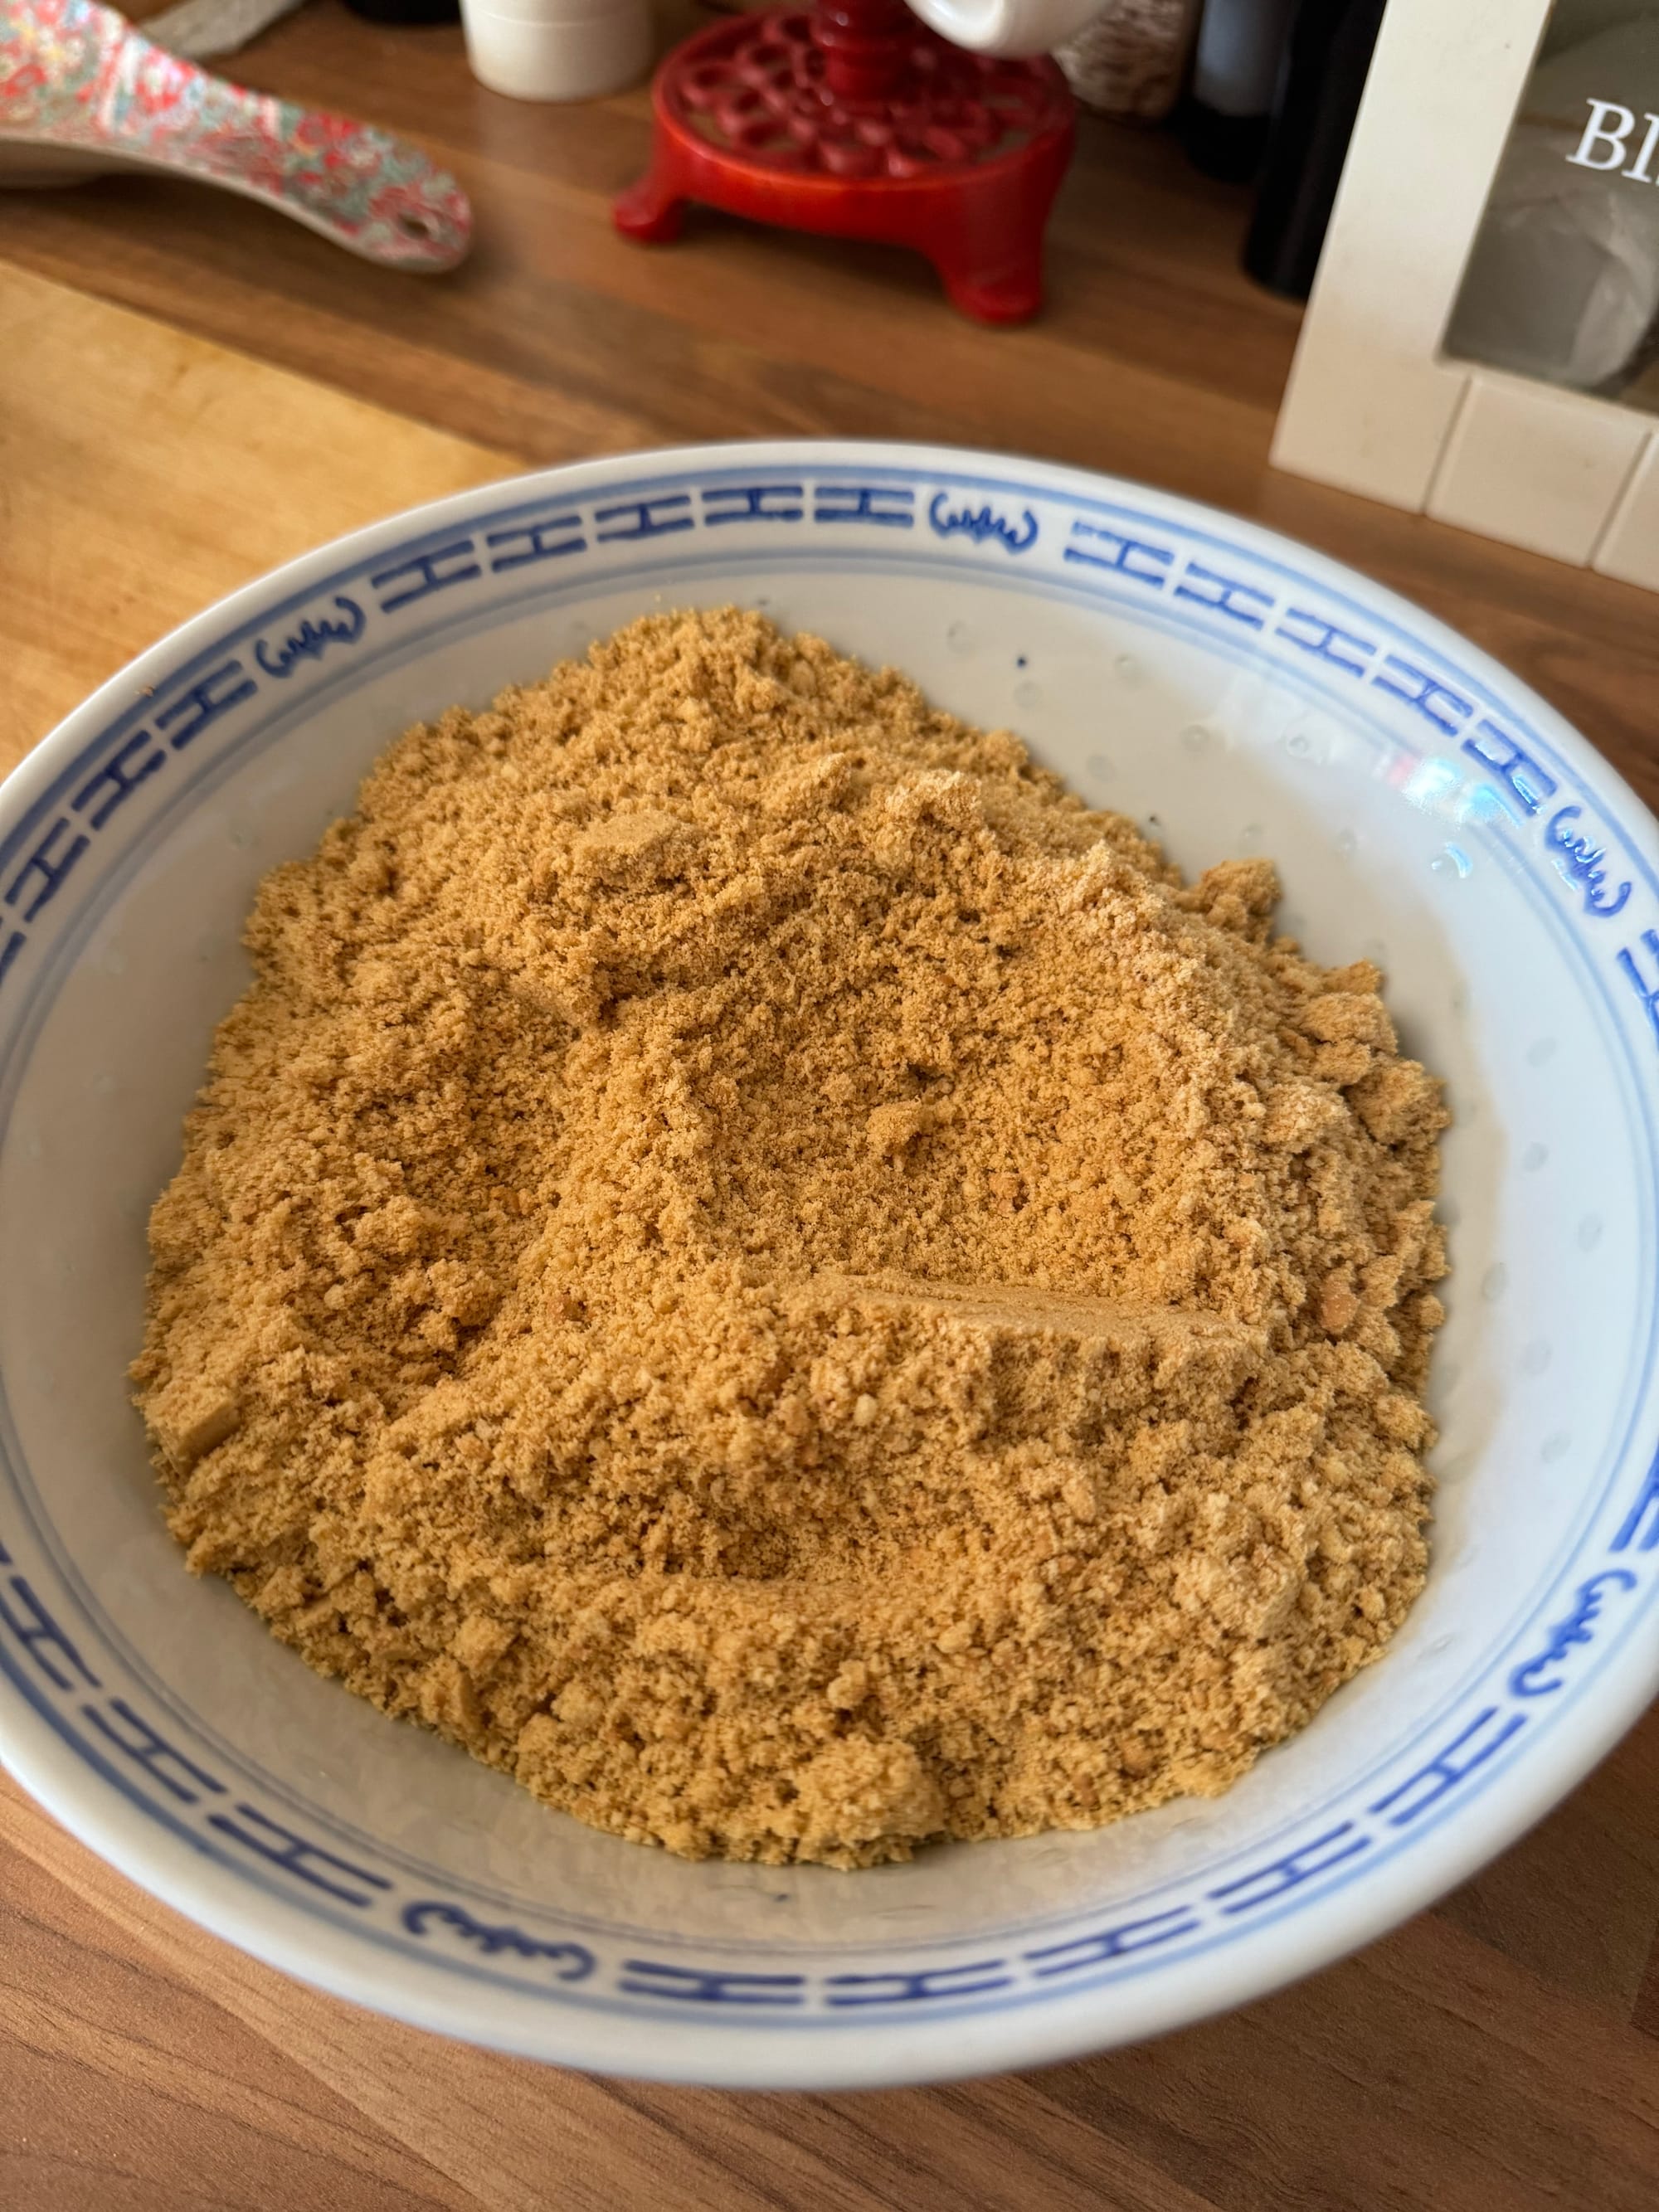
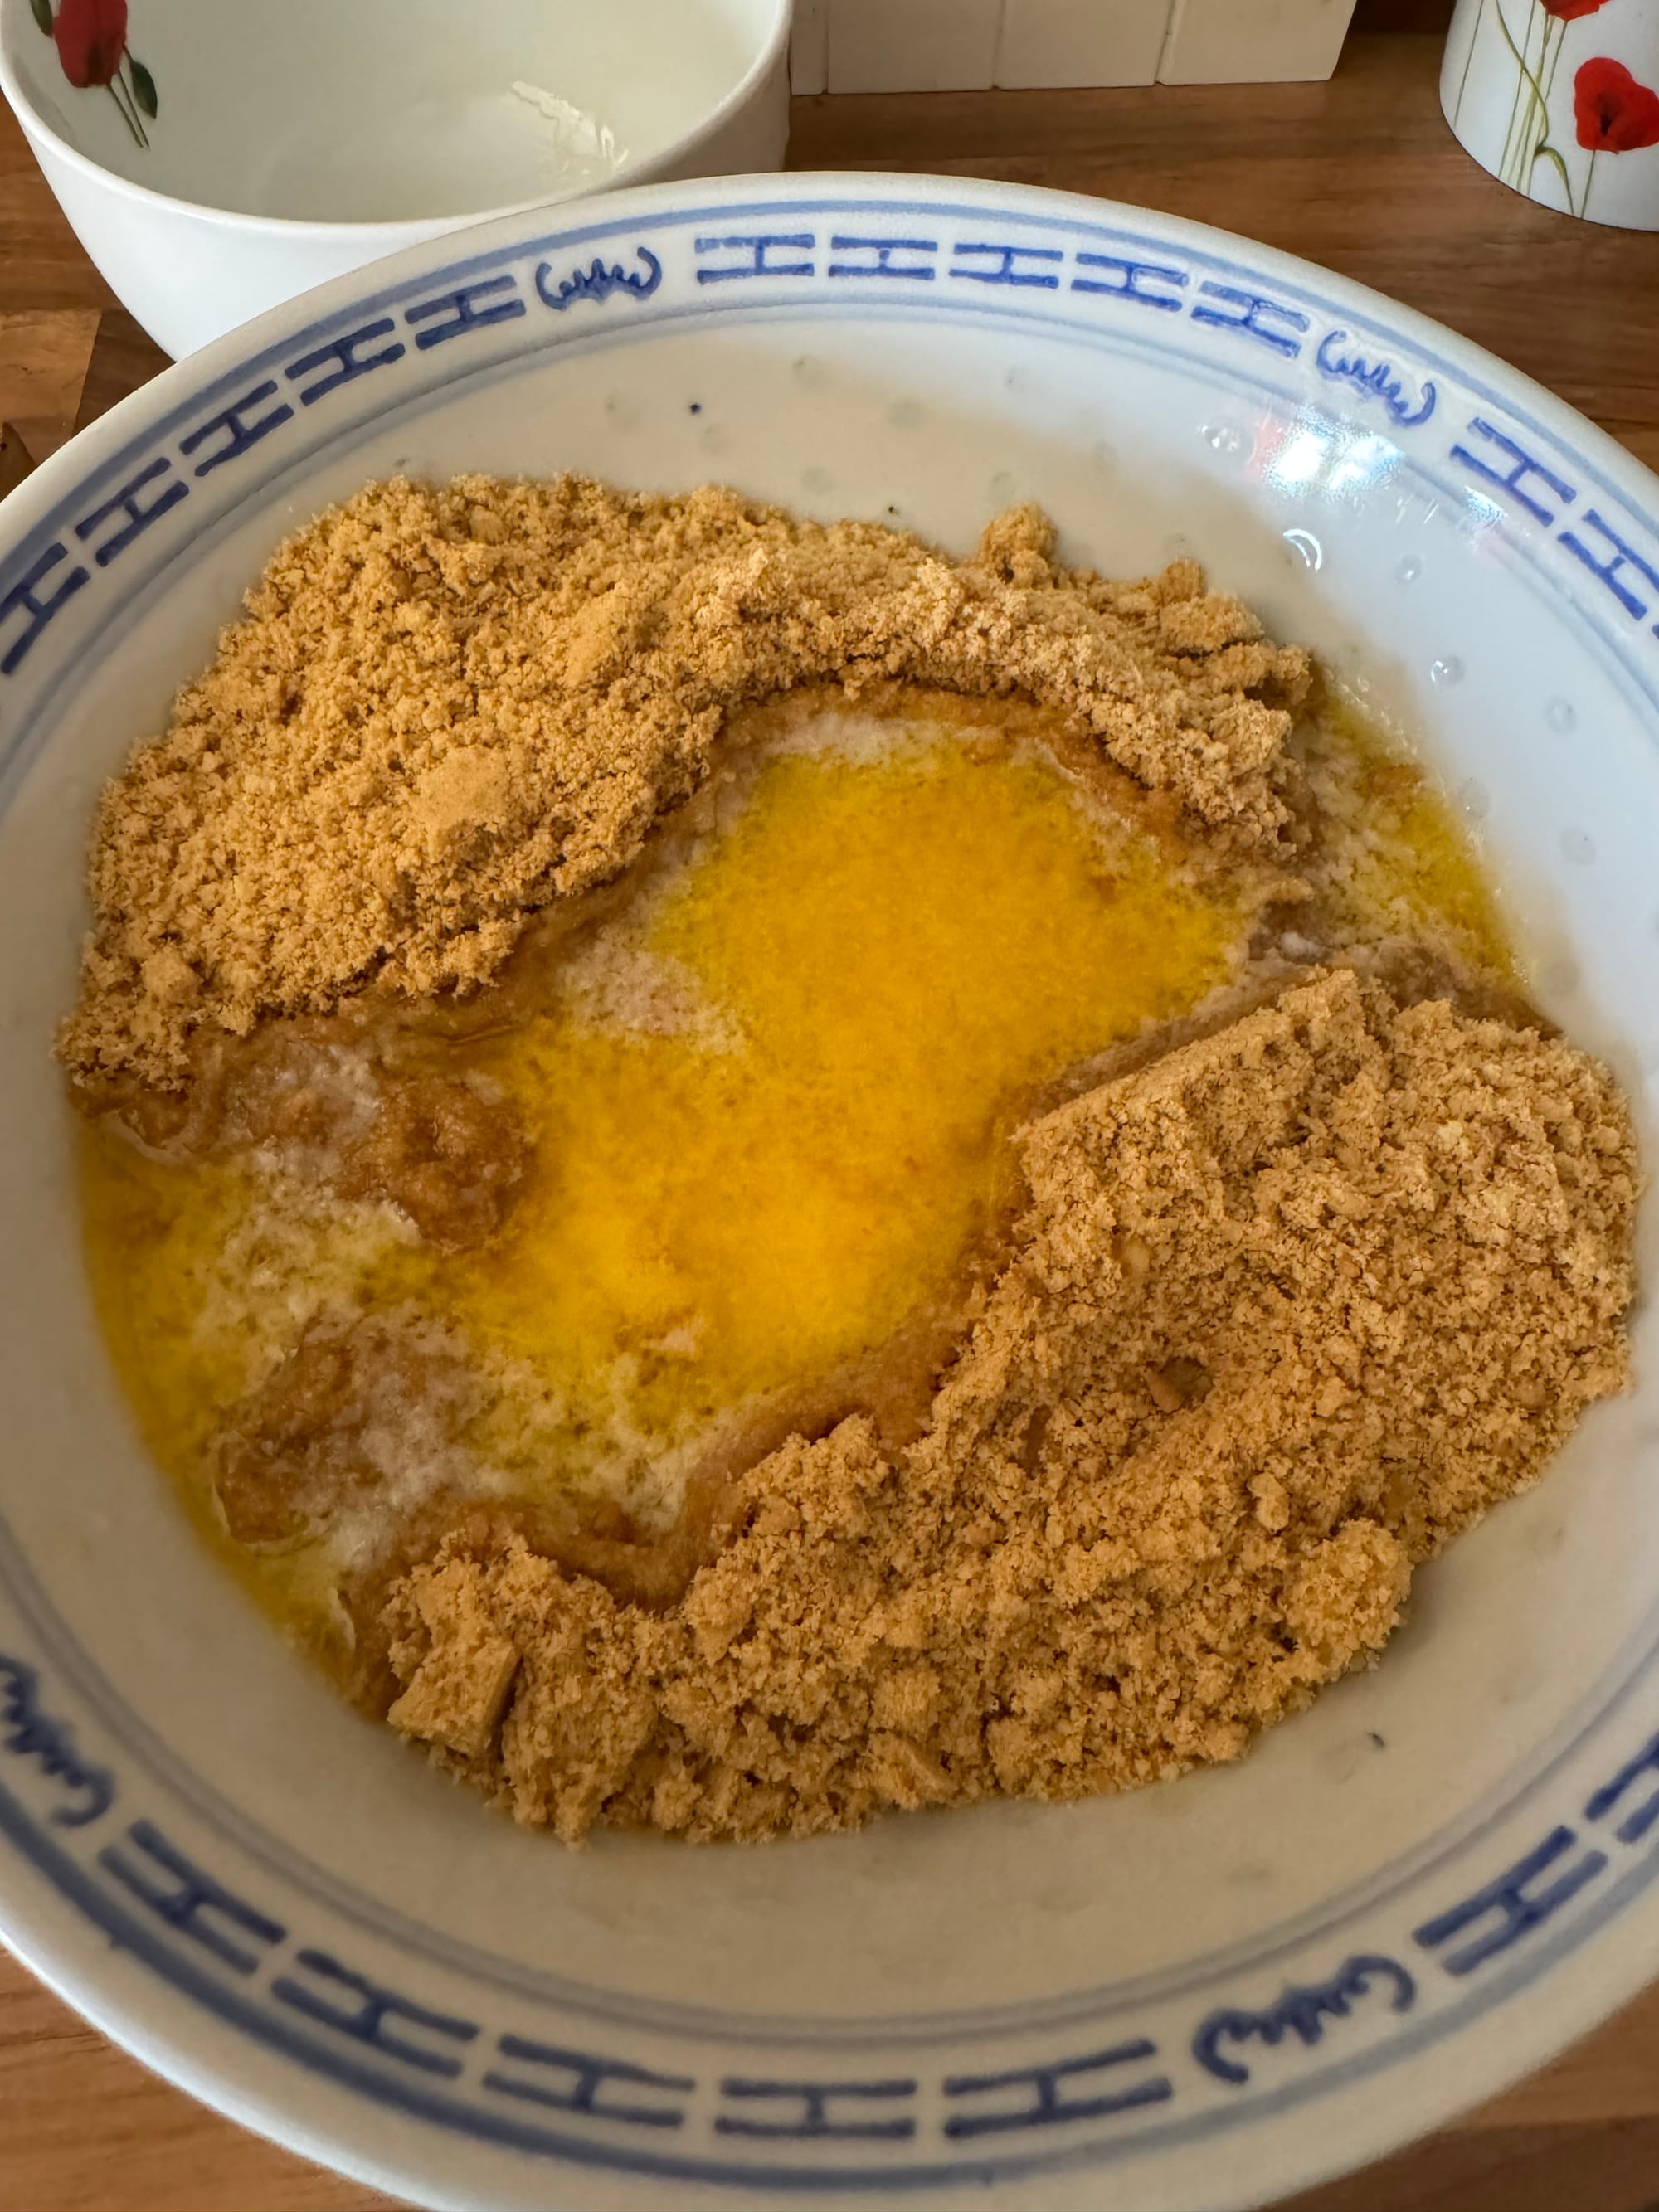
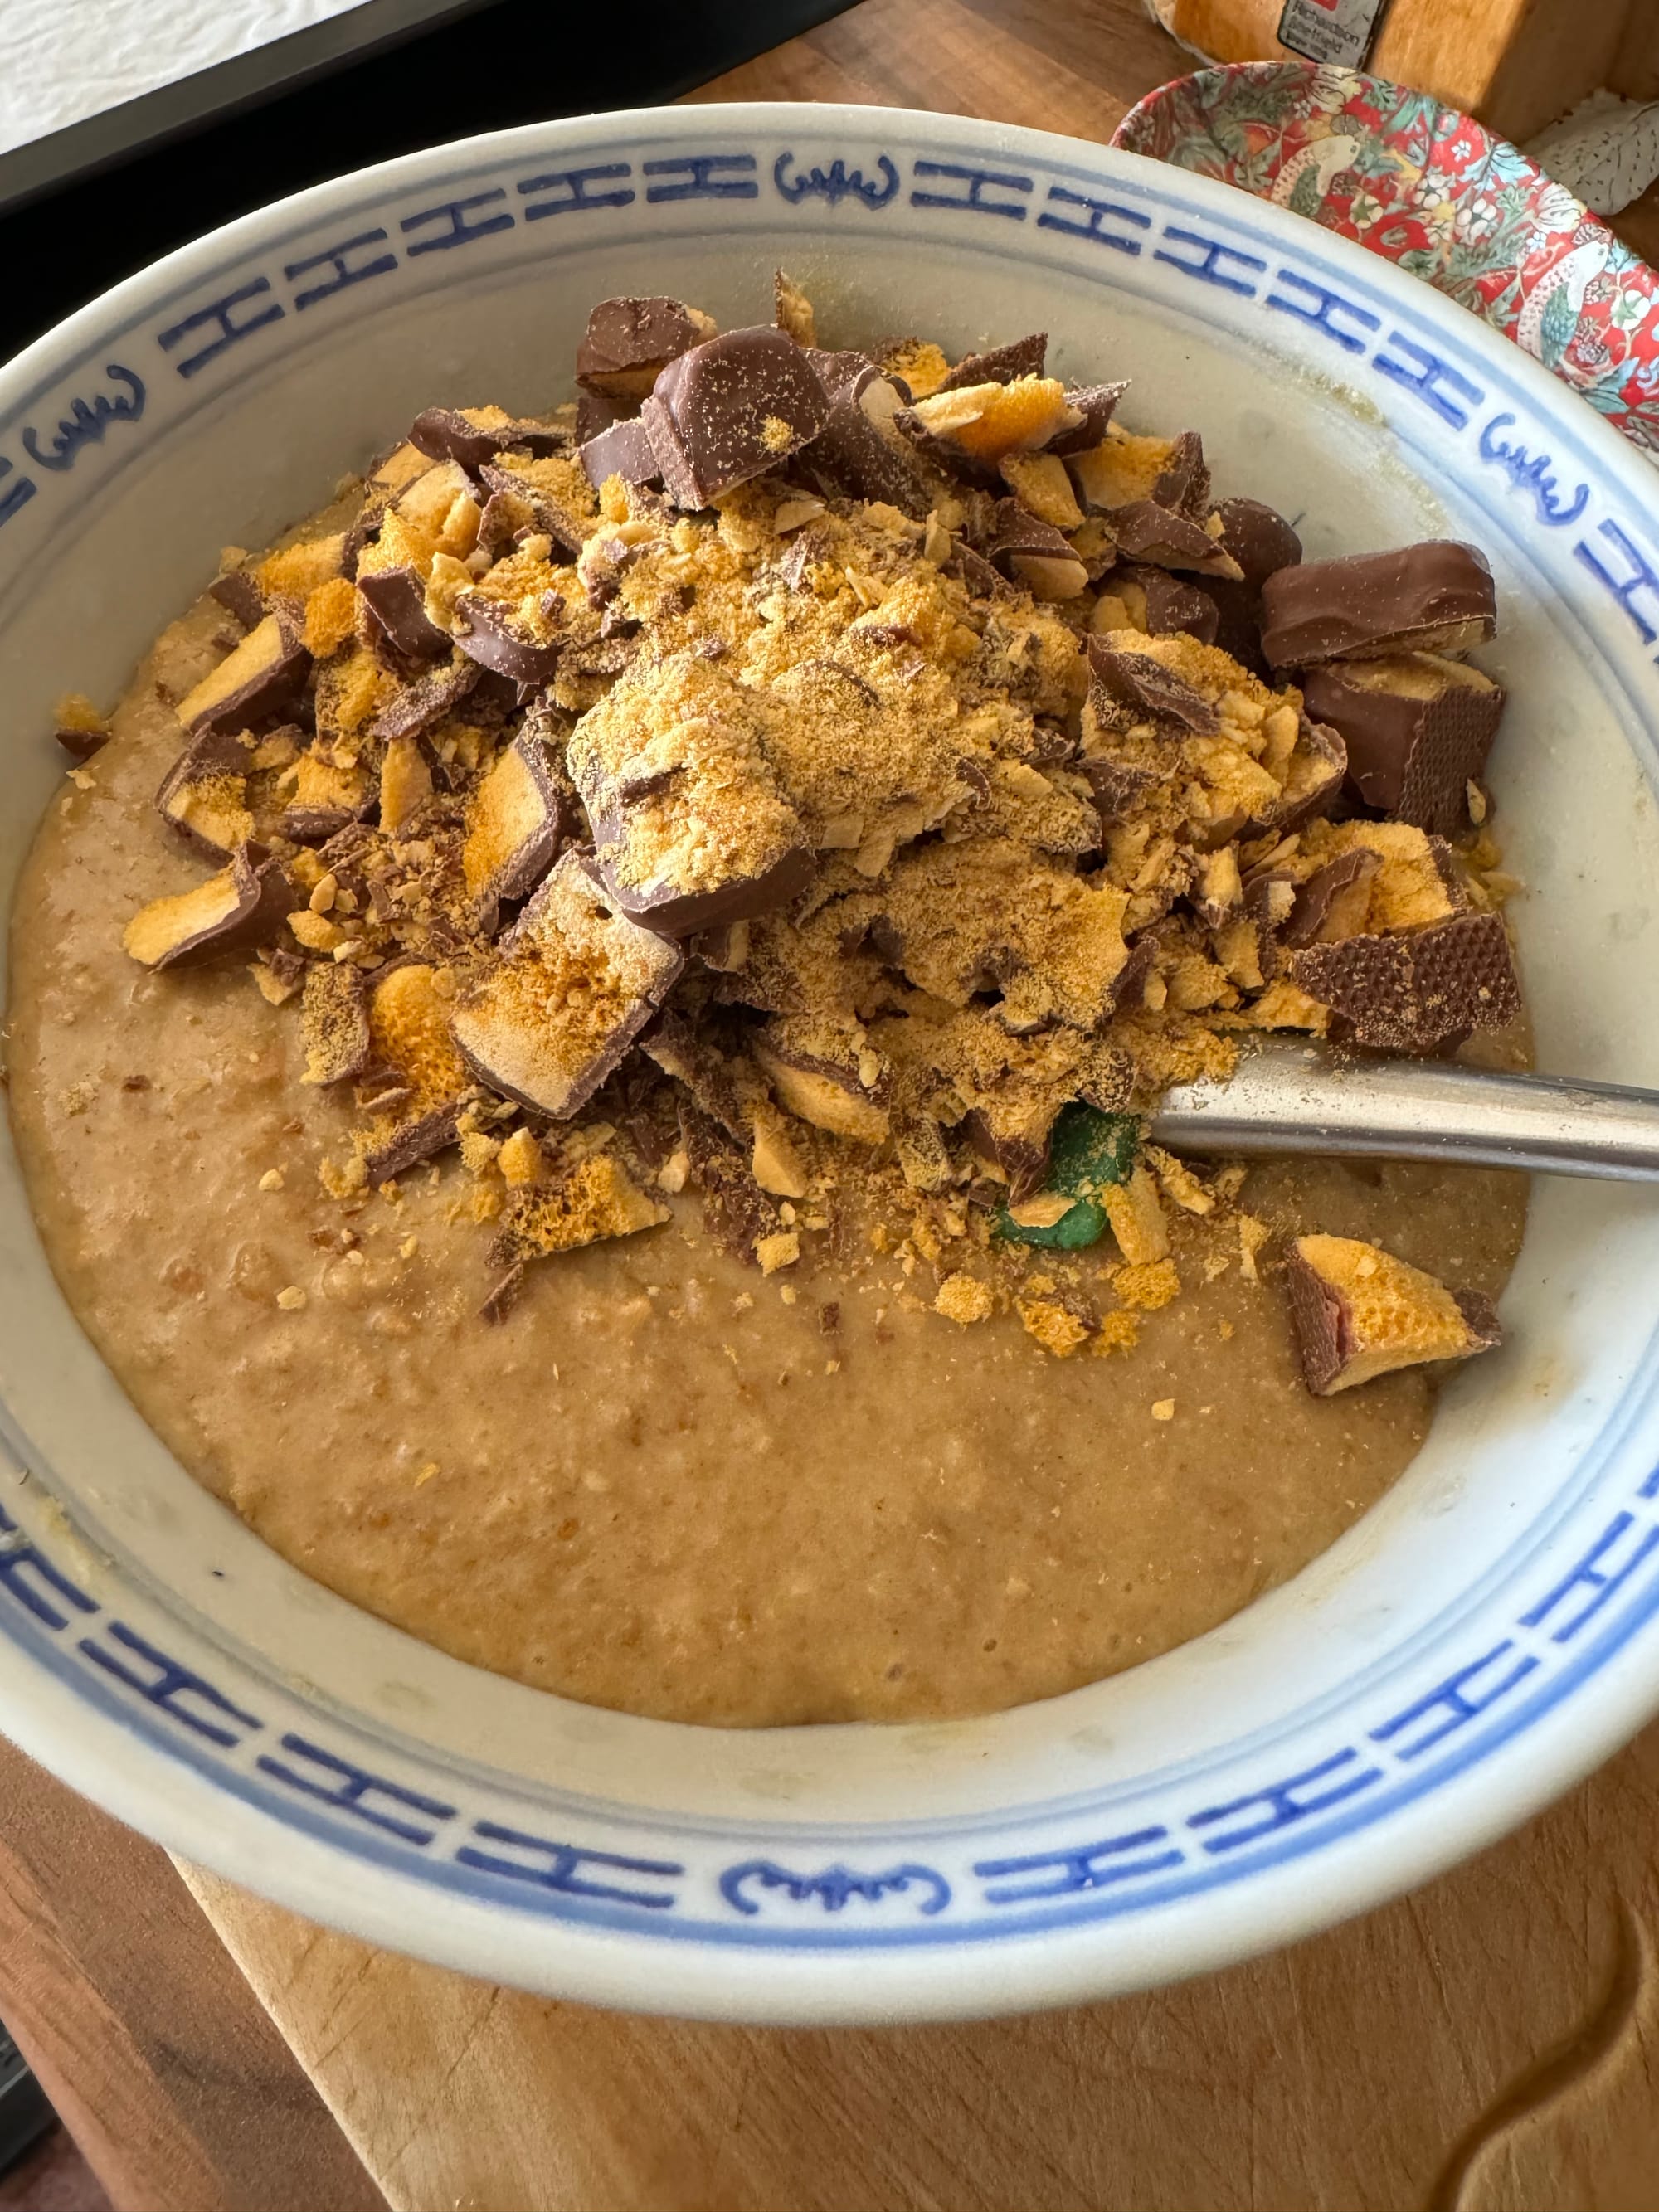
- Start by preparing an 8x8 square baking tin with greaseproof paper to ensure an easy release. Next, tackle the biscuits by crushing them till they resemble sand; a sealed bag and a rolling pin work wonders for this task, it's also a great way of releasing any left up stress you might be holding onto or if like me a food processor also works great.
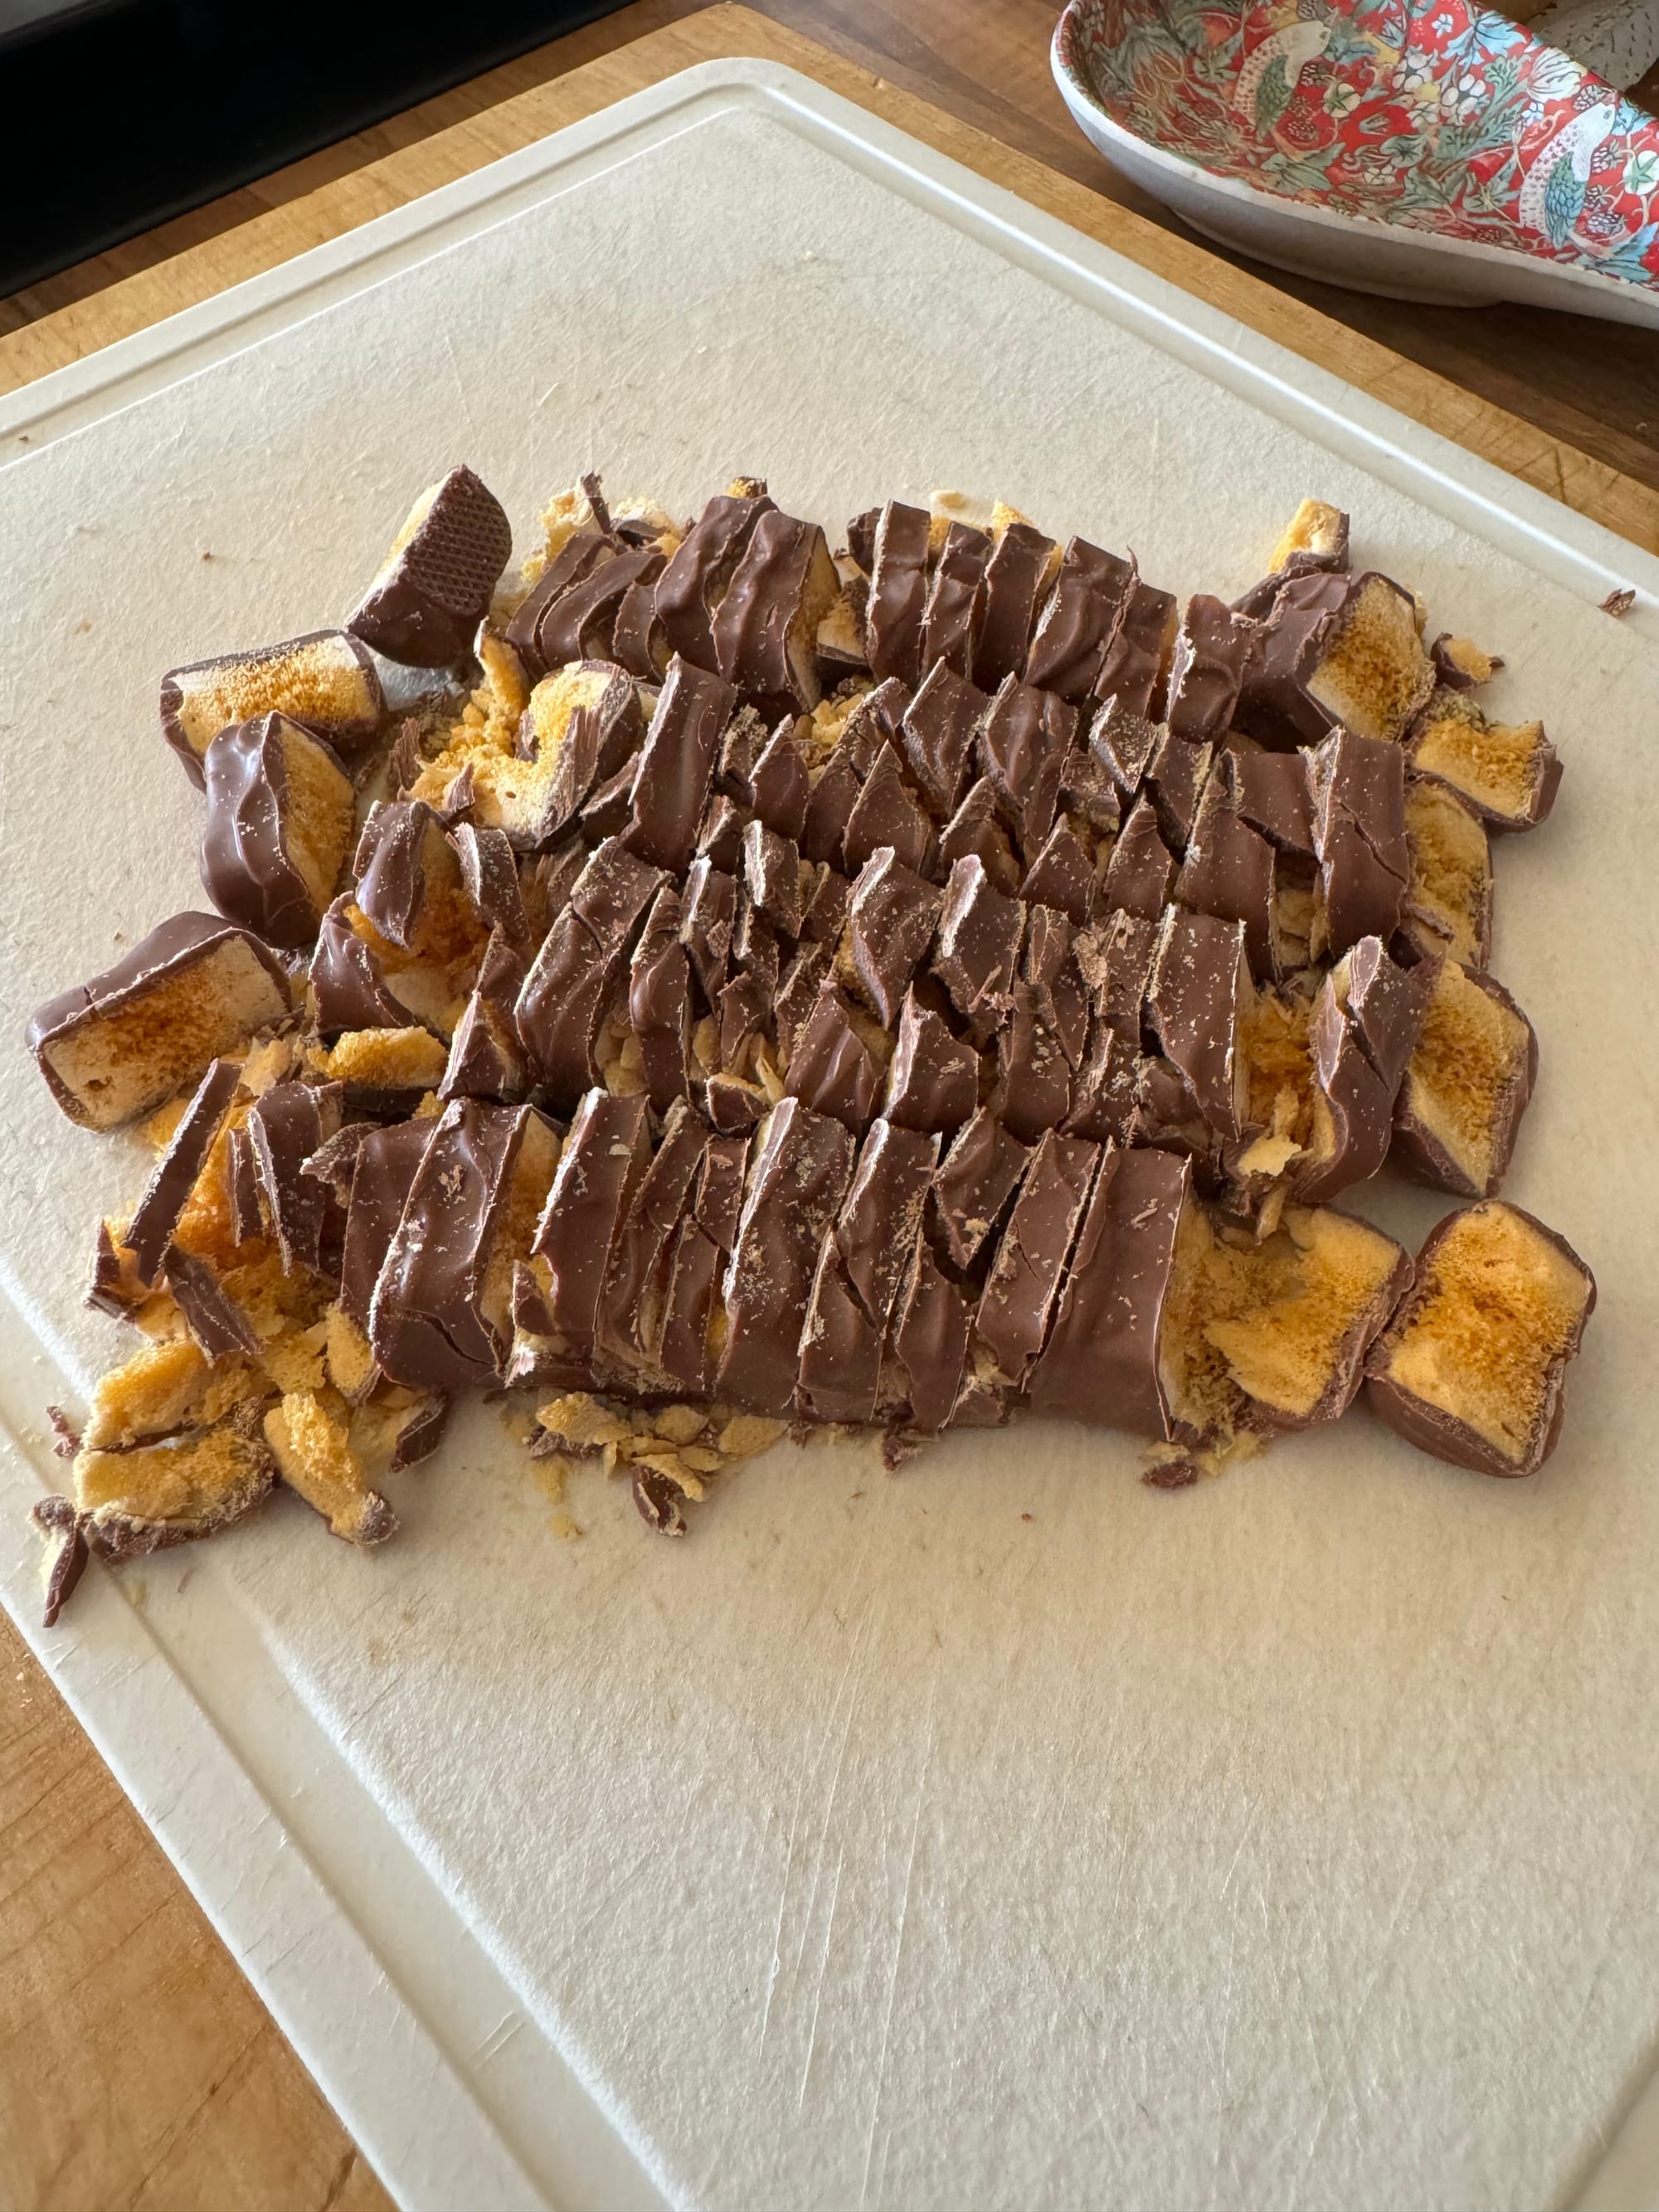
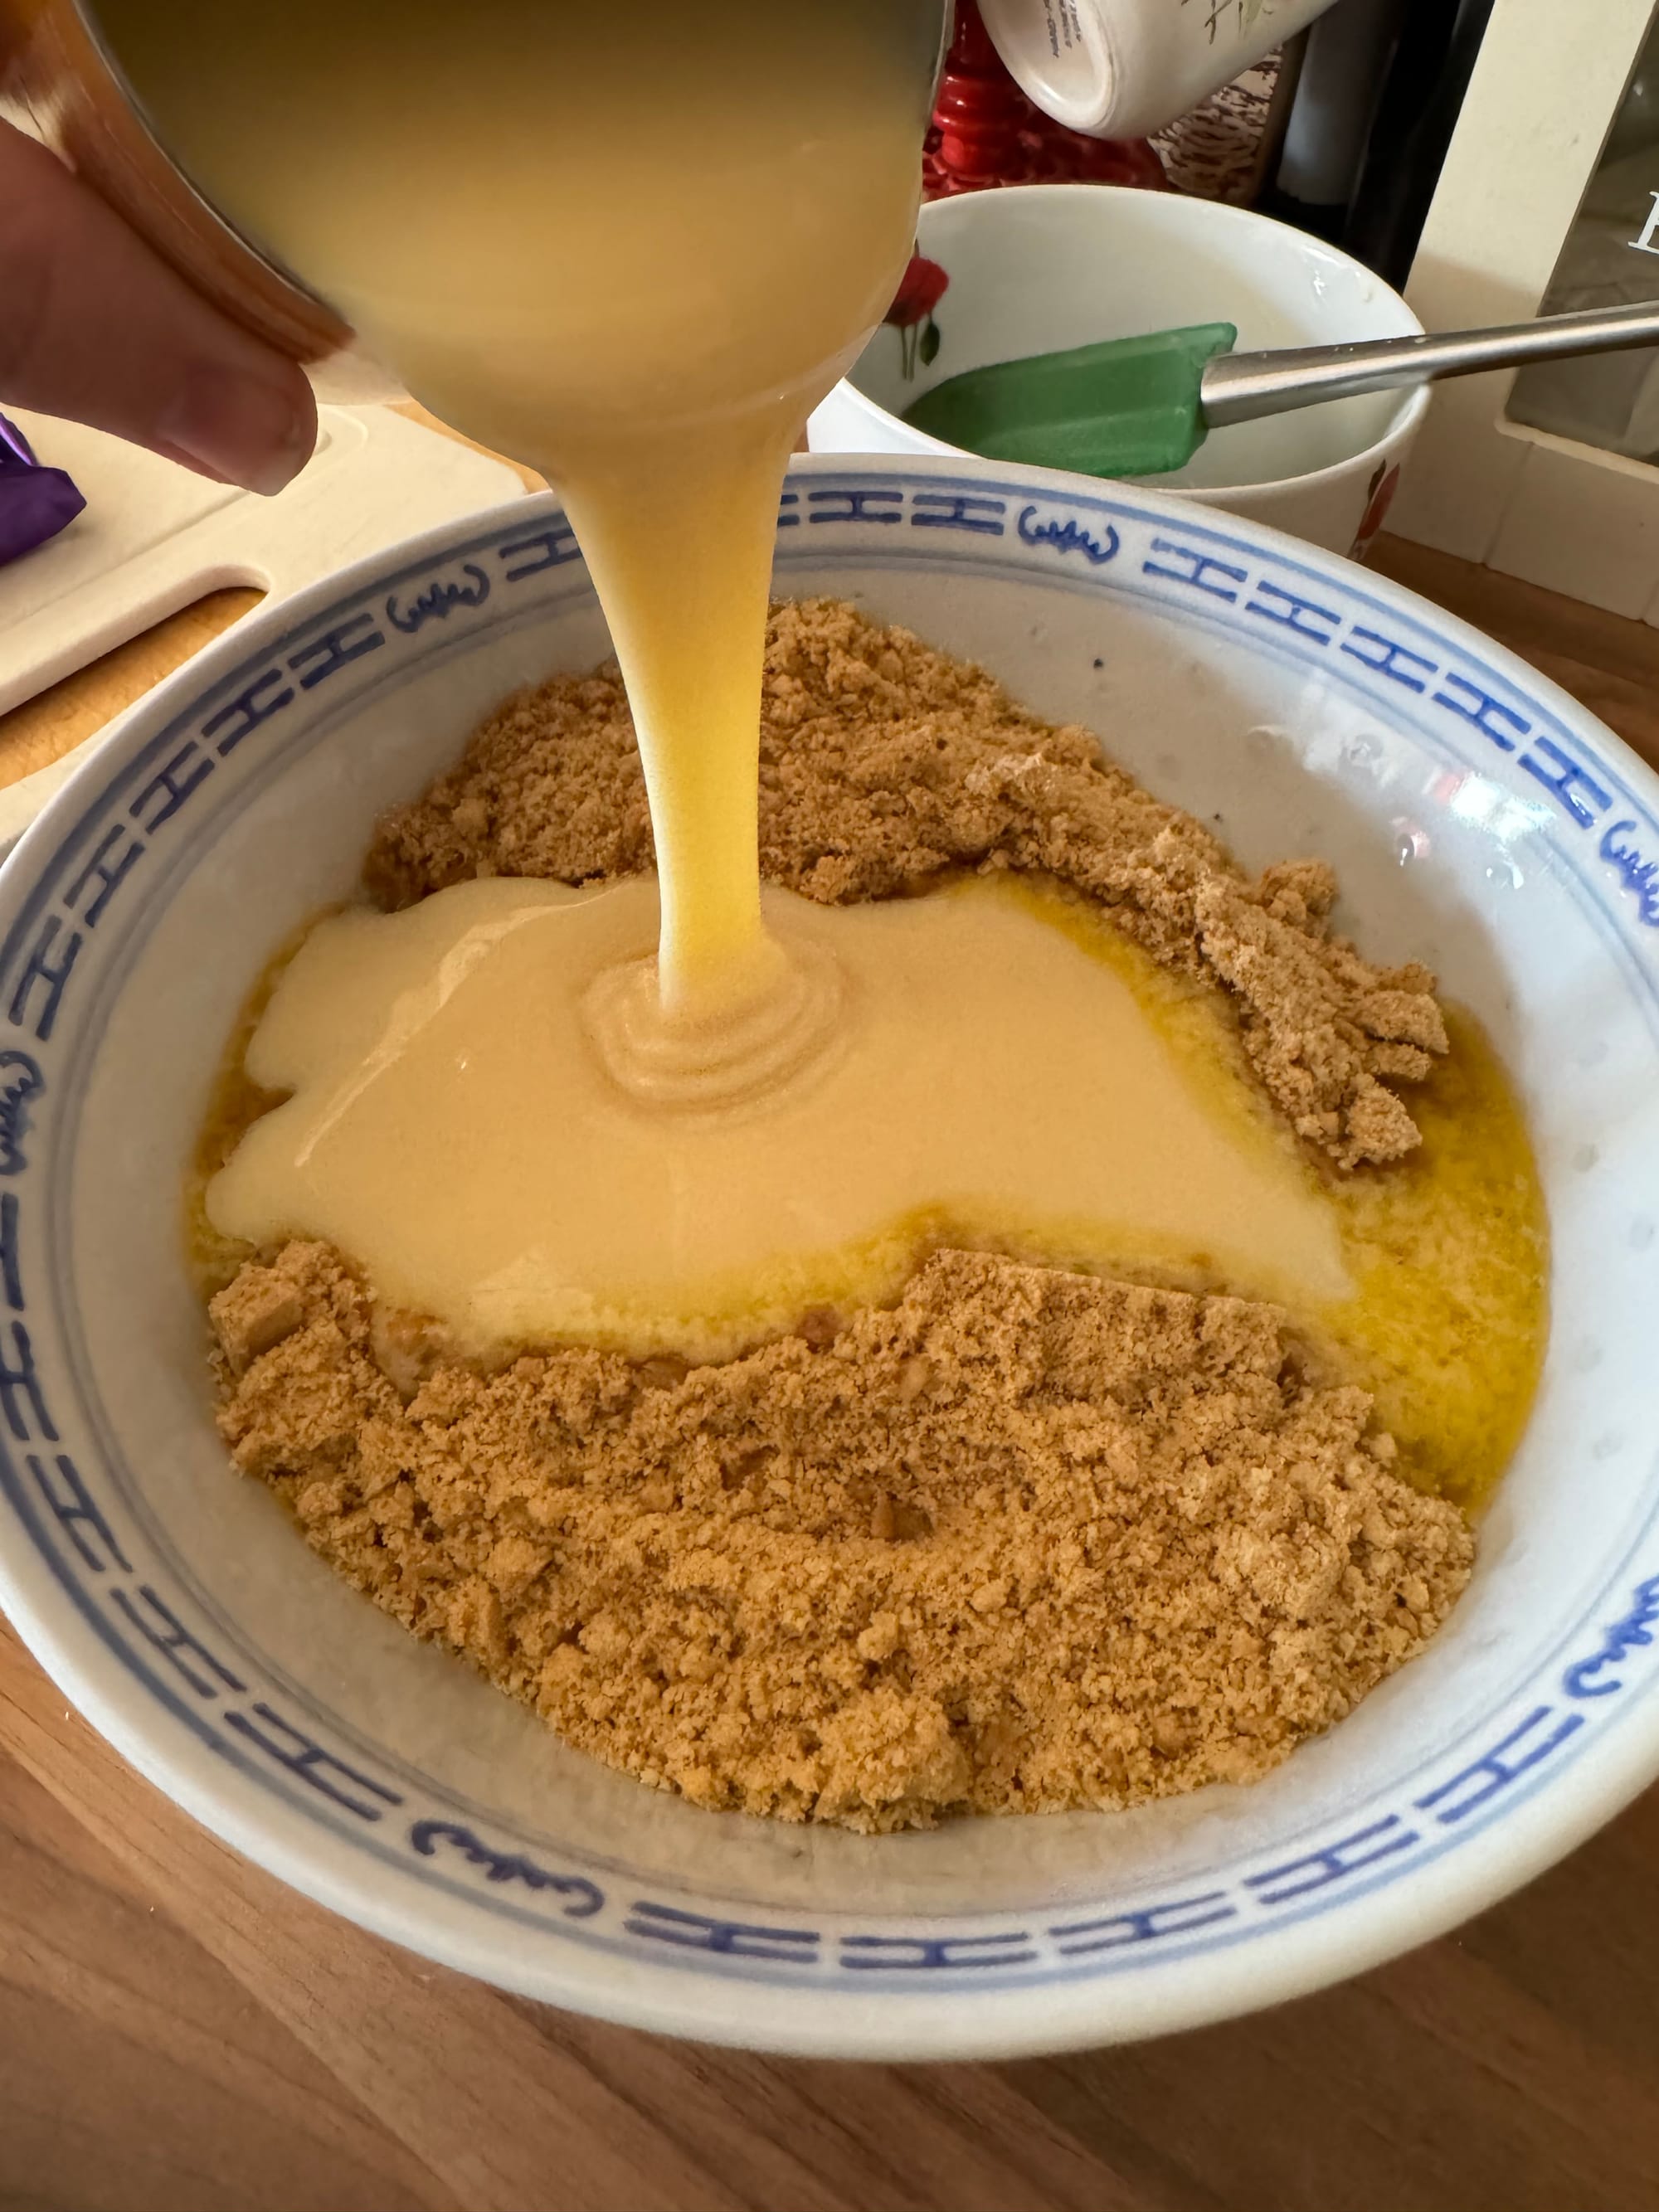
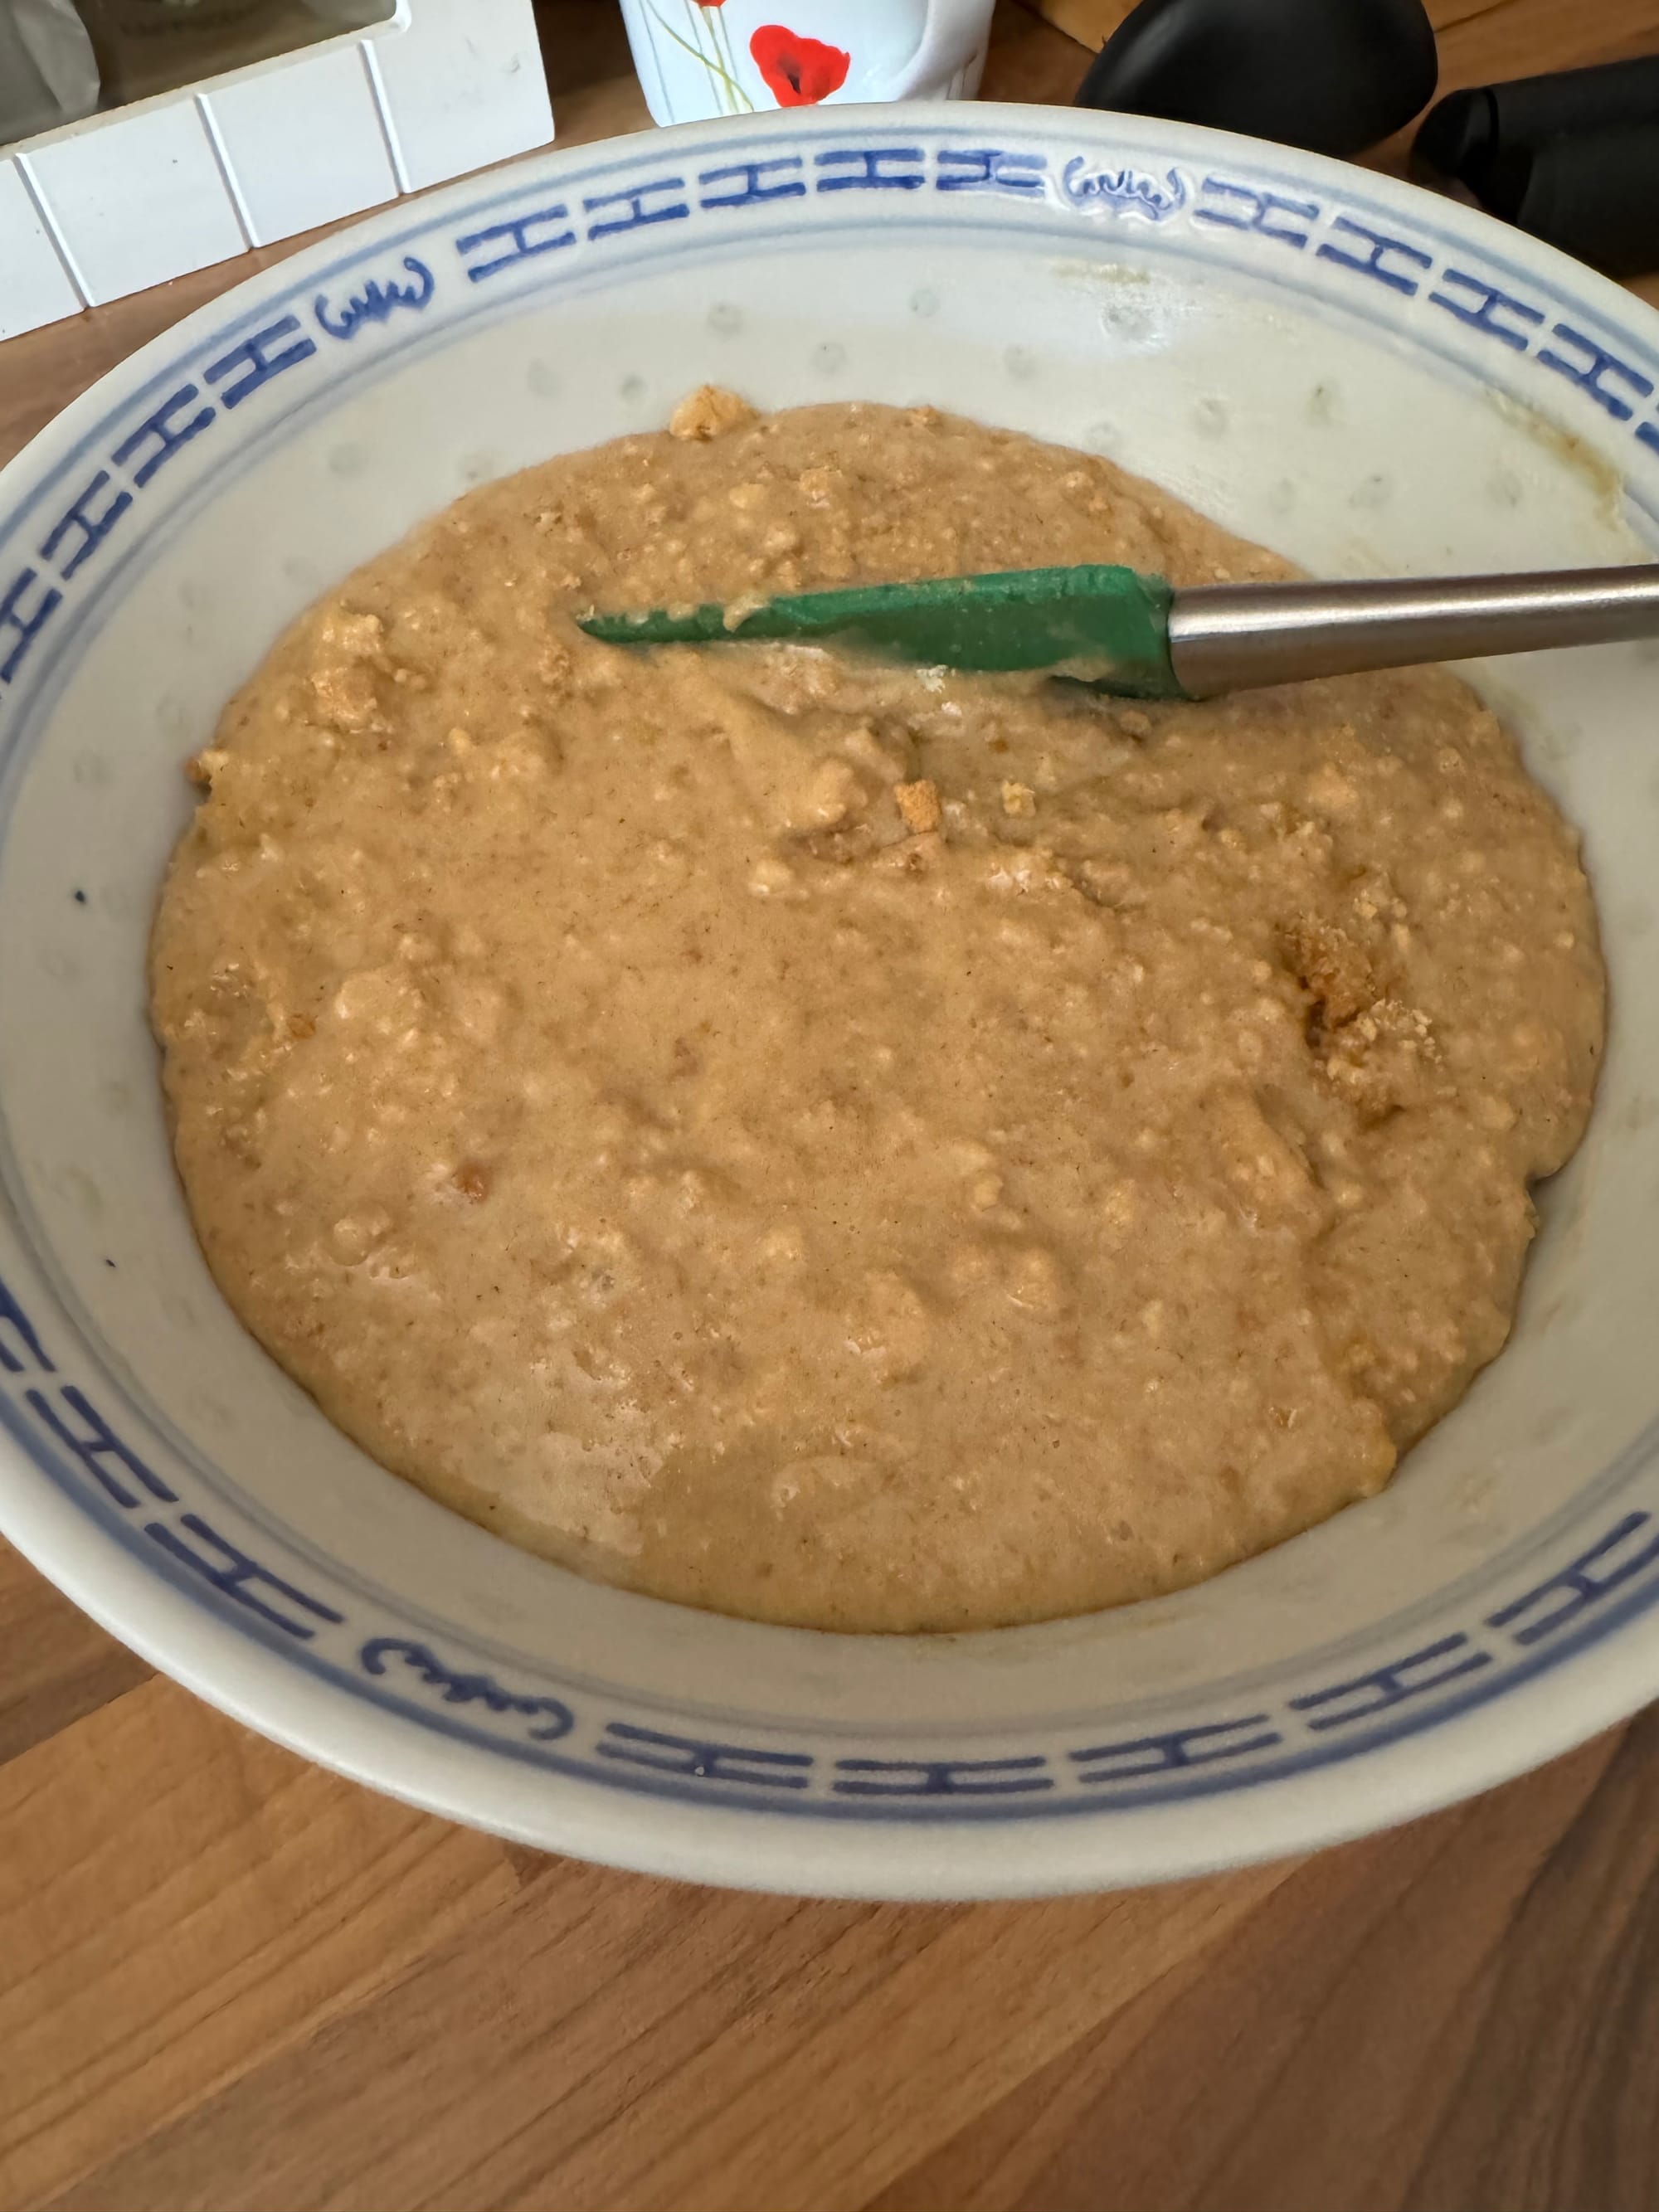
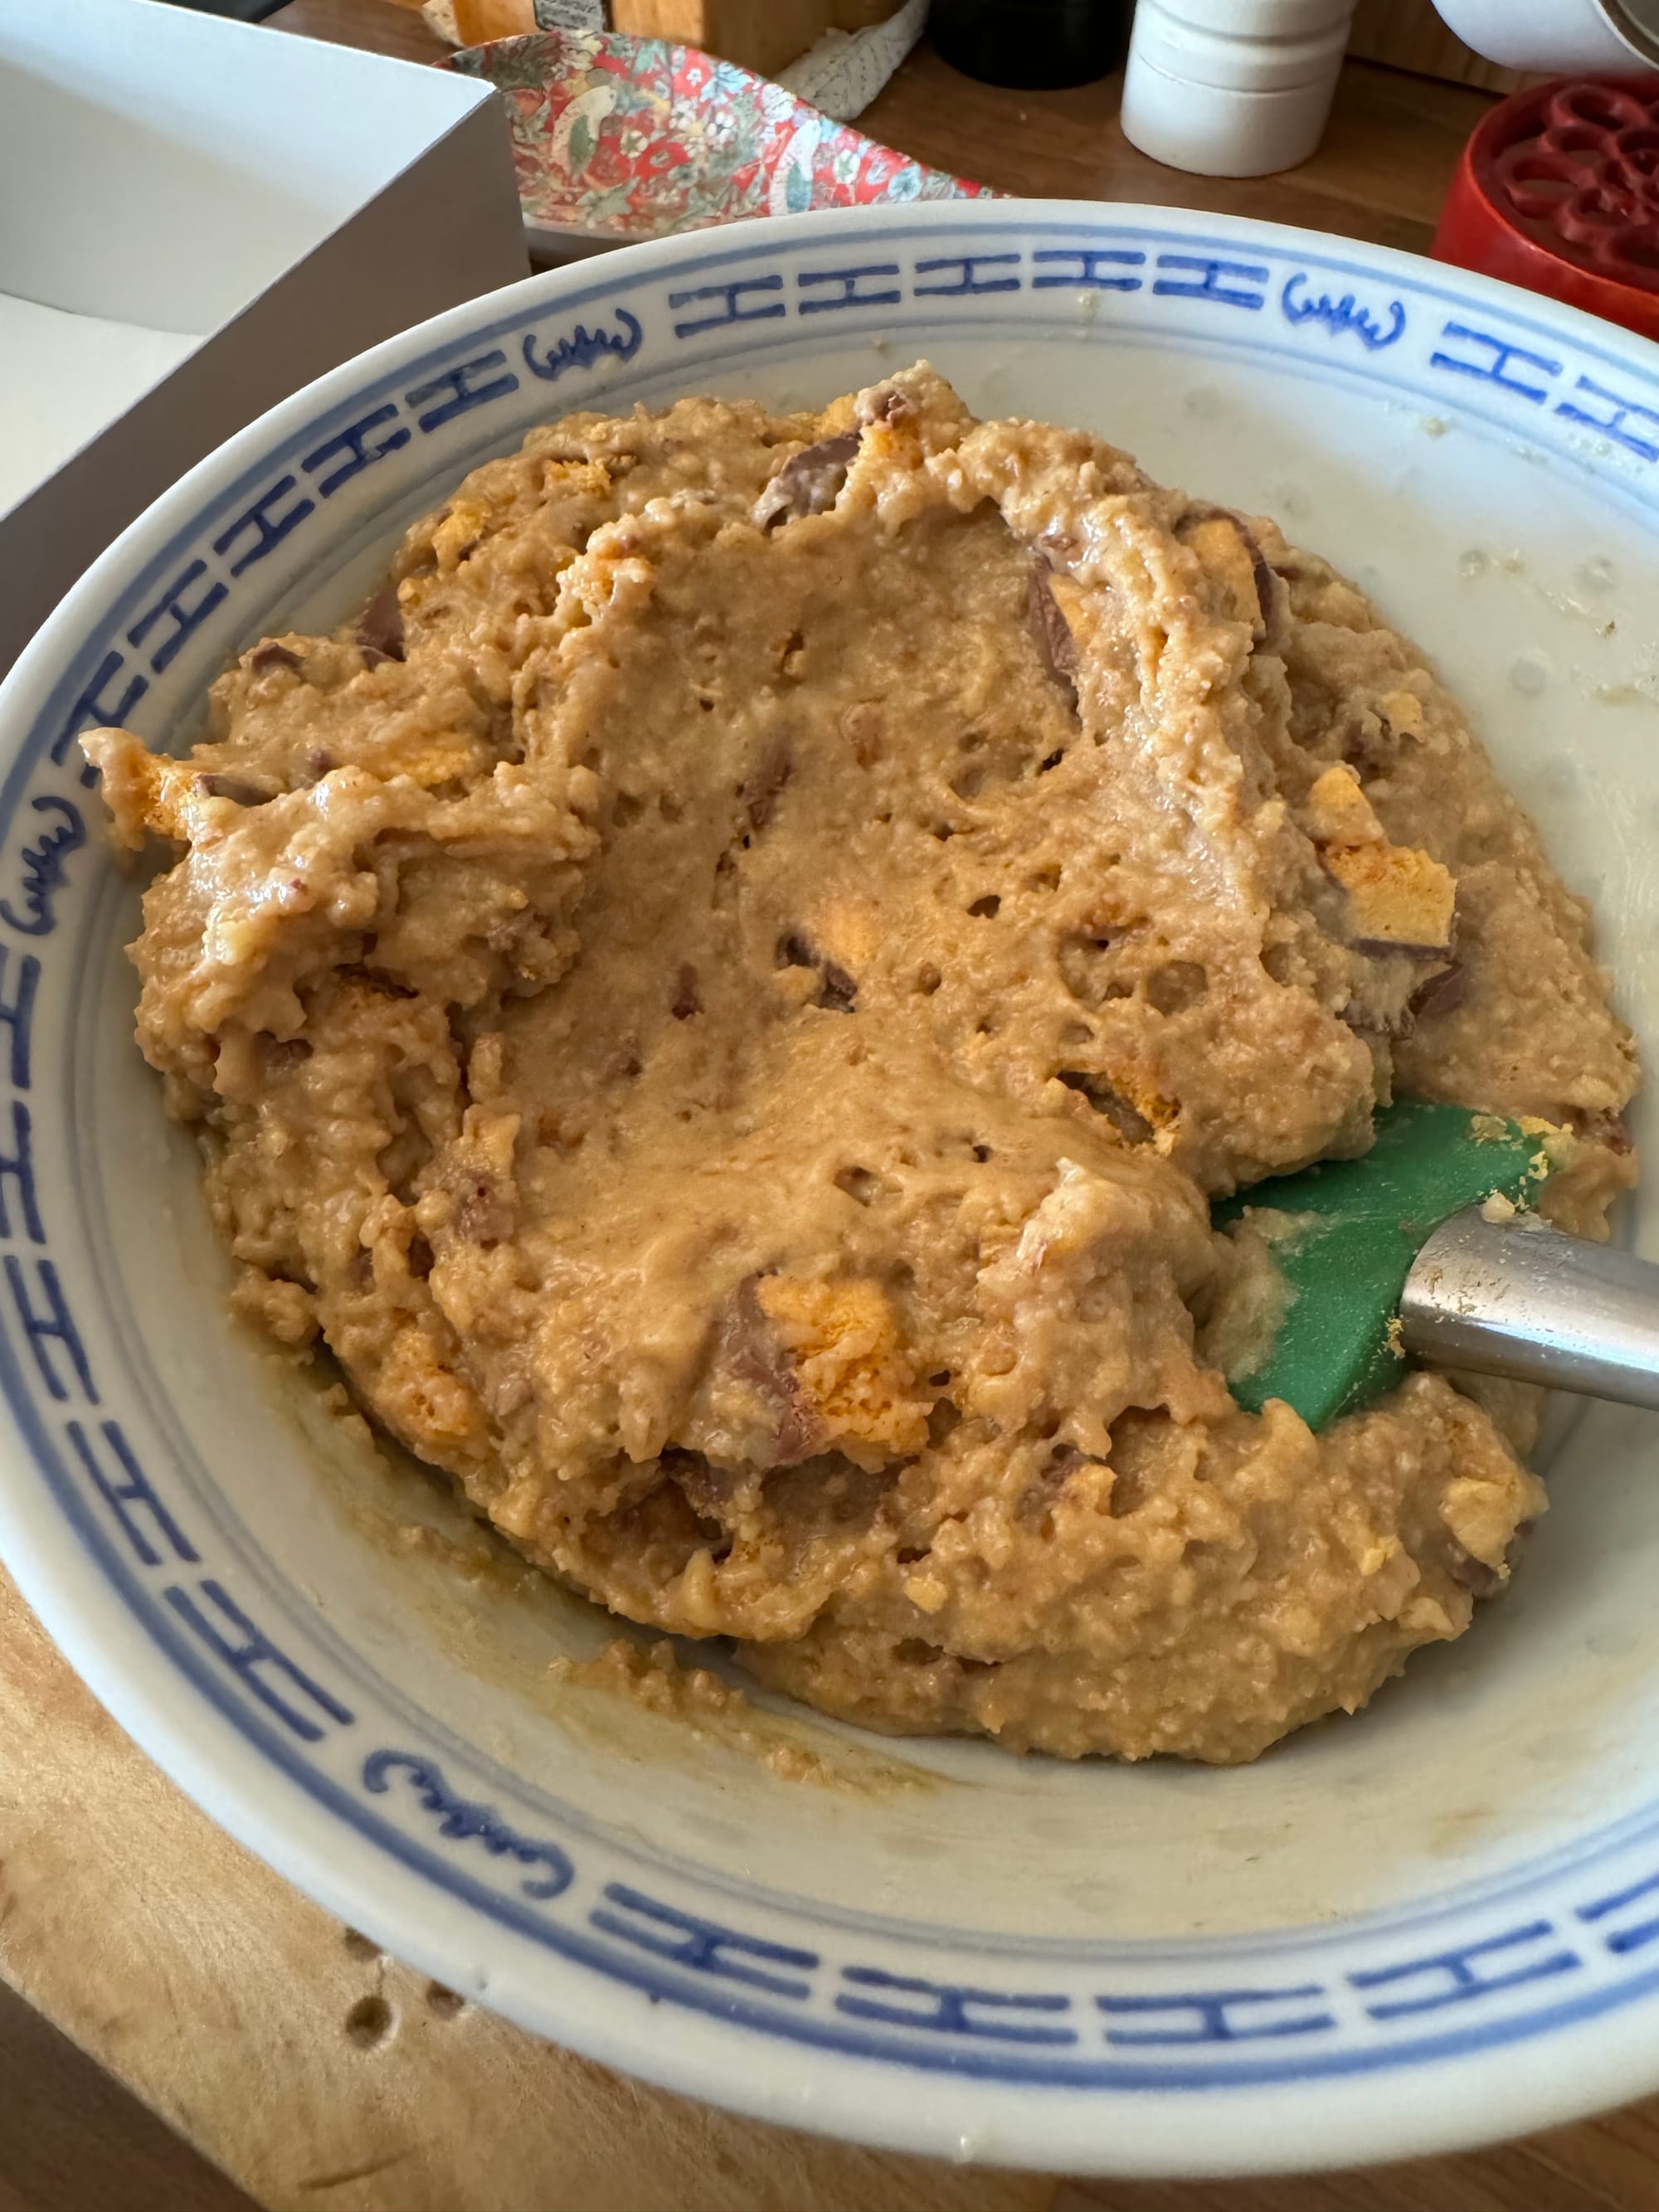
- Into the blitz biscuit, add the melted butter and condensed milk and mix till combined. Roughly chop 4 Crunchie bars for that quintessential crunch and add in to the mix and stir.
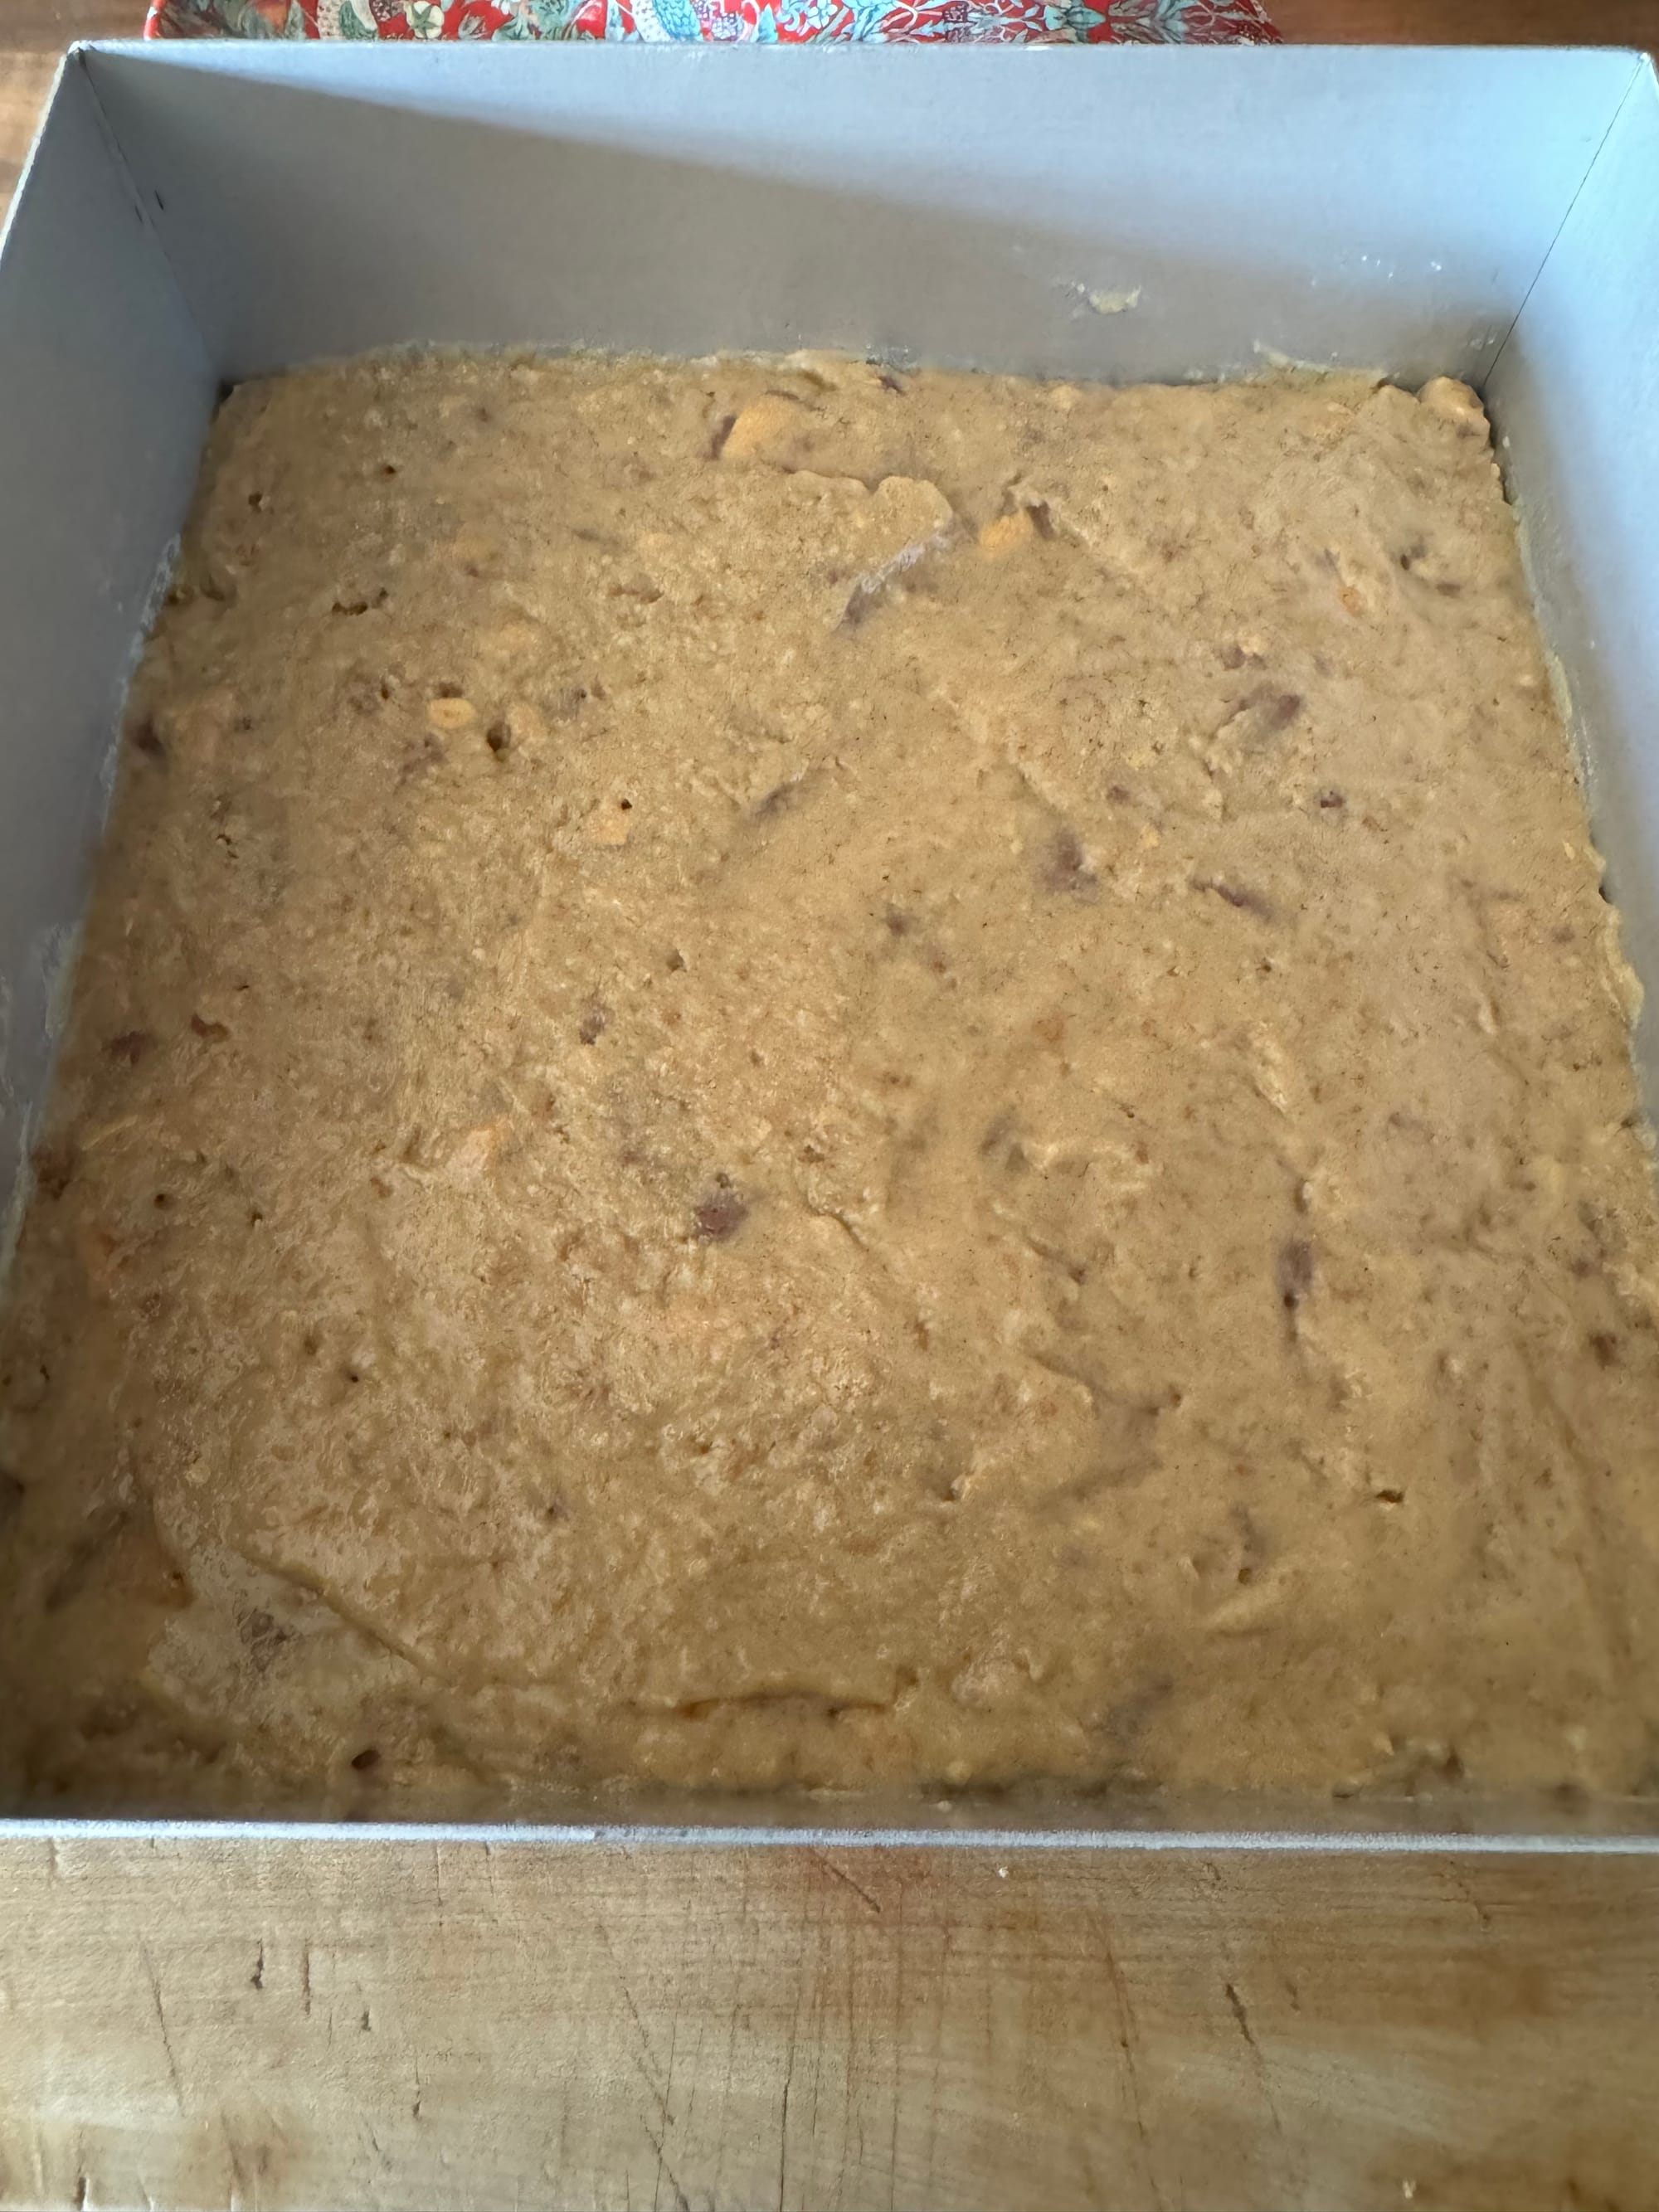
- Transfer this mixture into your lined tin, pressing down firmly to create a uniform layer that will form the slice's base.
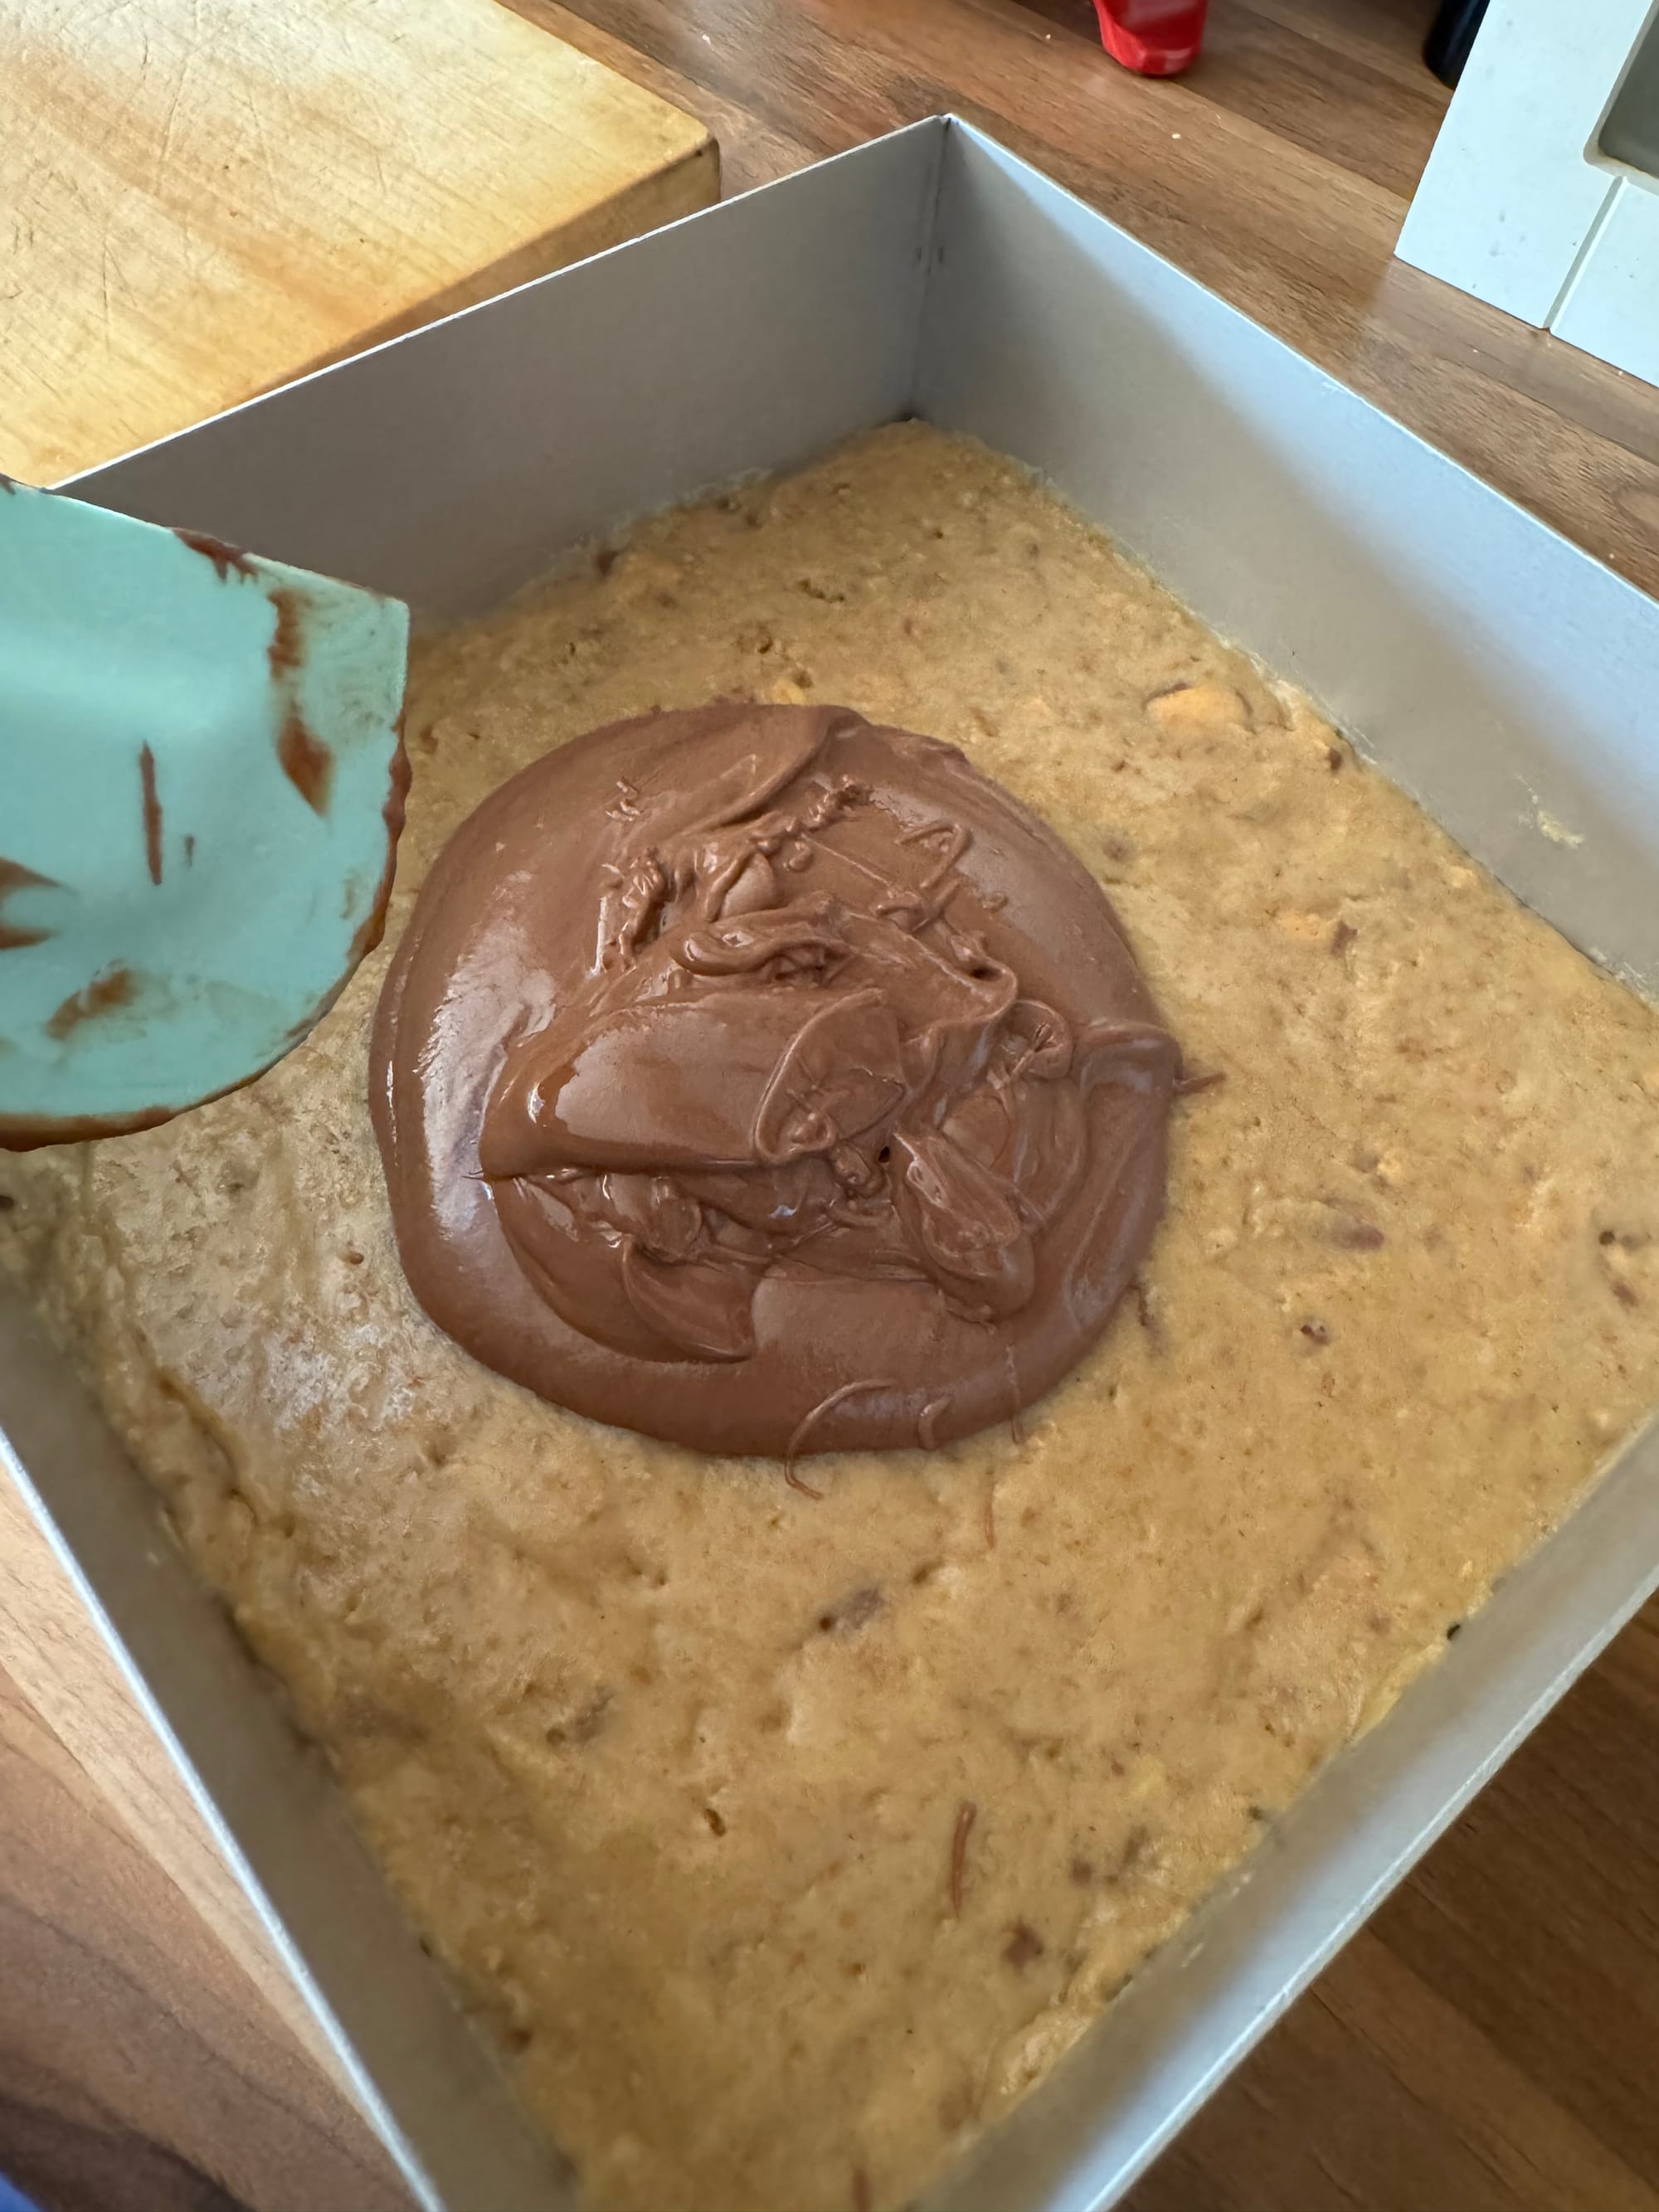
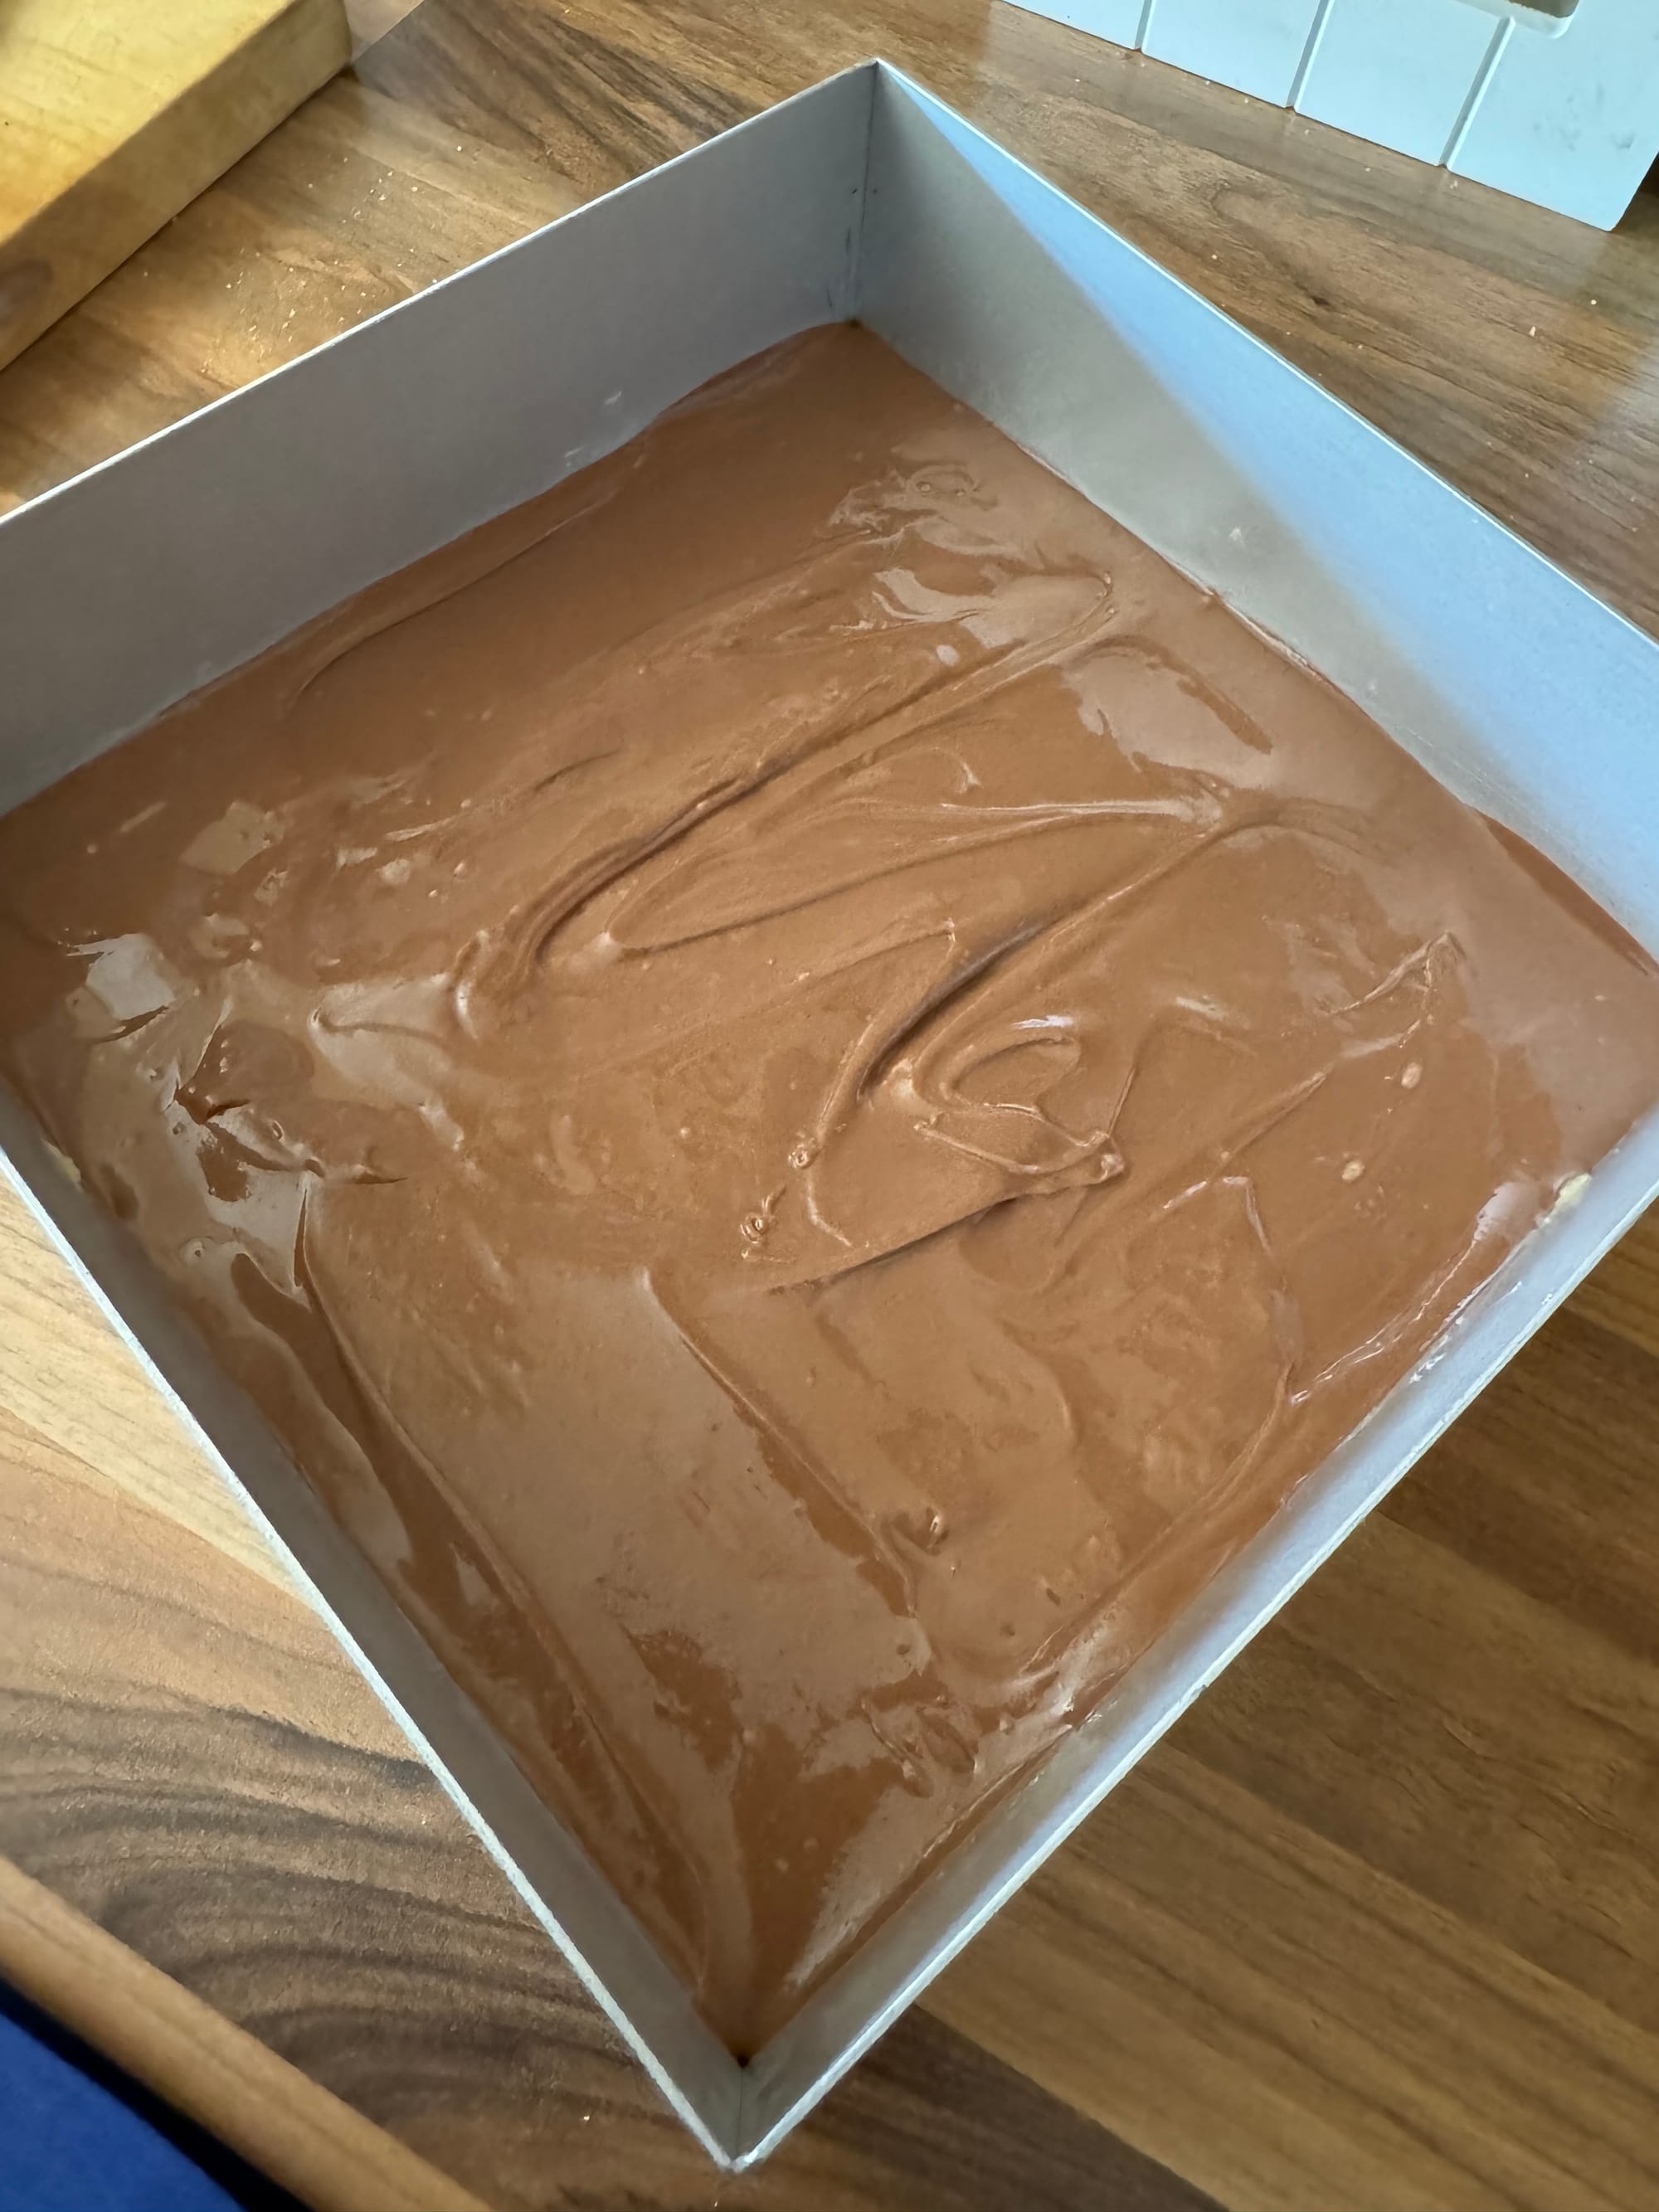
- In a microwave safe bowl, gently melt together the remaining butter and chocolate, until you achieve a smooth concoction.
- This mixture is then poured over your base, smoothed out to cover every inch. Before setting, sprinkle over the remaining 4 roughly chopped crunchie bars.

- The final step requires patience: chill the concoction in the fridge for at least 2 hours to set. When ready, slice into your desired portions with a sharp knife, possibly warmed for a cleaner cut.
- Enjoy the fruits of your minimal labour, a testament to the simplicity and delight of no-bake treats.


To ensure your Crunchie slice turns out perfectly, bear in mind the following advice. The setting time in the fridge is crucial for achieving the ideal consistency, so be patient. Sometimes, it may take longer than the suggested 2 hours for the slice to firm up properly, which largely depends on the cooling efficiency of your fridge. For a cleaner and more precise cut, it's recommended to use a heated, dry knife. Simply run the knife under hot water and then thoroughly dry it off before slicing. This method helps to cut through the chocolate topping without cracking it. If you prefer a softer texture, allow the Crunchie slice to sit at room temperature for a short period before serving. This slight adjustment can enhance the slice's texture, making it even more enjoyable. Following these practical tips will help you perfect your no-bake Crunchie Slice, ensuring it's a hit with everyone who tries it.

The beauty of the Crunchie Slice lies in its adaptability, allowing for a wealth of customisation to suit any palate. For those who prefer a deeper, more profound cocoa taste, substituting the milk chocolate with dark chocolate can transform the dessert into a gourmet experience. Consider layering a smooth caramel spread directly atop the biscuit foundation for an indulgent twist that marries the crunch with a melt-in-your-mouth sweetness. Introducing a variety of textures and flavours is also a delightful way to personalise your slice. Sprinkling in a mix of chopped nuts provides a satisfying contrast to the softness of the chocolate, while dried fruit such as cranberries or raisins can introduce a chewy element and a burst of tanginess. For a festive spin, incorporate peppermint extract into the chocolate topping or sprinkle crushed candy canes for a holiday touch. Each variation not only adds a new dimension to the classic recipe but also allows you to tailor the treat to the occasion or your gustatory preferences, ensuring every bite is a discovery of your own culinary creativity.
If you make this dish, why not send me a picture on Instagram using the #acountrygirlskitchen so I can go over and show it some love.
Also why not check out my other no back recipes like my No Bake Mars Bar Slice or my No Bake Snickers Bar!
I hope you all have a wonderful day.
*Chefs Kiss*